
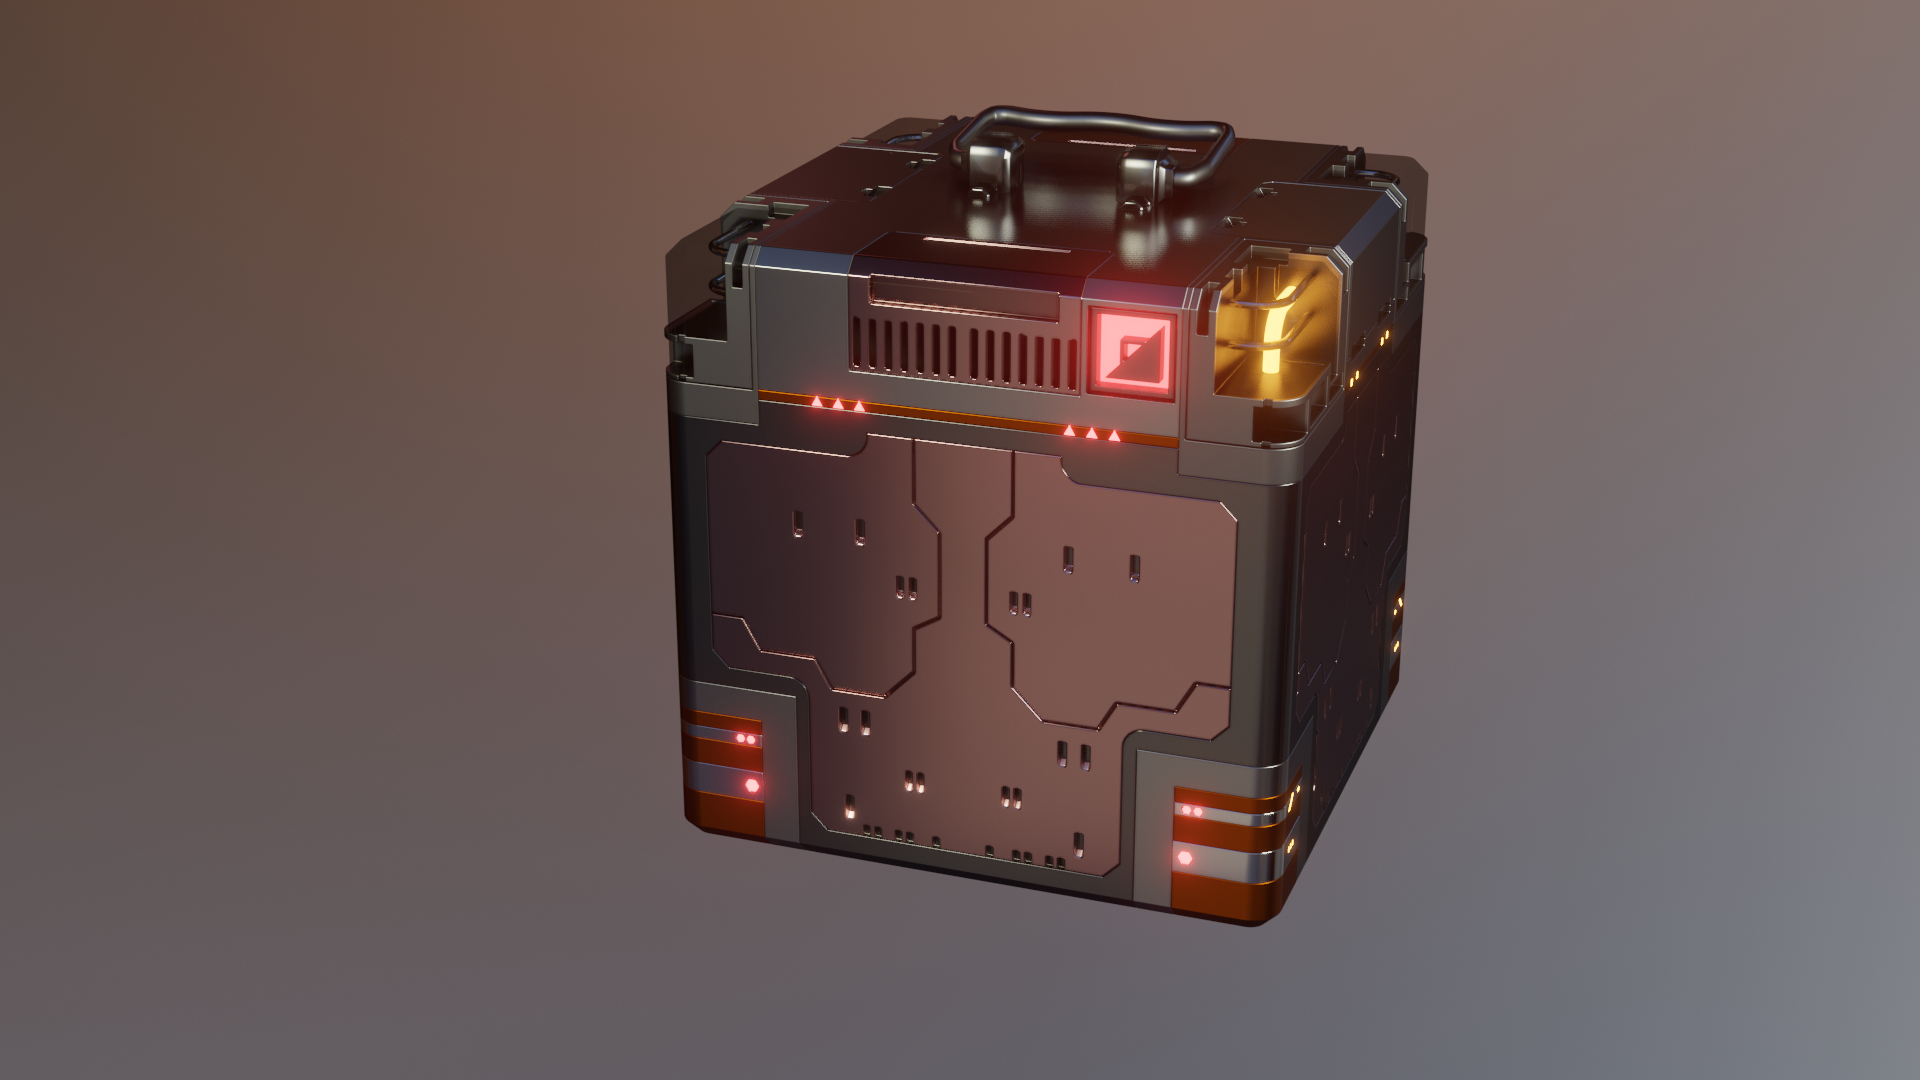
Smartbox V1
Thank you masterxeon1001
https://www.youtube.com/user/masterxeon1001/videos
Buy masterxeon1001 a beer!
https://gumroad.com/masterxeon1001
(click on the Donate Box, enter an amount and pay using Paypal)
HDR images courtesy HDRlabs
http://www.hdrlabs.com/sibl/archive
Requirements
Blender 2.82
Get it here: https://builder.blender.org/download
(2.8) HOps 00984_Thulium_10
(2.8) BoxCutter 715_14
Get it here: https://blendermarket.com
Source files
smartboxV1_001.blend
smartboxV1_002.blend
smartboxV1_003.blend
smartboxV1_004.blend
smartboxV1_005.blend
smartboxV1_006.blend
smartboxV1_007.blend
SmartboxV1 + CylinoidV2 combo:
smartboxV1_cylinoidV2.blend
Renders
1920x1080p

Animation
Quick tips
[ALT-V] Eevee HQ = more pleasant viewport
To create an all encompassing recessed slice (glass) with Solidify, Mirror and Bevel modifiers preserved:
– Select complex smartcube
– [SHIFT-D] [ESC]
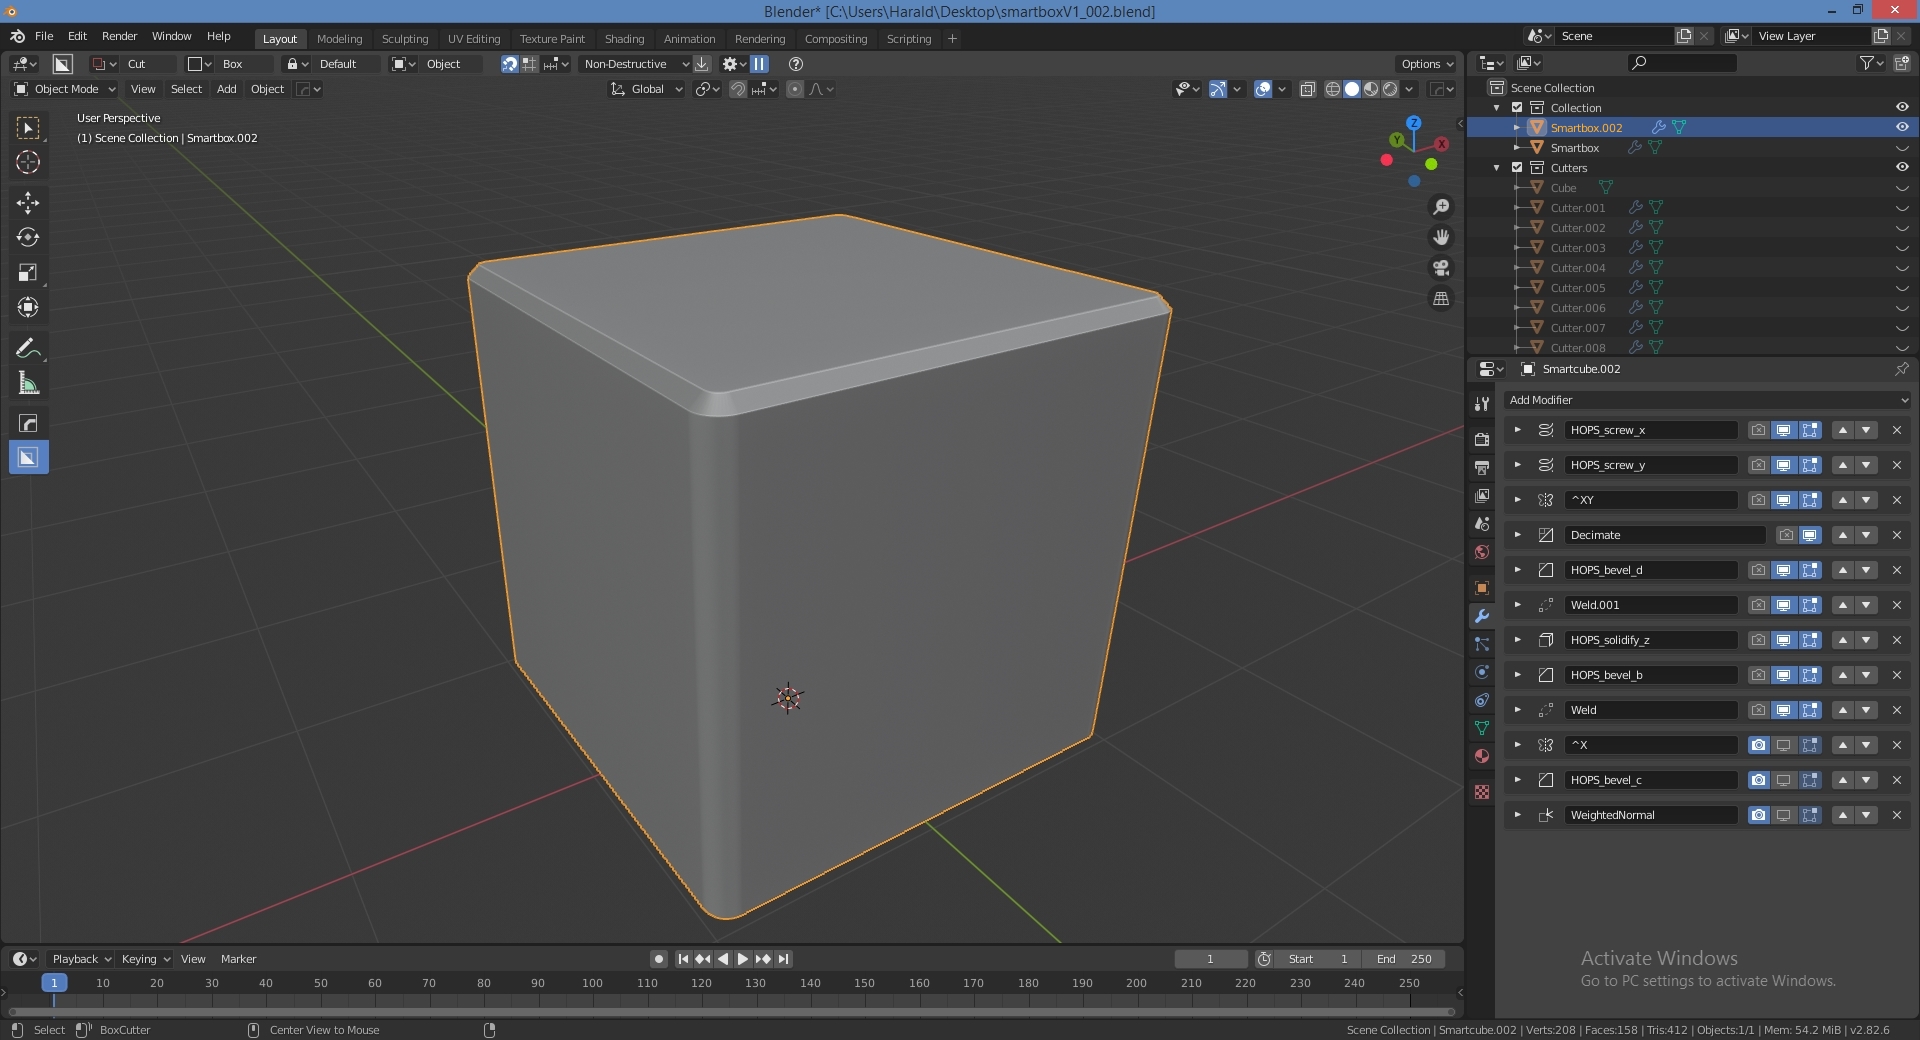
To make it look like a simpler smartcube:
– [Q]
– [SHIFT] click ModScroll from the menu (= bool scroll).
All modifiers will have Show in Viewport unticked.
(You can use [MOUSESCROLL UP] and [A] to toggle, but that is not neccessary here)
If you have unticked “Render” for a number of modifiers in the modifier stack to exclude them from being affected by sorting, they will also be excluded from bool scroll and remain visible.
To recess:
– [S] to scale down slightly.
To clean up:
– Delete all Boxcutter bools from the stack
To collapse (do not to use):
– [Q] > Add Modifier > Apply modifiers, or
– [CTRL-A] Apply menu > Visual Geometry to Mesh
Because the modifier stack is kept, we can now use HOps [CTRL] Dots to change just the solidify amount to ‘scale’ the recessed object without affecting the (bevels) !

CONVERT A DIFF CUT INTO A SLICE LATE IN THE PROCESS
Make a new cut or find an old cut.
Select the cutter, not the object.
[Q] Bool Shift.
[Enter] or [LMB] to confirm. Difference cut will be undone and redone as a slice.
You can also do this manually by duplicating the object and changing “difference” to “intersect” using the same cutter. This will give you the slice.
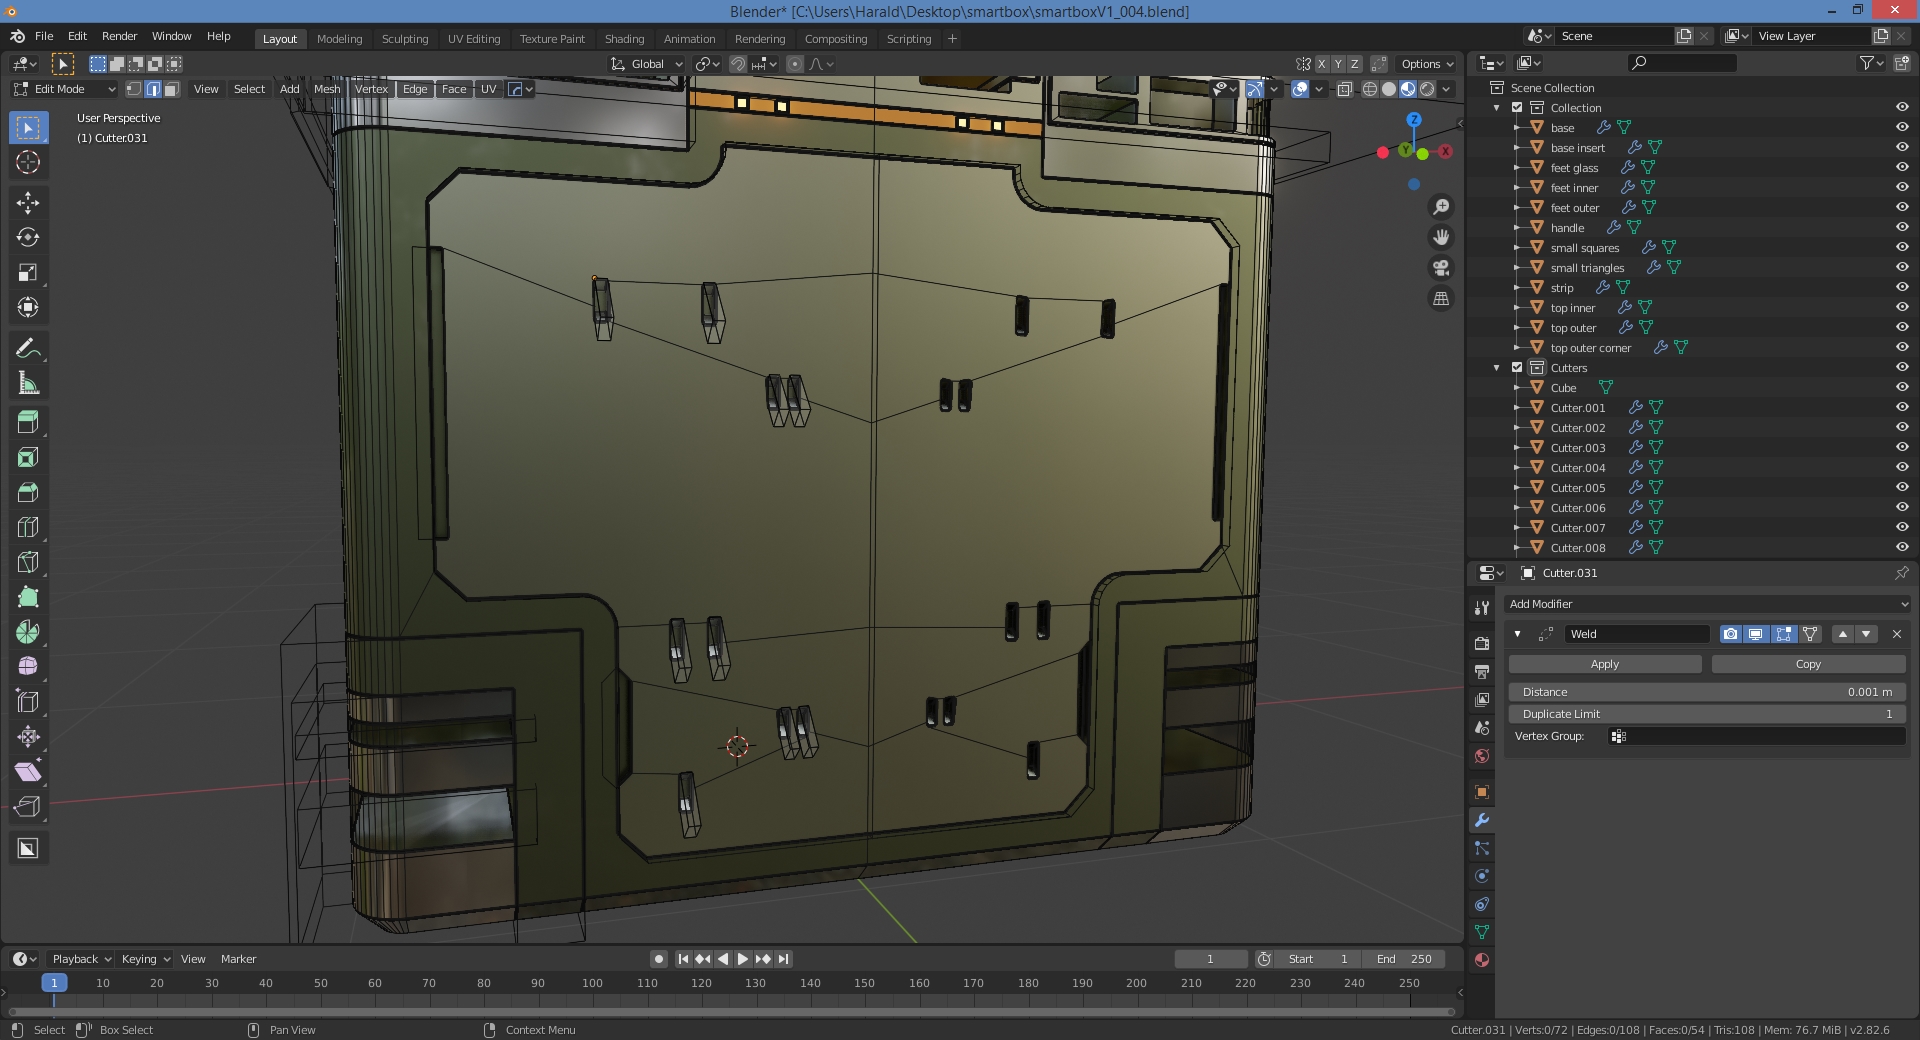
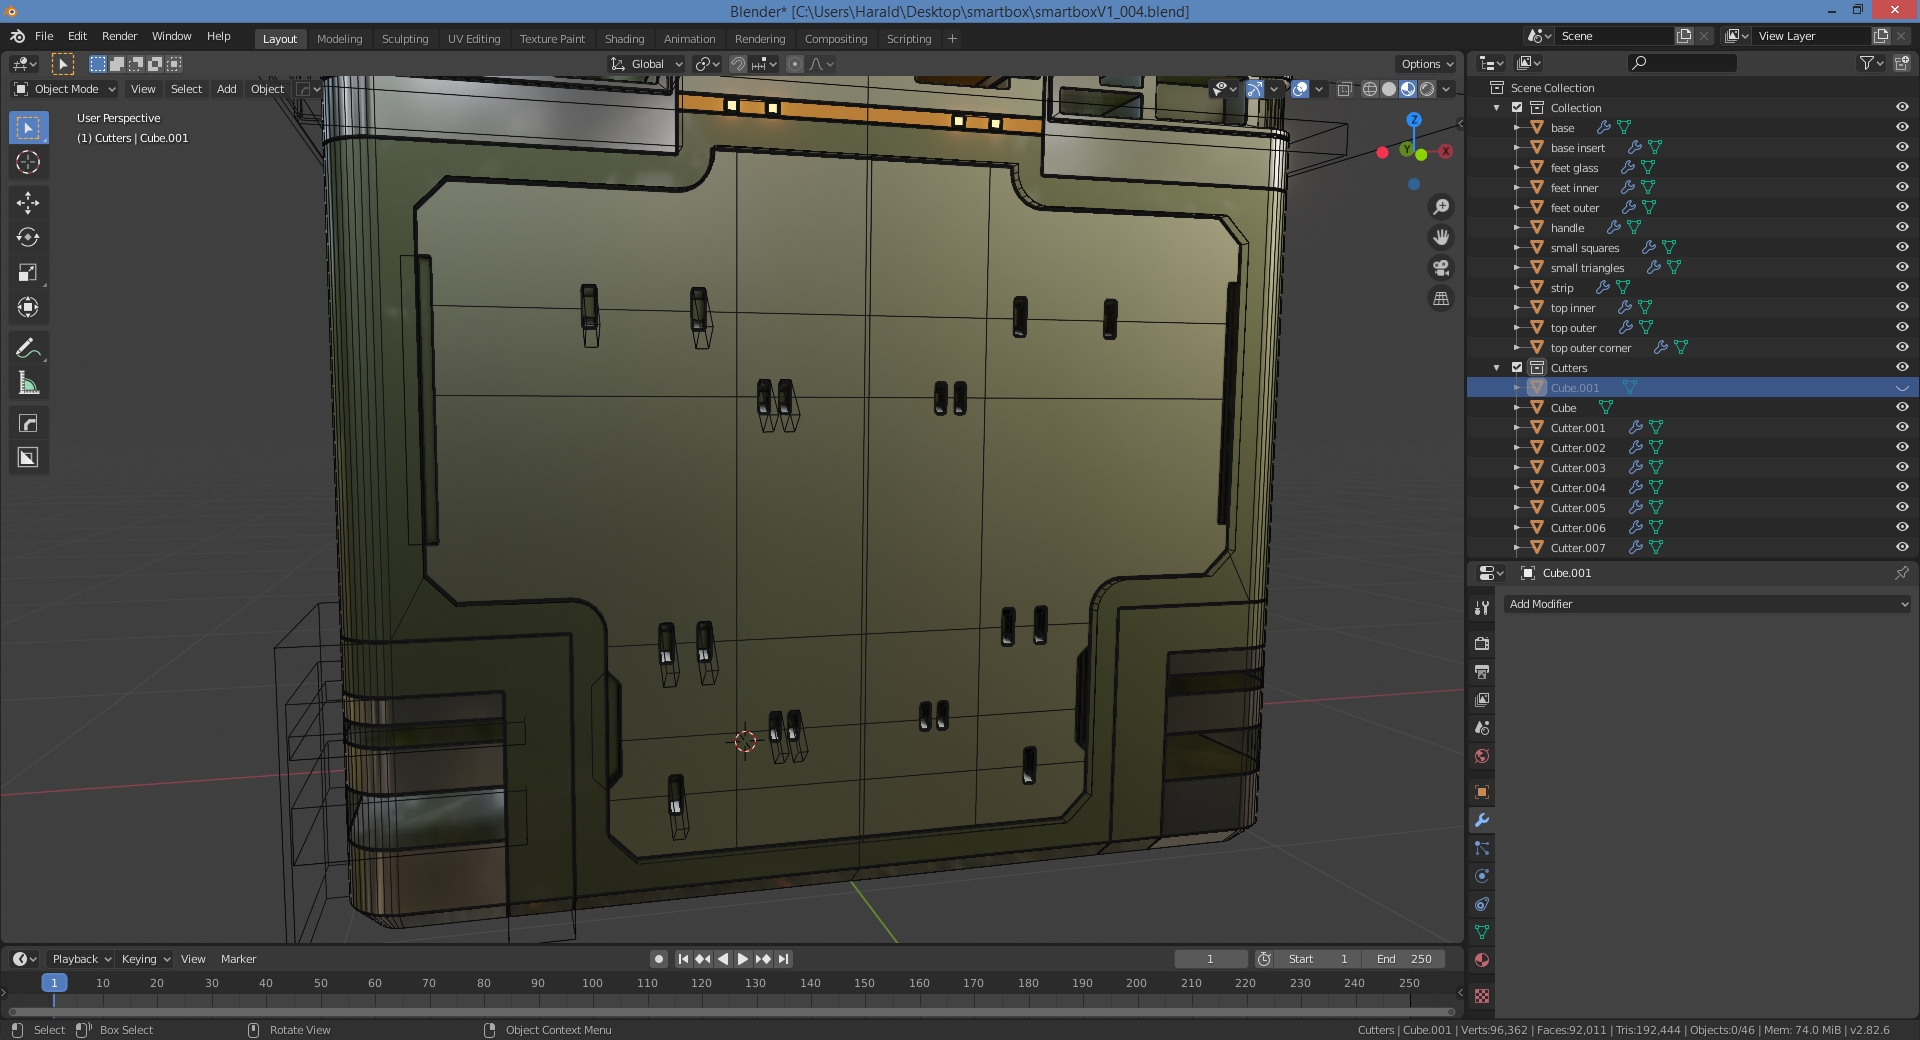
ADDING SUPPORT GEOMETRY EDGE LOOPS
Always work of nearby edges for good support edges.
If you can’t, you’ll have to add supporting edges to the low poly face / area yourself.
You can do this by:
Cube difference method
1. Placing a cube nearby that has a number of additional loop cuts.
2. Let a cube face overlap the main object low poly face.
3. Set to ‘display as wire’ to improve visibility.
4. Do a difference boolean. The additional edges will be projected onto the main object low poly face.
5. Hide the cutter cube.
6.[ALT-V] Wireframe [enable] to see the lines on the main object.
Tip: You can add loop cuts to the cutter cube after the difference boolean is in place.
Note that the edges will not show up in edit mode, due to the modifier stack. You have to switch to [ALT-V] Wireframe view to see the edges appear on the main object.
(please ignore the fact the cylinder is not parametric…this is just to explain te concept…)

Plane knife method
1. Create an array of planes that encompass your entire main object.
2. Knife boolean with array of planes cutter will project the edges onto the main object as loop cuts.
To rotate a *slice* 90 degrees onto other side of a cube:
1. Create a plane in world origin.
2. Set to display as wire.
3. Rotate 90deg Y axis.
4. Rotate 45deg Z axis.
5. Scale up so it encompasses the entire object.
6. Set to Display as Wire.
Now we can do our magic.
1. DO NOT select an object; we only need to focus on cutters!
You need to select the intersect cutter that was used to create the slice.
We need to add an additional 45 degree mirror to it.
We do this by using the empty as mirror object.
2. Select slice intersect cutter. Then select plane.
3. [ALT-X] to add a mirror modifier to the bottom of the stack with the empty as Mirror Object.
4. Select Y axis to mirror across (depends on your objects orientation).
You will also need to add a mirror modifier to each of the cutters used on the slice.
Note: A mirror modifier is a cumulative thing; the original object remains in place.
You can add mirror after mirror using different angles.
This will simply add instances of the original.
The mirror will use the Mirror Object origin to mirror around (45 degrees).
WORKING WITH MULTIPLE OBJECTS
Easiest way is to create a new scene and use linking.
You can also use Collection Instances:
I had some problems having the objects appear in Render. So instead I hid all Viewport Overlays and View > Render Viewport Animation.
Tips from masterxeon1001