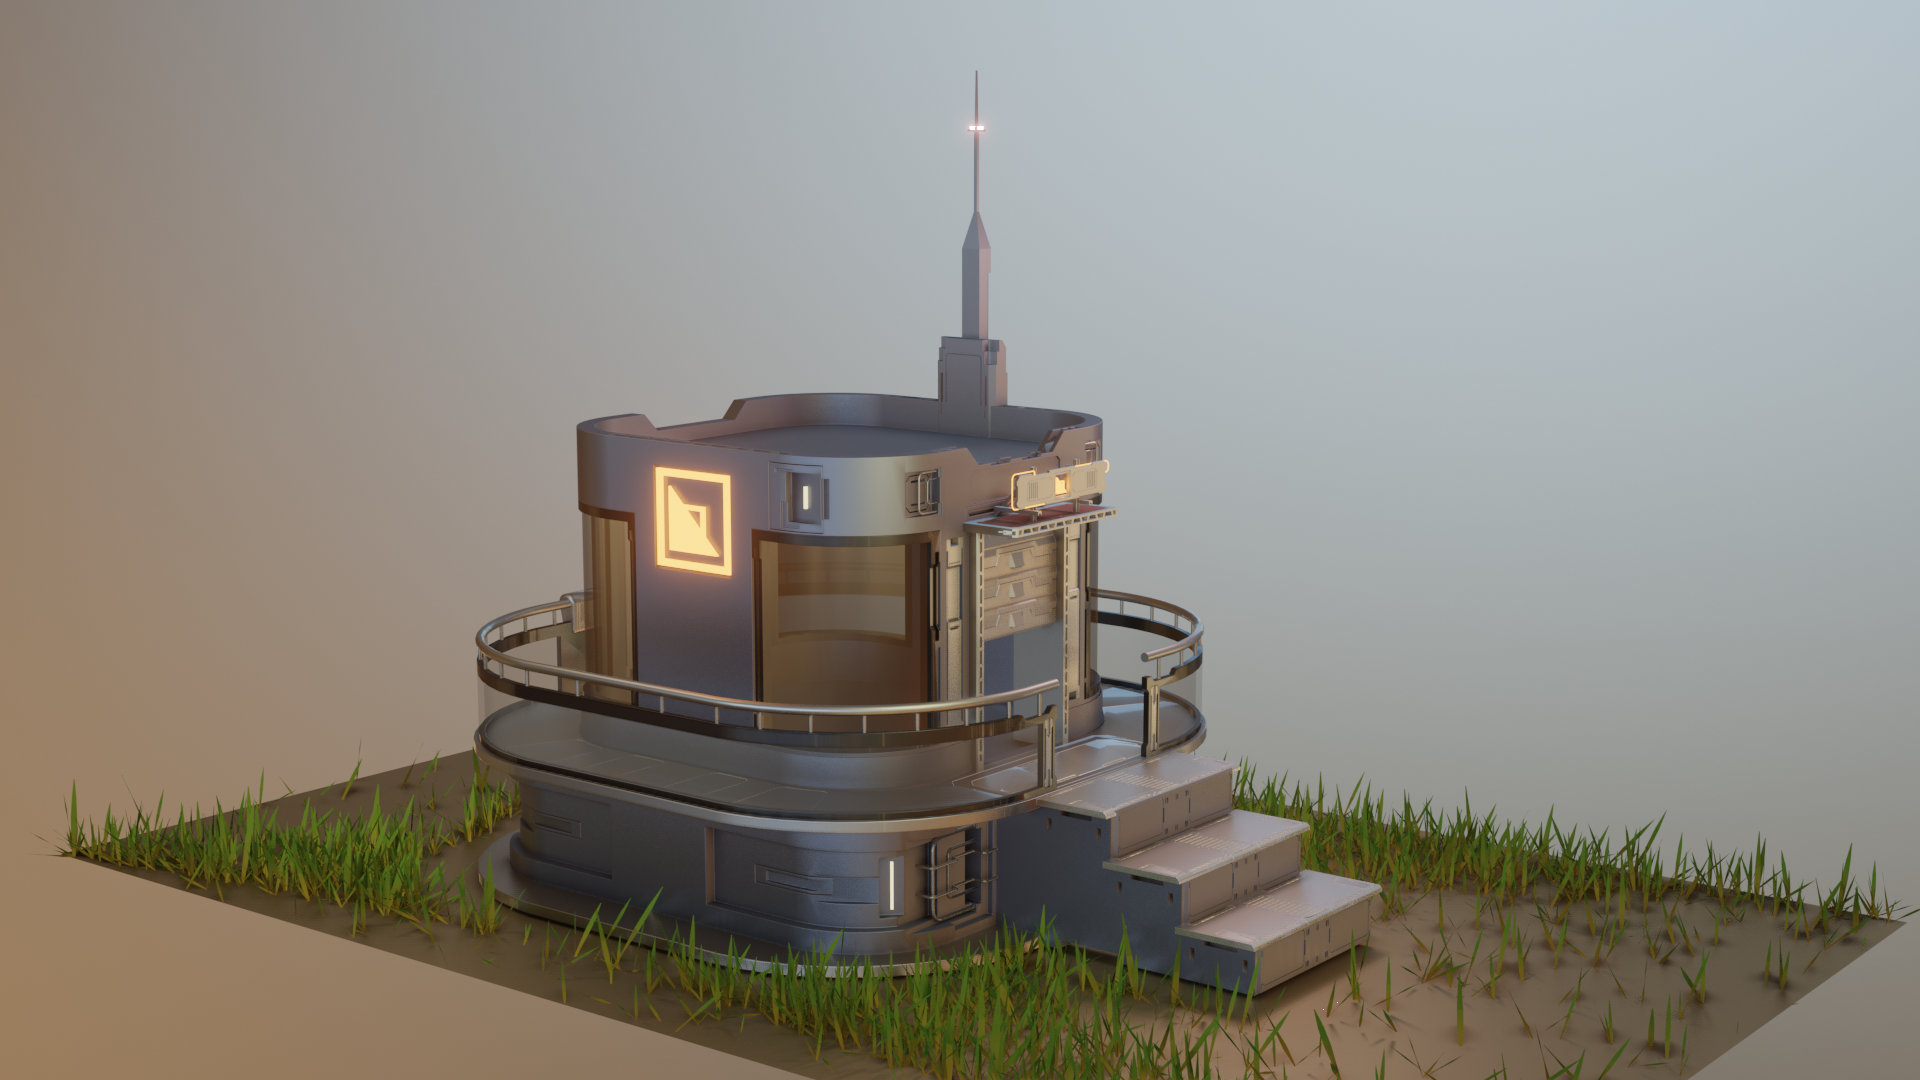
HQ1
Thank you masterxeon1001
https://www.youtube.com/user/masterxeon1001/videos
Buy masterxeon1001 a beer!
https://gumroad.com/masterxeon1001
(click on the Donate Box, enter an amount and pay using Paypal)
HDR images courtesy HDRlabs
http://www.hdrlabs.com/sibl/archive
Requirements
Blender 2.82
Get it here: https://builder.blender.org/download
(2.8) HOps 00984_Thulium_10
(2.8) BoxCutter 715_14
Get it here: https://blendermarket.com
Source Files
hq1_001.blend
hq1_002.blend
hq1_003.blend
hq1_004.blend
hq1_005.blend
hq1_006.blend
hq1_007.blend
hq1_008.blend
Render

Animation
Quick tips
https://github.com/blackears/blenderStairs
Stair Mesh Generation
by Mark McKay
MIRROR ORIGIN
It is best to keep your main object in the world origin (mirror modifier).
If you place an object away from world center and need to mirror it, either move the origin to 3D cursor located in (0,0,0) or alternatively -inside the Mirror modifier- pick a mirror object that has its origin in (0.0.0). Apply scale and rotation to get world axis orientation back and correct mirroring distance.
Cutting window frame, glass and interior:
Frame and glass
– We have main building structure in place.
– Cut slice out of building object to create window frame object.
– Select window frame object.
– Cut slice out of frame object to create glass object.
– Building, frame and glass are now 3 separate objects (slices).
To recess the glass:
– Select glass object
– [TAB] edit mode
– Select glass object
– ALT-S to shrink/fatten (only works in EDIT mode)
– Recess the glass a fraction.
– Scale up in Z to fix gap.
INTERIOR
– Duplicate the cutter used to cut the outside of the building.
– Scale in XY plane to make cutter fit inside building slightly smaller to form interior wall [S][SHIFT-Z]
– Adjust cutter to ceiling and floor.
– Substract the cutter from the building object to make building hollow.
– Add a boolean to the window frame and glass slices and substract the same cutter to ‘interiorize’ them too.
SLICE
TIP: Whenever you do a #box slice, make sure to edit the cutter, not the slice if you want to change its outline.
#box slice works like this:
1. cut bool diff to main object.
2. copy main object including entire modifier stack
3. add a bool intersect to copy and name it “slice”.
This means the cutter for a slice is used twice, affecting two objects.
Lesson learned: “When you want to make changes to the boundary of a simple slice, edit the cutter that you used to make the slice with, not the slice itself. Do not apply the intersect bool of a slice’s modifier stack .”
If you slice a slice of a curve follow’ed array’ed plane you may want to start thinking about collapsing some of the early parametric modifiers just for this last slice as you are not likely to ever go that far back. A “slice of a slice of something” = a smaller and smaller copy of a copy of part of the object, which means it can be flattened easily without penalty.
[!] Do leave the “intersect bools” in place.
ZIG-ZAG TRUSS
To make the zig-zag truss:
1. Add a cube
2. #box cut a recess into the cube
3. Hold SHIFT to keep the cutter visible and selected!
4. Now #box cut slanted zig-zag shapes into the recess cutter.
By removing parts of a cutter, these cut-out sections will become visible again in the main object i.e. the cube.
WALL BASE SKIRT
Building wall base skirt
[SHIDT-D] Duplicate a complex object
[SHIFT] ModScroll (bool scroll) You start with nothing and scroll up to make modifiers visible in Viewport until you get it to where you want it. You can also tick the “Display in Viewport” buttons in the modifier stack for each boolean manually.
[CTRL-A] Apply menu > Visual Geometry to Mesh
The object as shown in the Viewport is now converted to a plain mesh object with empty modifier stack.
SHIFT BOOL
1. Make a cut
2. [Q] > ModScroll > Mousewheel down 1 for most recent cut
3. [Q] > Bool Shift
Can be used to changes the bool (difference/ intersection / union / clear) but also ‘shift'(default).
BOOL SHIFT brings back the last cut shape as a separate object. Think ‘undo cut’ and redo as slice’.
ROLLER DOOR
[ALT-V] in edit mode is edge slide.
Curve [TAB] Edit mode:
Control Points > Tilt [CTRL-T]
Segments > Switch Direction