Tire
Thank you masterxeon1001
https://www.youtube.com/user/masterxeon1001/videos
Buy masterxeon1001 a beer!
https://gumroad.com/masterxeon1001
(click on the Donate Box, enter an amount and pay using Paypal)
HDR images courtesy HDRlabs
http://www.hdrlabs.com/sibl/archive
Requirements
Blender 2.82
Get it here: https://builder.blender.org/download
(2.8) HOps 00984_Thulium_10
(2.8) BoxCutter 715_14
Get it here: https://blendermarket.com
Source Files
tire001.blend
tire002.blend
tire003.blend
tire004.blend
tire005.blend
tire006.blend
tire007.blend
tire008.blend
Render
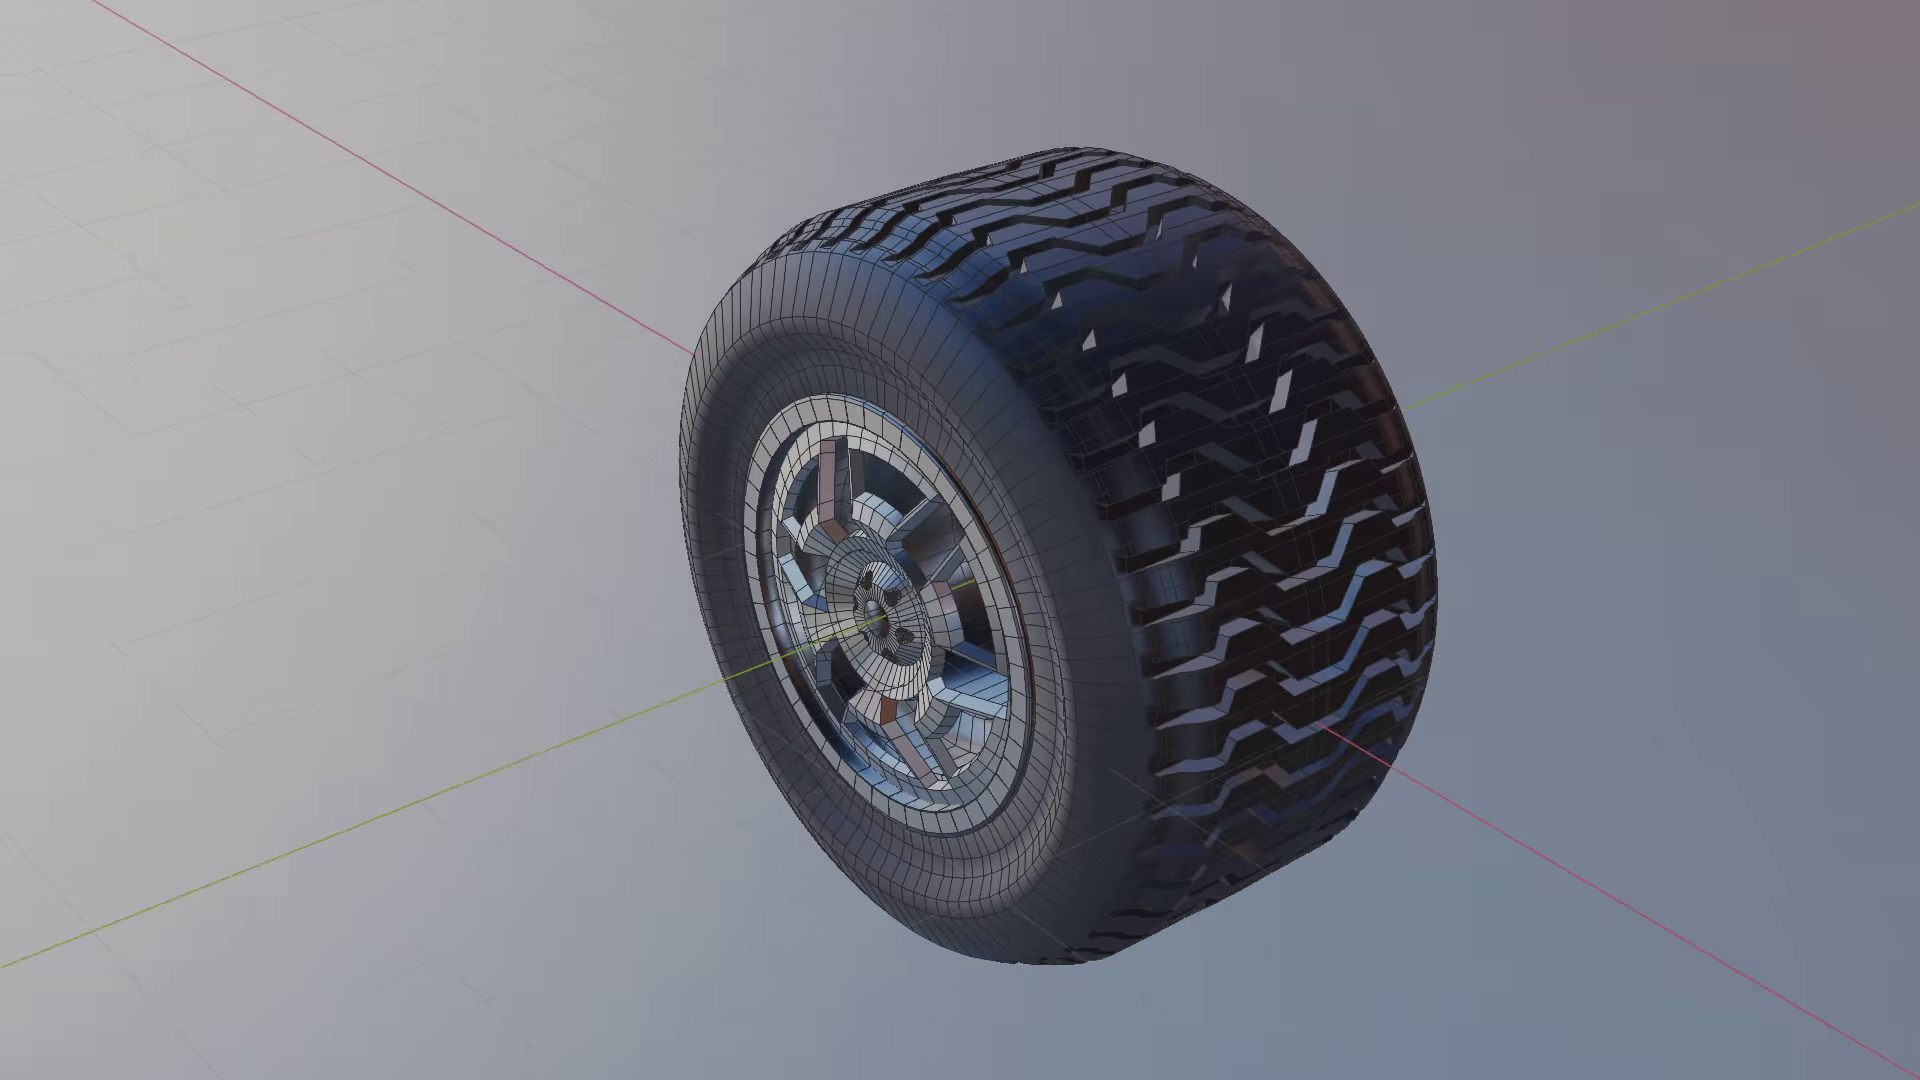
Note:This is a proof of concept. Tire thread can be further refined to match a real life object.
Quick Tips
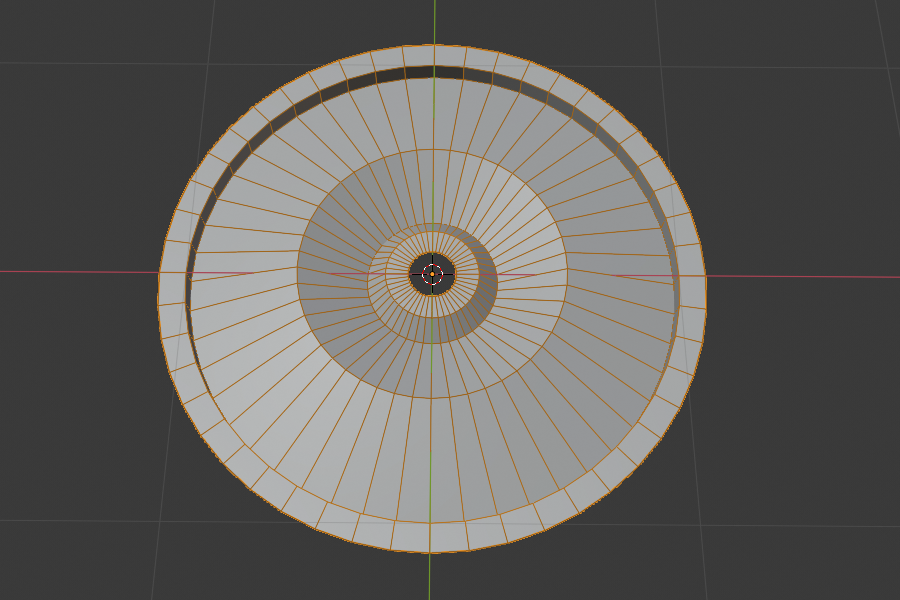
There is some clever math involved around the number of spokes / edges in the wheel.
We start with a circle consisting of 48 vertices.
As this number is dividable by four, it will align with X-axis and Y axis.
We extrude and scale vertices to create edges / spokes.
We then mirror across Y axis.
We select the spoke that sits on the Y axis (mirror axis) + 4 spokes to the left of it.
This will give us 4 + 1 (mirror axis) + 4 (mirror) = 9 spokes.
If we array this segment of 9 spokes, the 9th spoke of each segment will overlap the 1st spoke of the next segment.
We array this segment with a fixed count of 6.
So we have (4 + 1 + 4) -1 (for array overlap) = 8 spokes per segment * 6 = 48 spokes.
HOps tip:
CTRL to see dots
CTRL + MOUSEMOVE to adjust
CTRL + MOUSEMOVE + LMB to adjust (+ show numeric value)
SNAPPING PIES ADDON
– Origin to selection
48 segments circle
[TAB]
Make sure you are in ortho, not perspective [NUM5]
[NUM7] top view
[E] + [S] + [ALT+S] to create basic shape
[ALT-W] Bisect (cuts away half and replaces it with a mirror mod)
[ALT-LMB] to select top spoke edge loop
[CTRL][NUM+] x 4 to select 5 spokes
48 spokes = 6x 8 spokes; 6 x 9 spokes if we factor in 1 spoke overlap.
You want to select center spoke + 4 to left + 4 to right (= in mirror) = 9
[P] Separate selection
[TAB]
[DEL]
[Q] Add modifier > [CTRL] Circular Array (count: 6)
Note: You can at any point tick Array modifier > Merge to remove overlapping vertices.
[TAB]
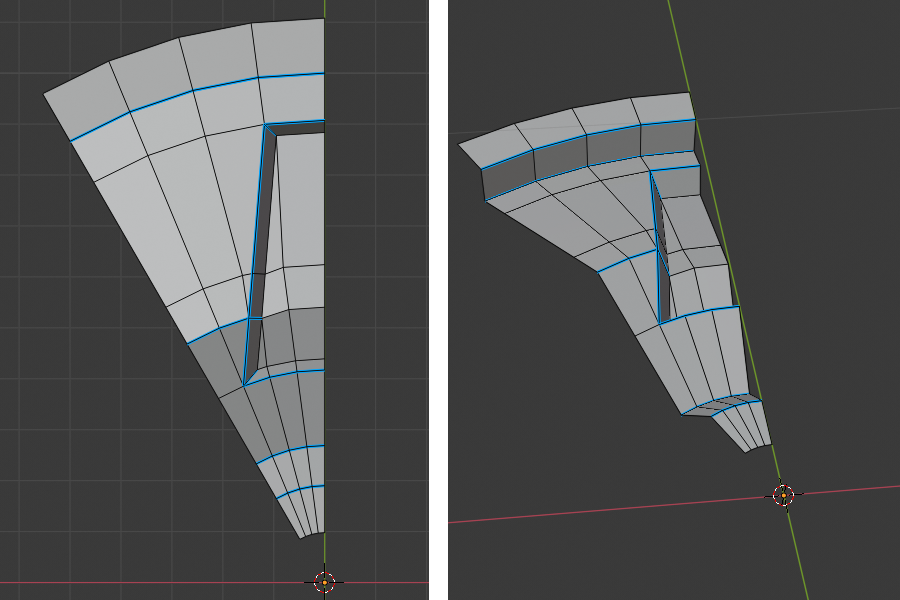
Add edge loops
Diagonal knife cut
Merge verts
[3] Inset [I + B]
[G] [Z-] Delete faces
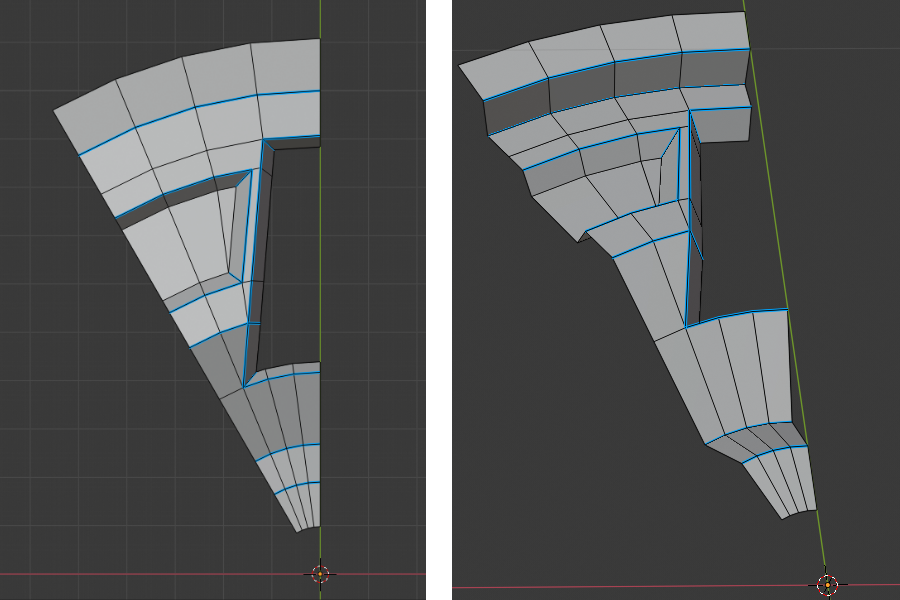
Bolt holes
Knife cut circle in edit mode (half across mirror)
Select 2 opposite points
Cursor to selected
[.] Transform pivot point > 3D cursor
Select all verts of (half) circle
[E] [S] around 3D cursor.
[S] [Z] 0 to align verts on Z0.
[E] [G] [Z-]
[F]
Select bolt hole bottom ring edge loop [ALT-LMB]
[2] [CTRL-B]
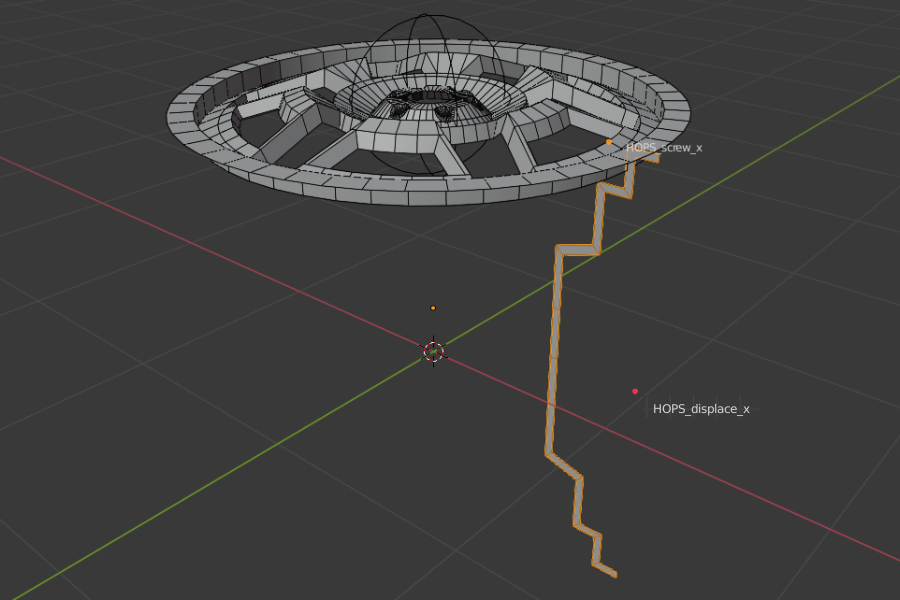
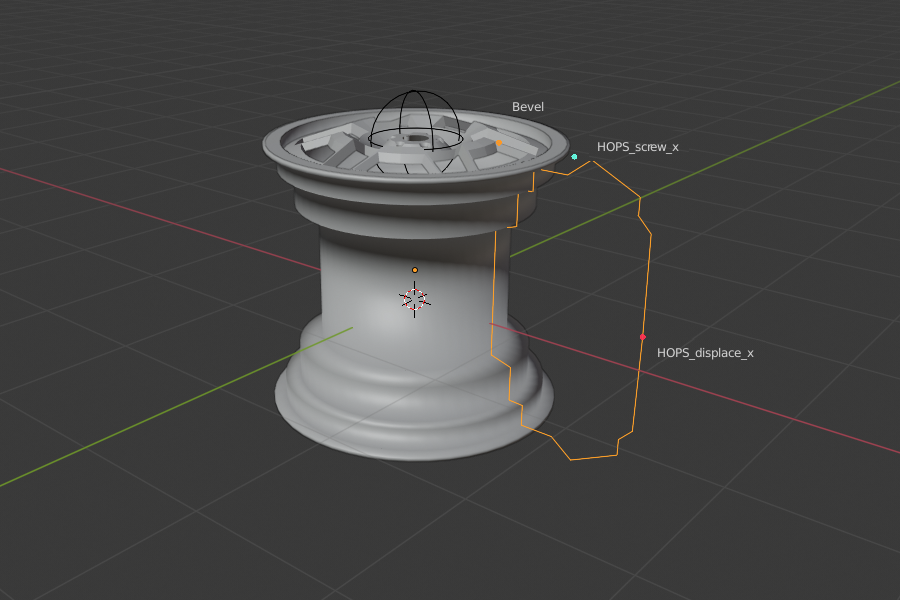
Hub
Plane
[TAB] [1] [ALT+M] Center (= 1 vertex)
Make a 2D closed spline starting from (0,0,0)
Displace X mod
Screw Z mod
Mirror Z mod
Tire
Inside hub, duplicate 2 vertices.
Make a separate close fitting 2D closed spline inside hub.
[P] to separate into separate object.
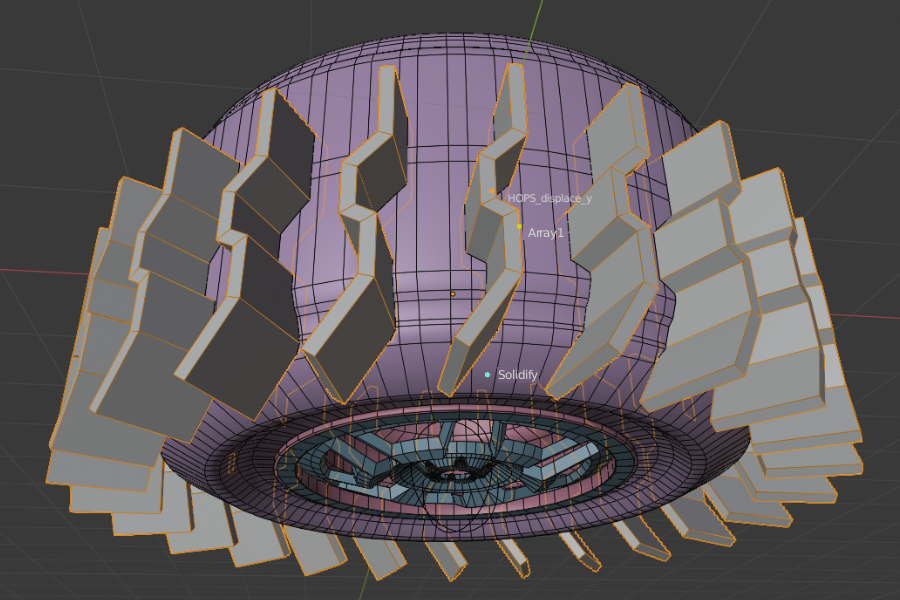
Thread
Plane
Solidify
Displace
Show bounding box + show in edit mode
[2] [E] Extrude top to zig-zag tire threads
Circular array 48 segments
Mirror Z across object (tire)
Boolean difference with tire
Make sure the Bevel comes after the Boolean as we need the Bevel to generate the support edges for the Boolean to work. Be careful with HOps / Boxcutter sort – use ‘disable in render’ trick to stop automatic sorting.