Spray painting Hyundai Getz
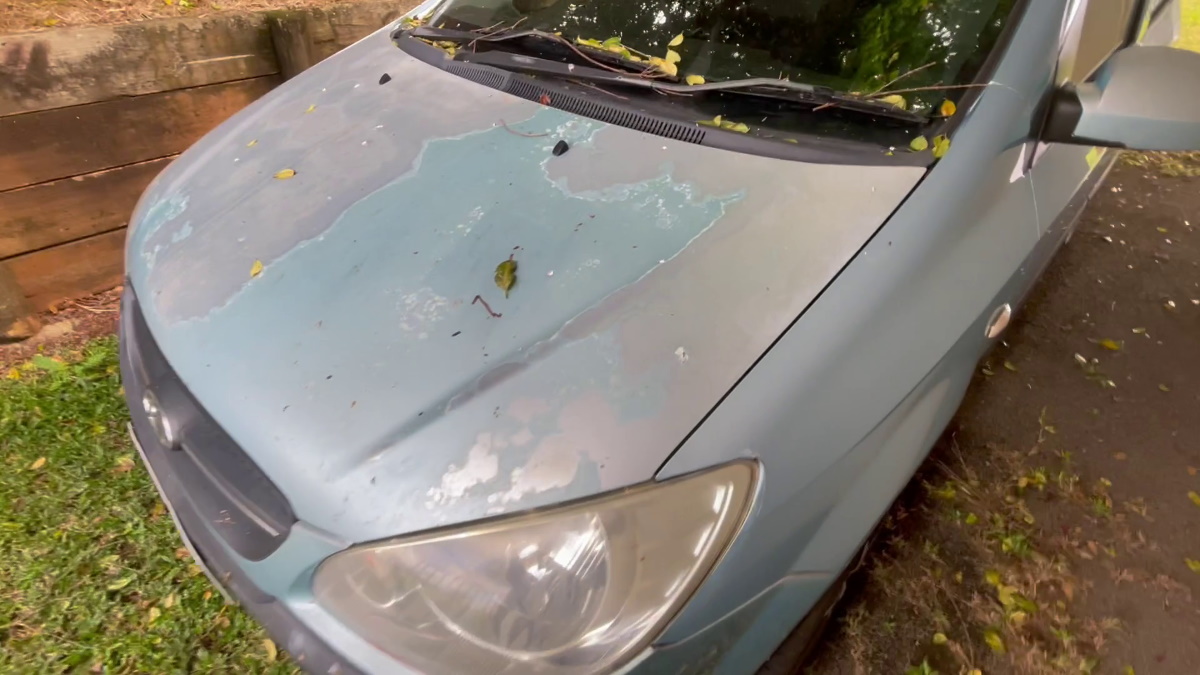
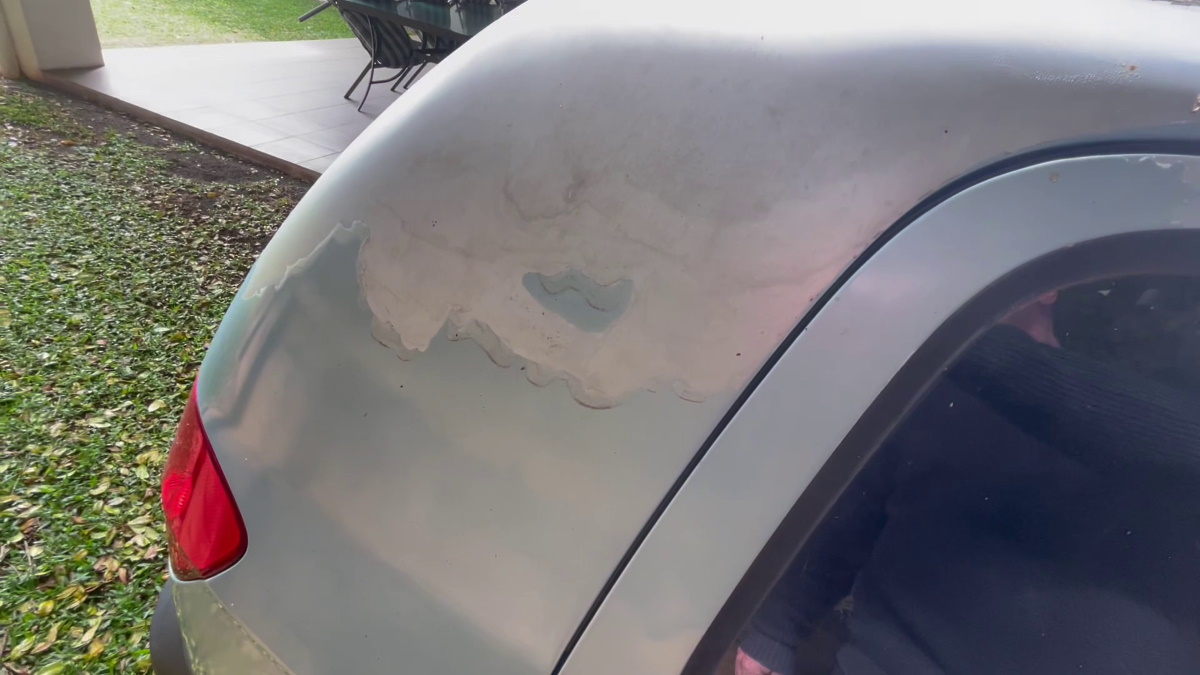
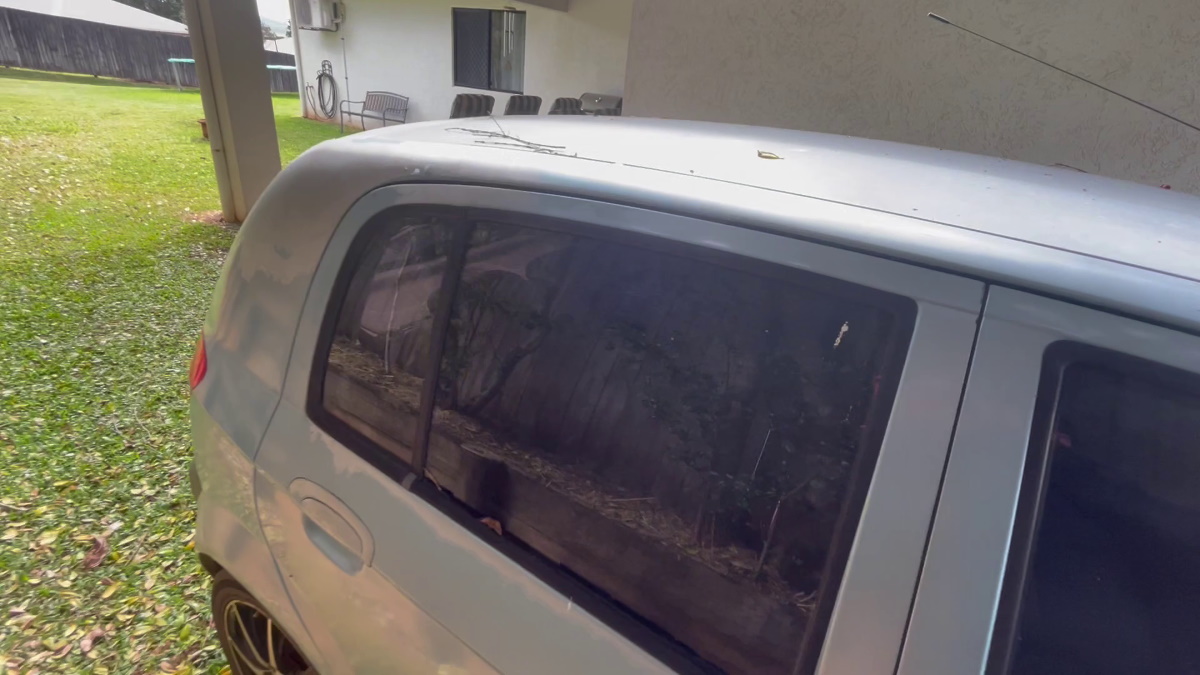
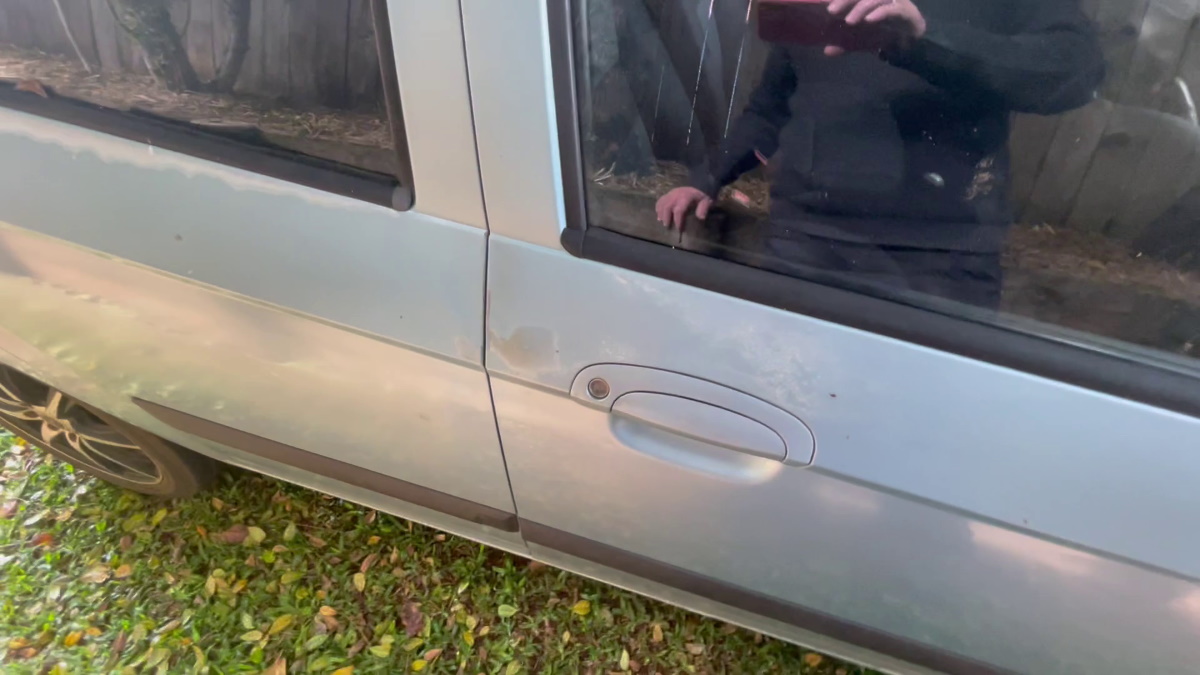
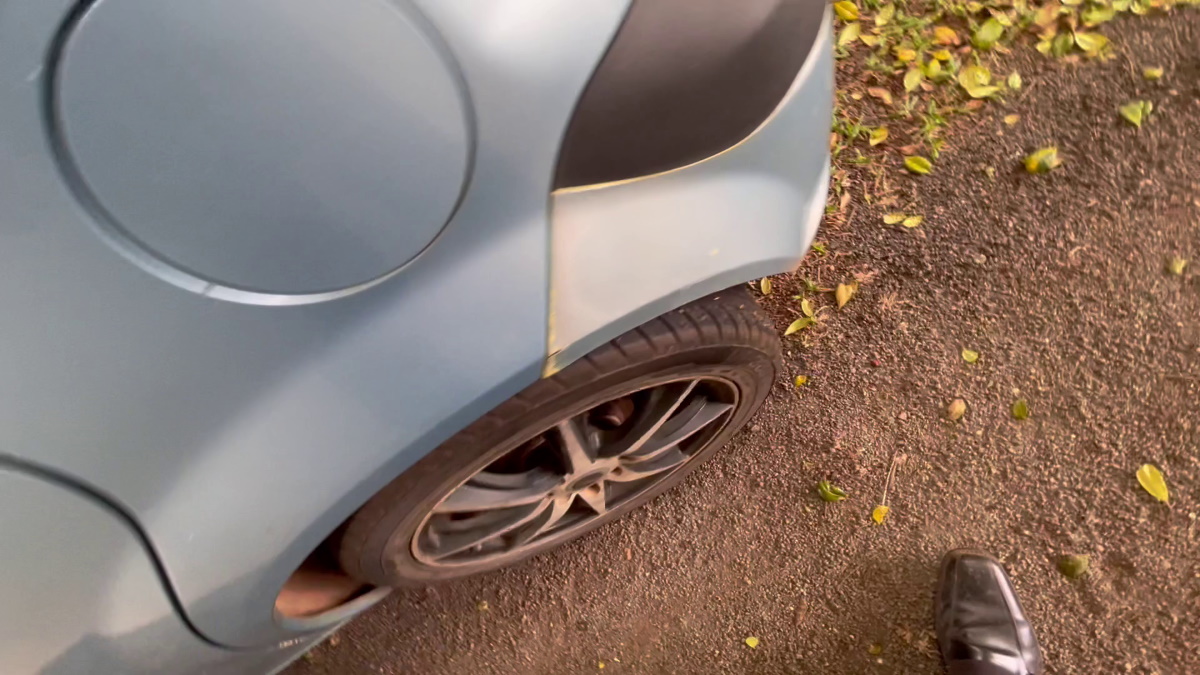
Before
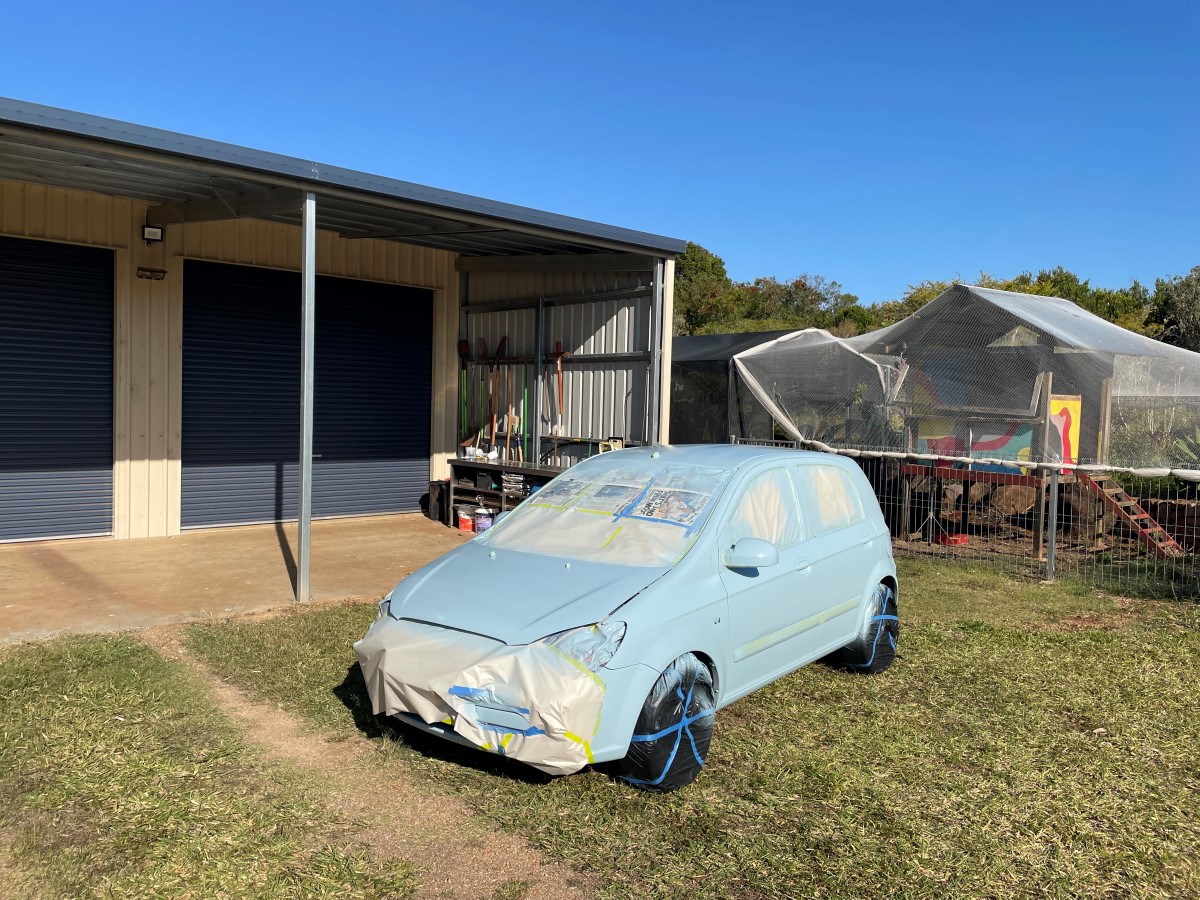
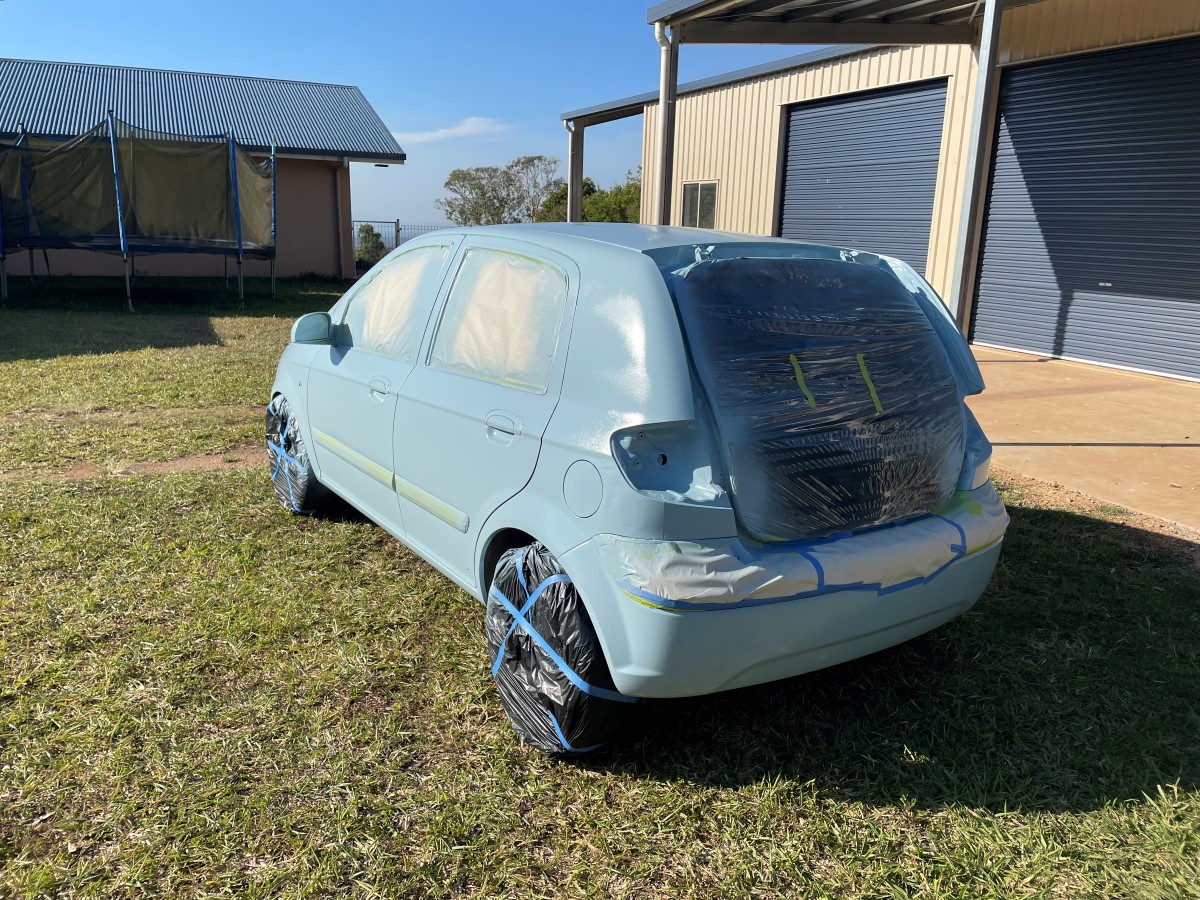
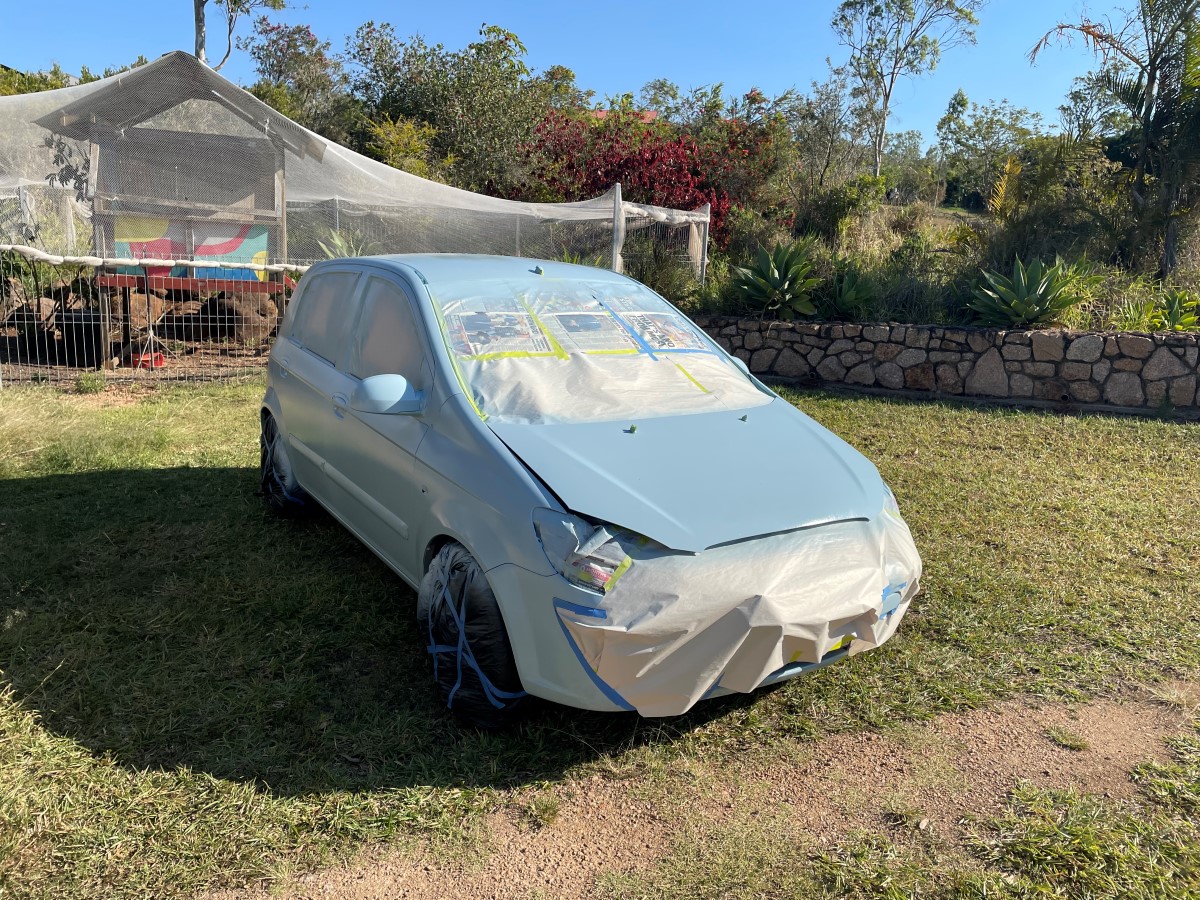
After

Notes
Wash car with pressure cleaner and soap / water to get rid of dirt and grease before sanding.
Sanding
Try to get back to even coat of basecoat / topcoat. Goal is to obtain a nicely spread-out even rainbow gradient pattern of bare metal / basecoat / topcoat. Avoid ‘islands’ or ‘snaking fingers’.
If you are familiar with weather isobar wind charts or landscape elevation height maps:
Isobars join points of equal pressure. When the lines are close together, the wind is strong. When the lines are far apart, the wind is light.
When lines are close together, the terrain is steep. When the lines are far apart, the terrain is almost level. concentric circles are hills or ponds.
So what we want when sanding is bare metal / primer / base coat / top coat / clearcoat sanded such that the lines are far apart and only clearcoat is removed and basecoat / topcoat is ‘scuffed’. We don’t want to sand back to bare metal(!). We want to bond paint to existing scuffed paint. Bare metal will require a coat of galvanising zinc primer paint. It is near impossible to only sand of 1 layer as the various layers are very thin. I noticed when sanding the sun bleached roof, that the desired paint color actually started to come back – this was because the clearcoat had faded and gone cloudy. The original paint color underneath was still in decent condition. Unfortunately you cannot sand back to this layer perfectly over a large area. You will need to scuff up the paint using 400-1000 grid hand wet sanding and spray paint the entire car for best results.
If you make mistakes, be very careful with masking / re-painting a small area. Because of overspray where are cloud of miniscule paint particles can drift in the air and deposit elsewhere, you will have to mask a large area for a small fix.
Do not use electric sanders to touch up existing car paint. Do not use woodworking grit sizes (dry) sandpaper of 120-180 grit. Use 400-1000 grit hand wet sanding with strips cut from A4 sheets of black silicon carbide sandpaper. Just run the garden tap nozzle on a trickle and flat palm of your hand. No sanding block needed.
Plastic
Plastic bumpers were removed and painted separately. Plastic benefits from a coat of ‘adhesion promotor’. I used UPOL brand automotive aerosols (adhesion promotor, primer, black). Adhesion promotor is very thin and drips easily. Use sparingly. Leaves a glossy wet-look clearcoat. Helps chemical bonding of topcoat. Used it on plastic bumpers, door handles, mirrors and grille.
Plastic can be easily repaired using cyanoacrylate glue (a.k.a. superglue). You can use bicarb soda as a catalyst to increase bond strength as well as a filler material. I used a teaspoon to sprinkle over areas that needed filling and then drip saturated with superglue. Can be sanded down easily.
Bonnet
Orbital sander 180 grit for aggressive pass over large area. Switched to 400-1000 grit black silicon carbide sandpaper almost immediately. Run the garden tap nozzle on a trickle and hand sand.
Sand off rust and use (phosphoric acid) rust remover product on cloth. Neutralize acid with water. Let dry in the sun thoroughly.
Etch primer aerosol on bare metal. Note: this may wipe off easily when cleaning using acetone.
Roof, Body
400 – 1000 grit manual wet sanding. Dry sanding loads up very quick at that grit. Use good quality wet sand paper from Repco or Supercheap Auto (black silicon carbide A4 sheets). Bunnings stocks mainly woodworking sandpaper discs and belts.
Wash car with pressure cleaner and soap / water to get rid of dirt and grease before sanding.
Use acetone and rag to wipe down car. Acetone may be a bit too aggressive as it can remove paint. For professional results use a tack cloth or clay bar. Tack cloth is a loosely woven cheesecloth impregnated with beeswax. Most stuff in the store is something inferior these days. Tack cloth is $50. Clay bar is $50, You can also use microfibre towel. I used a roll of blue/white cloth power wipes for $15.
Let dry in the sun thoroughly (!)
Check horn and fan pattern on spraygun. Everything open (pressure, fan pattern) and horn sits horizontal for a vertical spray pattern.
Set air compressor to 40 PSI. Learn to use a measuring cup for paint, hardener and thinner amounts. Used number 3 (300ml?) for 3 coats on bonnet and 2x bumper. Used number 5 (500mL) for roof and body, which only took 350mL with some left over.
You will get dust in your paint if painting outside and not using a spray booth. Tip: For a spray booth, put plastic down on floor and spray with water.
Where possible hang objects on hooks on a ‘washing line’ so you can paint your objects at eye height, with spray gun held level and from all directions. Don’t lay objects flat on the ground and spray-paint downward.
Keep the ventilation cap on the paint gun pot closed. There are two miniscule 0.5mm air holes in the pot; one in the lid and one in the cap attached to the lid. These holes allow air to be sucked in, preventing the paint pot from sucking a vacuum. The double air holes in series prevent paint from dripping out if the paint gun is held upside down. The cap is removable for cleaning of the air holes, but should be closed when painting (!)
Hang paint gun on washing line rope as a paint gun stand when done. 20 minutes in between coats. Leave any drips to dry and sand off later. More thin coats is better than fewer thick coats.
Cleaning
Don’t worry about making a mess whilst painting. The paint gun does not leak or drip and can be rested on a metal hook or washing line upright as a ‘paint gun stand’. You can leave paint in the paint gun for up to 5 hours, so there is no need to rush. The mess comes afterwards and can be kept to a minimum. Start by having a lot of rags and a bin handy. Only move to the sink / paint thinner station when the rough cleanup with paper towels and bin is done.
Plenty of paper towels to wipe paint cup and paint measuring cup until mostly clean. Move to sink and use paint thinner. This method uses multiple very small amounts of paint thinner to clean everything. We don’t filter/strain used paint thinner as it is a very small amount. Each next pass we use a very small amount of clean paint thinner.
- Disassemble paint gun. Don’t lose the spring. Parts are mostly clean and can be set aside for now.
- Clean measuring cup first with very small amount of paint thinner (10mL).
- Tip out stained thinner into paint gun cup to pass through. Paint gun pass #1
- Pour slightly larger amount of fresh paint thinner in now mostly clean measuring cup (100mL). Put paint gun parts in measuring cup. Stir and use brush to clean. Remove parts from measuring cup and set aside.
- Use brush to dip and clean paint gun thoroughly. Paint gun pass #2.
- Use brush to dip and clean pot and lid thoroughly until all paint thinner in cup is used up.
- Pour some fresh paint thinner in now clean measuring cup (10mL). Use brush (and small pipe cleaner wire brush) to dip and clean paint gun. Paint gun pass #3.
- Liberally squeeze dishwashing liquid in empty measuring cup, on paint gun exterior, pot and lid. Use soapy water tap for final clean.
- Put all spray gun parts including pot lid and brush in measuring cup. Leave everything to dry in the sun.
- Assemble spray gun making sure horn is turned horizontal for vertical spray pattern.