
Headphones
Thank you masterxeon1001 !
https://www.youtube.com/user/masterxeon1001/videos
Buy masterxeon1001 a beer!
https://gumroad.com/masterxeon1001
(click on the Donate Box, enter an amount and pay using Paypal)
Requirements
Blender 2.8.x / 2.9.x
Get it here: https://builder.blender.org/download
HardOps
BoxCutter
Get it here: https://blendermarket.com or https://gumroad.com
Source File
Render
Viewport

Eevee

Cycles

Quick Notes
Bevels in a nutshell
Shade Smooth is a built-in auto bevel that is identical to an ‘Angle’ Bevel modifier. Outside of this global object bevel, there is the Bevel modifier (parametric modelling) and the Subdivision surface modifier (subdivision modelling relying on proper edge loop topology). How to exclude edges from being ’rounded’ by a bevel:
- Edge > Mark Sharp (cyan)
Affects: Shade Smooth
Purpose: reinforce edge
Mark Sharp to reinforce edge when you Shade Smooth (= ’60deg auto smooth bevel’).
Cannot stack other than by adding an ‘Angle’ bevel at 30.
[!] ‘Angle’ bevels that use small angle values will start bevelling unintended edges resulting in endless fine tuning. delicate balance. avoid unless you know what you are doing. - Edge > Bevel Weight (dark sky blue) > [1]
Purpose: reinforce edge
Affects: ‘Weight’ Bevel modifier
if you want ‘Weight’ bevel to apply only to certain edges. Cannot stack. - Edge > Crease Edge (purple) > [1]
Purpose: reinforce edge
Affects: Subdivision surface modifier
Crease Edge to reinforce edge when you apply Subdivision Surface modifier (alternative to adding geo to strengthen corners).For maximum multi bevel control, you will use #3 and control bevels with strengthening corners with geo.
Tip: Mark Seam (pale red) is used for creating seams for UV unwrapping.
Tip: Crease Edge / Bevel Weight: [1] to set. [-1] to unset.
Tip: Moar bevels: vertex group bevel and custom profile bevel *sigh*
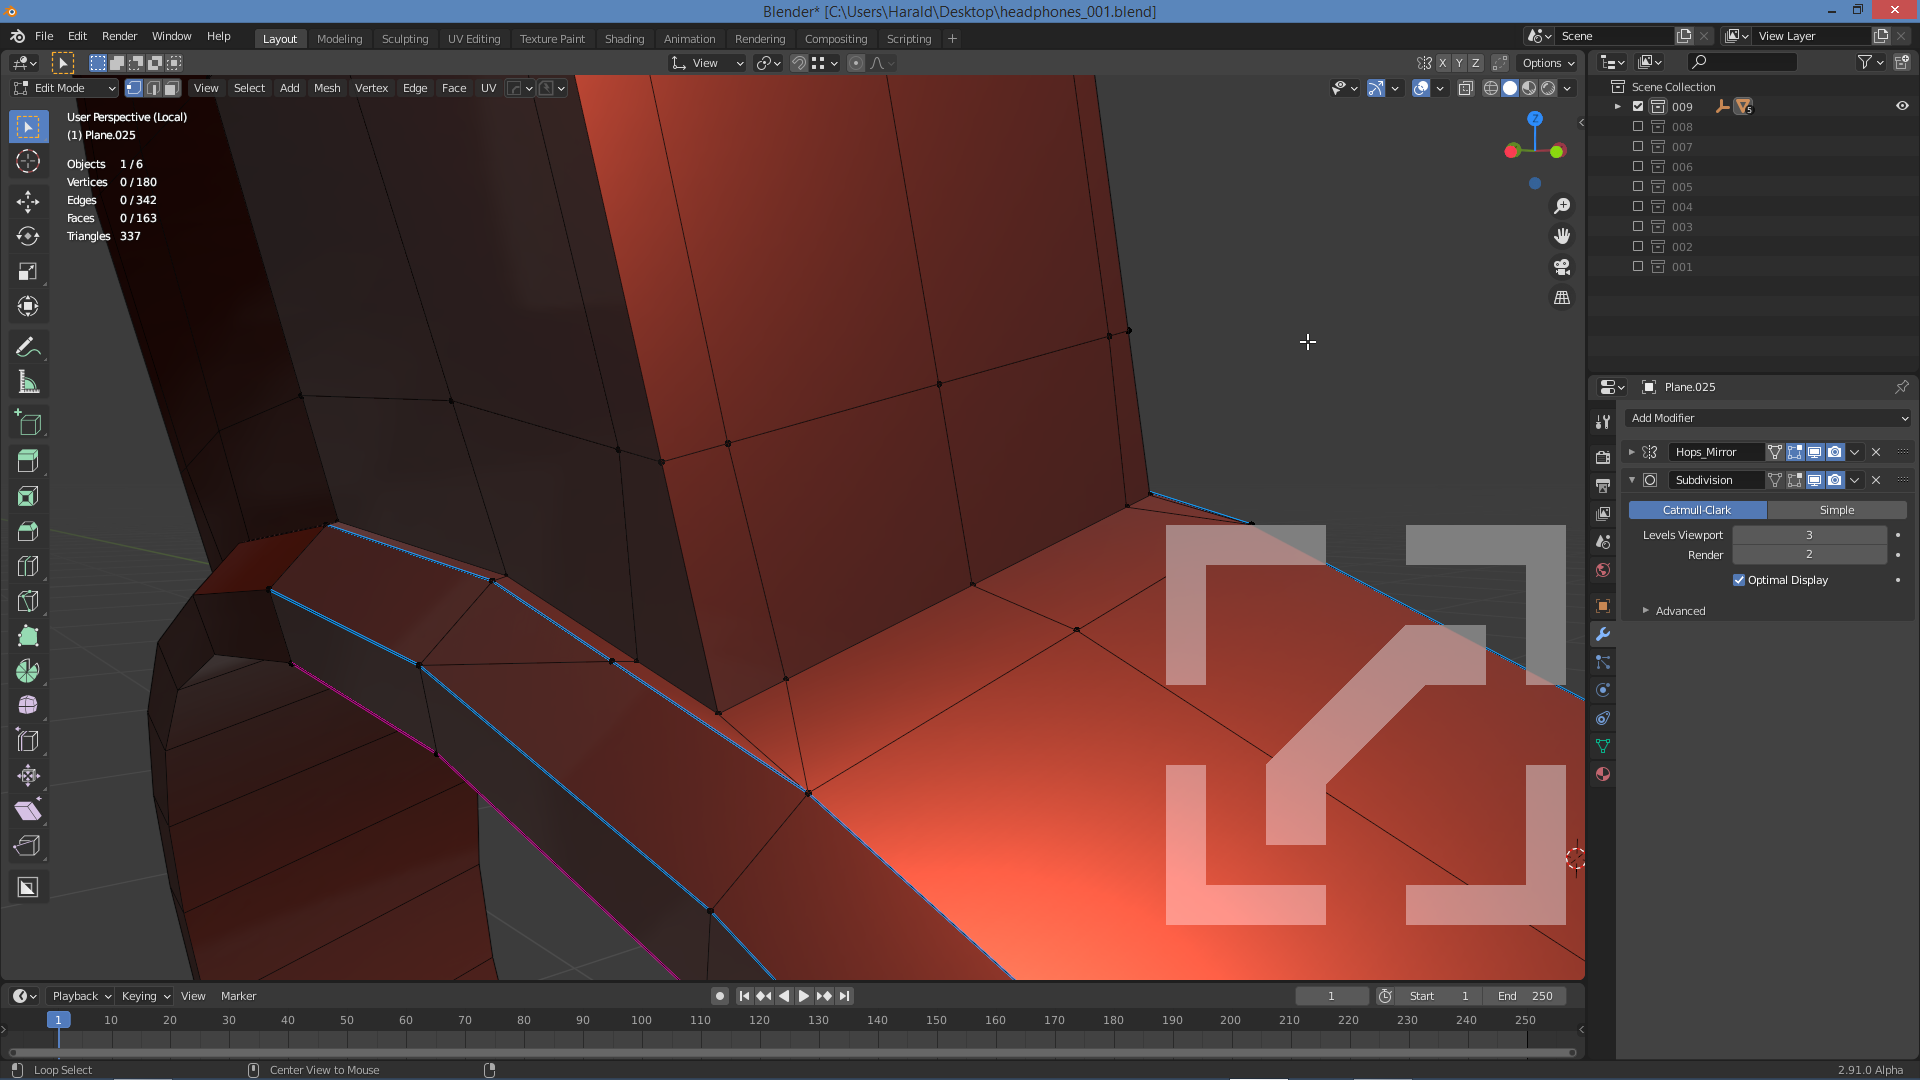
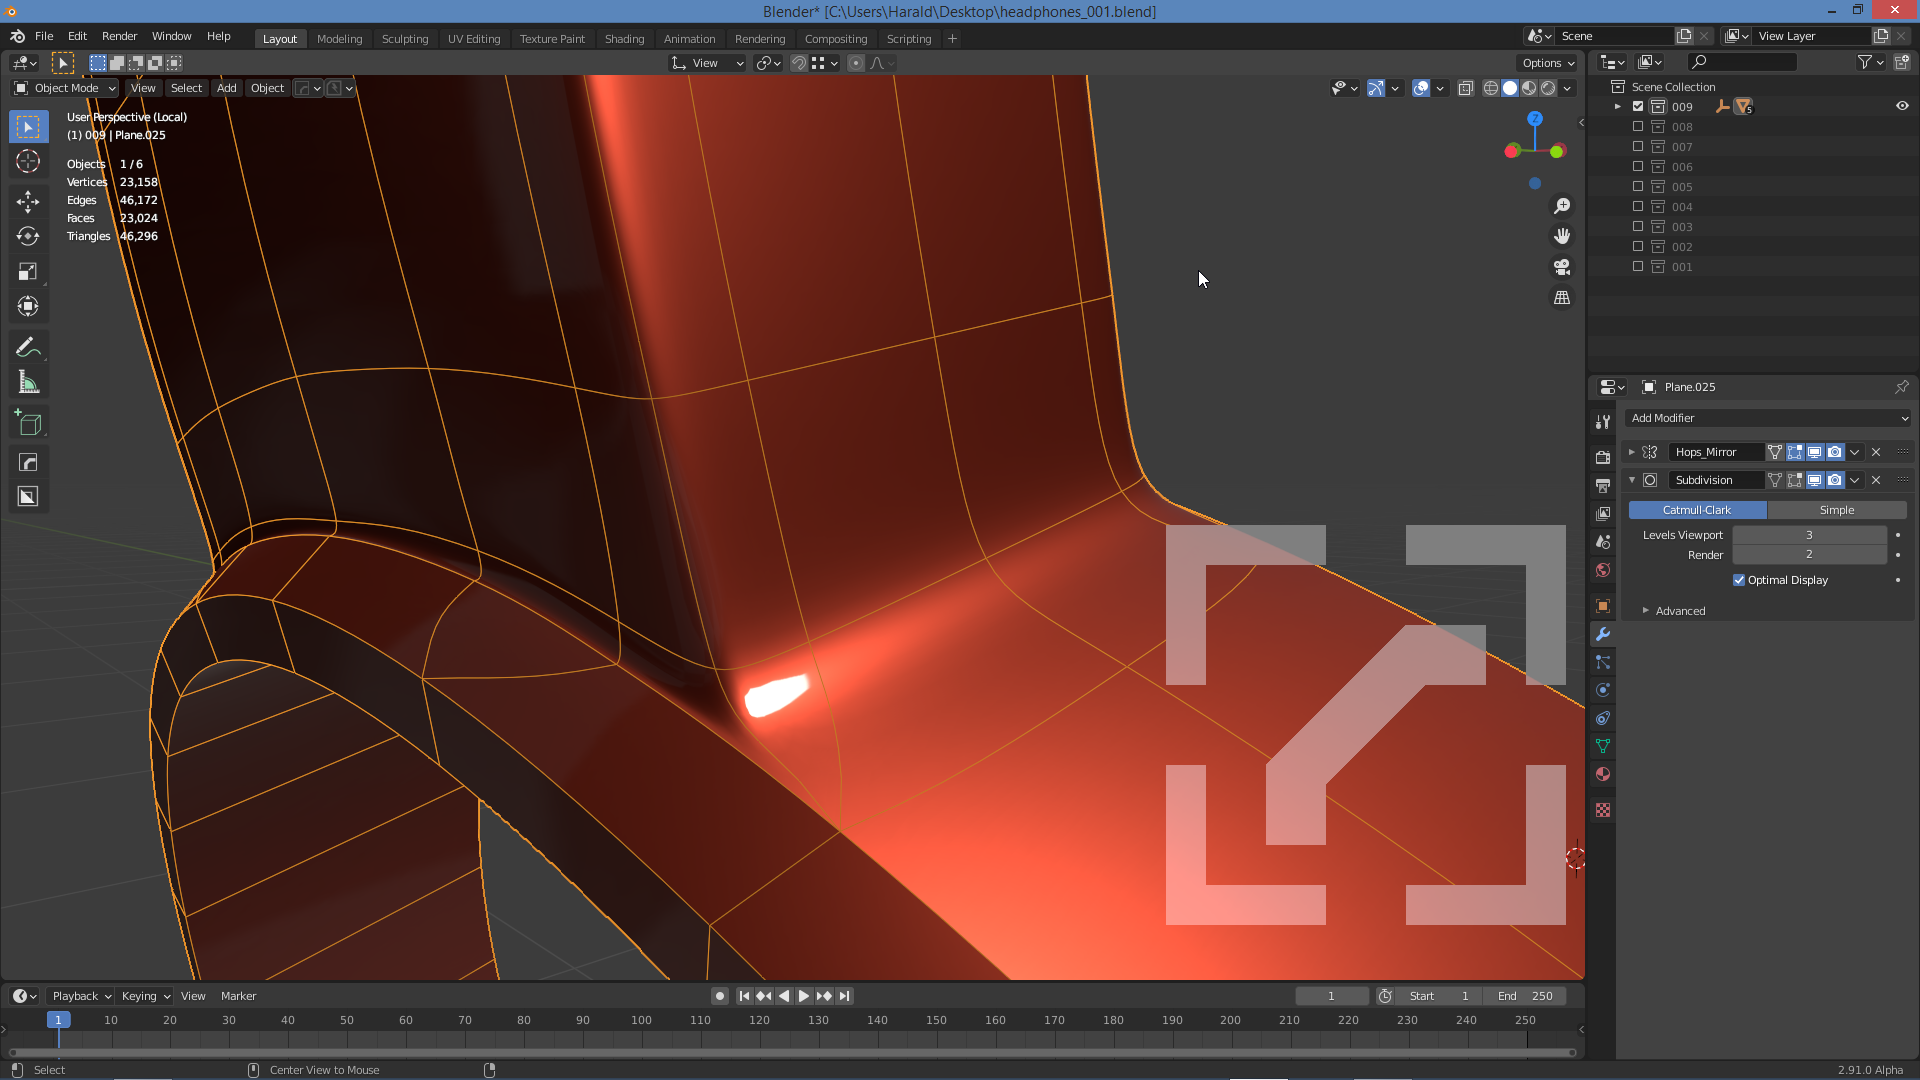
Subdivision Surface Modifier (subdiv)
Use it. [CTRL+1 | 2 | 3]
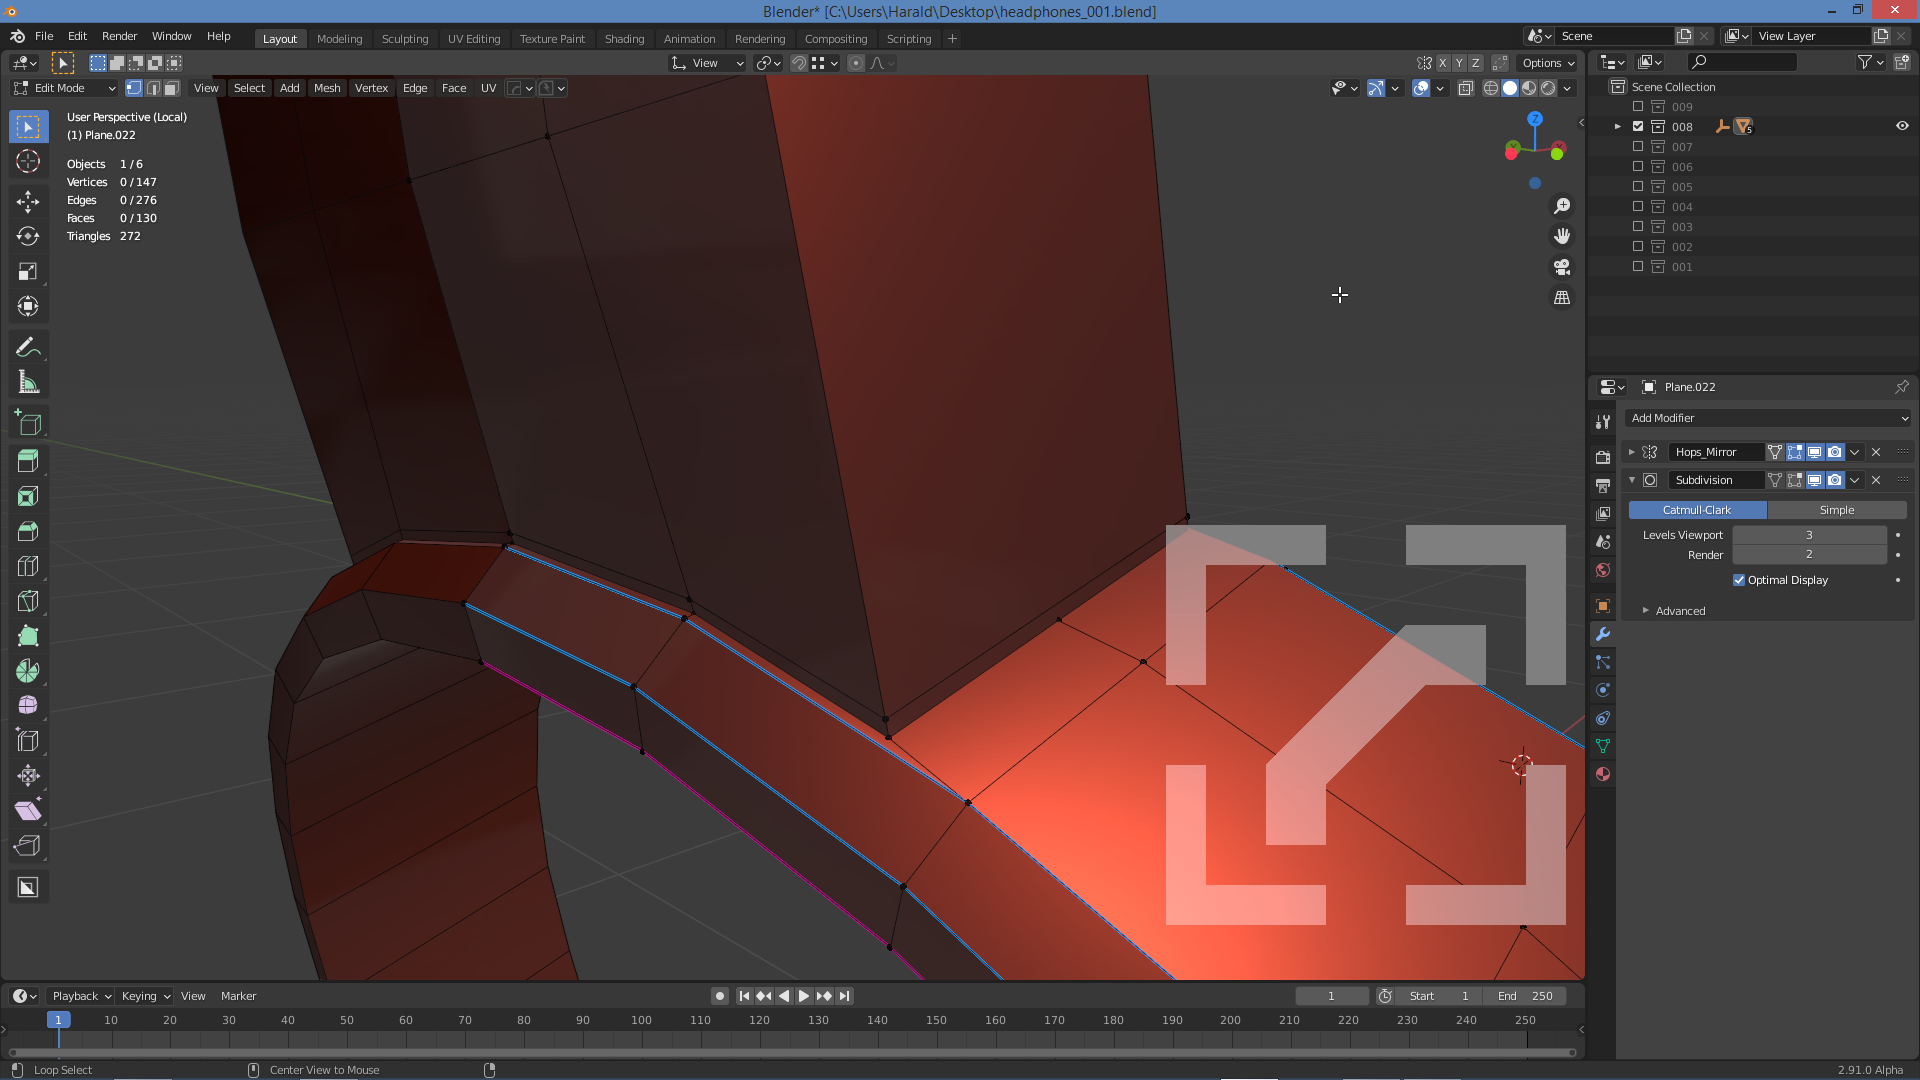

Reinforcing corner edges:
Common subdivision surface modelling tricks:
– Select edge(s). [RMB] > Subdivide to create verts.
– Select edges. [CTRL+B] to 2D bevel.
– [CTRL+R] to create edge loops.
– [SHIFT] and/or [CTRL] select.
Flip normals [Alt+N]
Always check your normals.
Merge [M] > By distance
When in doubt, merge.
Symmetrize
Use it.
Join [J]
Use it. Cuts through faces unlike [F].
When cleaning up parts of a mesh or bridge areas I often find myself punching a hole first and then using [F] to build new edge topology in the problem areas from the ground up, followed with [F] to make faces. Hate it. Tried knife tool but has poor vertex snapping. Love [J]. [J] is cool. Just use [K] and [J] combo from now on and dissolve or merge vertices / edges (or auto merge with edge slide).
Knife [K]
Use it.
[Z] for facing or through cut (see status bar). [C] for ortho.
Modelling Sub-parts
When modelling sub-parts that are not aligned to X, Y Z axis, start modelling in world origin along X, Y, Z and parent to an empty before messing things up / things get messed up / rage quit.
Auto Merge + Split Edges
Use it.
Extrude vertices along global (X, Y, Z) or local (XX, YY, ZZ) to create additional vertices on intersections.
[NUM DOT]
Use it. Instant focus (Pan / Zoom) to selection (vert, edge, face, object).
Edge Slide [GG]
Use it. Hold [ALT] to slide beyond limit. Hold [CTRL] to vertex snap whilst edge sliding.
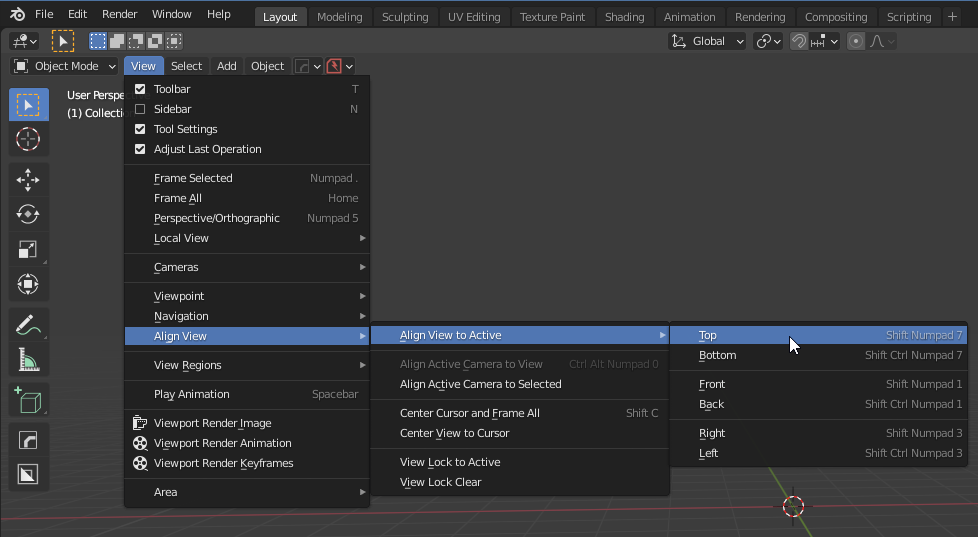
[SHIFT+NUM7]
Use it.
Select a face. then press [SHIFT+NUM7] to align view to that face. If you switch Transform Orientation from ‘Global’ to ‘View’, you can now move things around that are not aligned with X, Y or Z axis and that you cannot edge slide.
Intersect (Boolean)
2 intersecting objects > [CTRL+J] > [TAB] > Mouse over smaller of the two parts > [L] > [F3] Bool > Union.
Use it.
Can also use Intersect (Knife). Use it.