
Arduino + LED
Description
Blink the on-board LED. Make no mistake – this is an essential skill and a gateway to numerous challenging and creative projects.
Hardware Required
- Arduino Board
Circuit
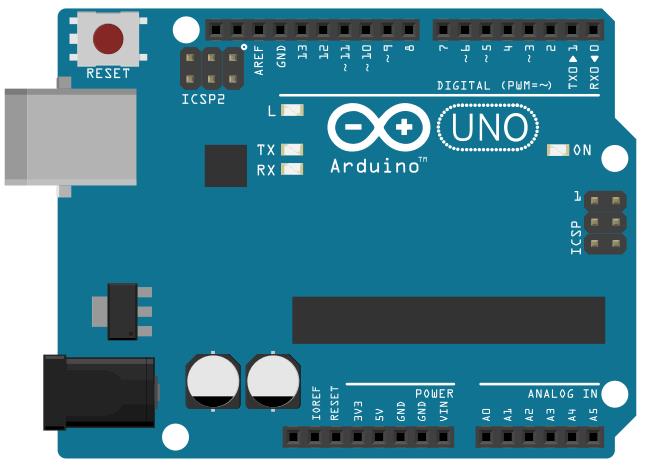
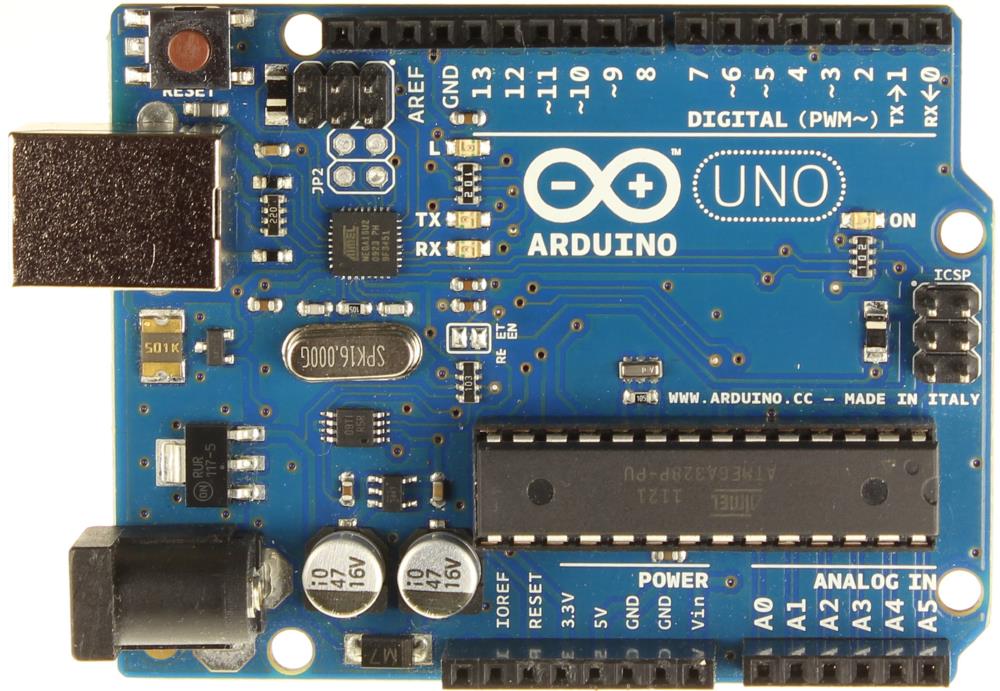
Arduino boards have a number of onboard LEDs:
- ON – Power indicator
- TX – Transmit (pin 1) – Used for programming and diagnostics (USB serial port communication).
- RX – Receive (pin 0) – Used for programming and diagnostics (USB serial port communication).
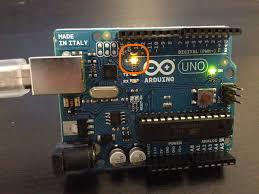
- L – LED (pin 13 on Arduino Uno model boards)
This example uses the built-in onboard LED that most Arduino boards have. This LED is connected to a digital pin, in this case pin 13. To make life easier, we have a constant named LED_BUILTIN that allows you to control the built-in LED on all board models.
Code
void setup() {
  // put your setup code here, to run once:

  //set onboard LED as output
  pinMode(LED_BUILTIN, OUTPUT);

}

void loop() {
  // put your main code here, to run repeatedly:

  //set LED high (+5 Volt)
  digitalWrite(LED_BUILTIN, HIGH);

  //wait 1000 ms = 1 second
  delay(1000);

  //set LED low (0 Volt)
  digitalWrite(LED_BUILTIN, LOW);

  // wait 1 second
  delay(1000);

}
The result should be a blinking on-board LED light that is turned on for 1 second and turned off for 1 second indefinitely.

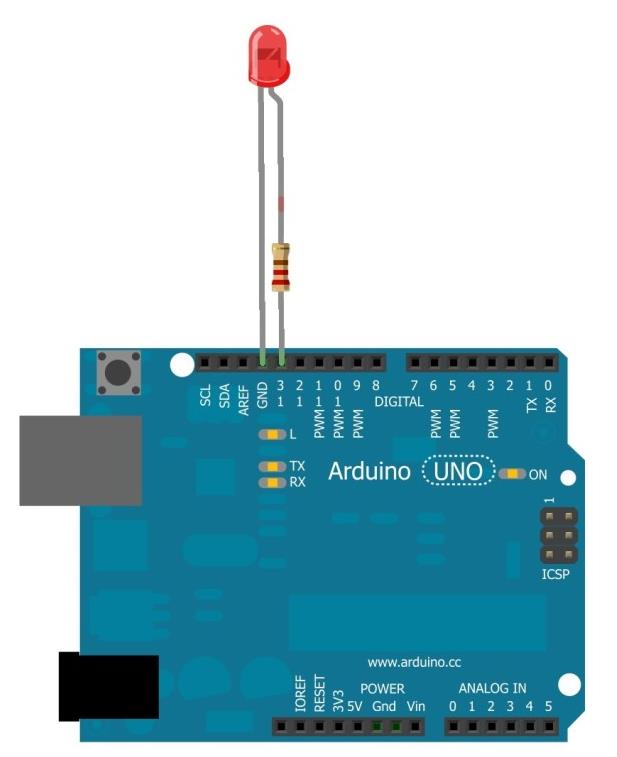
External LED
Description
Blink an external LED.
Hardware required
- Arduino Board
- LED (1.8mm, 3mm or 5mm)
- 220 Ohm resistor
Circuit
Code
void setup() {
  // put your setup code here, to run once:

  //set pin 13 as output
  pinMode(13, OUTPUT);

}

void loop() {
  // put your main code here, to run repeatedly:

  //set pin 13 high (+5 Volt)
  digitalWrite(13, HIGH);

  //wait 1000 ms = 1 second
  delay(1000);

  //set pin 13 low (0 Volt)
  digitalWrite(13, LOW);

  // wait 1 second
  delay(1000);

}
Code for kids
There are a number of visual programming tools for Arduino C language programming:
ArduBlock is a programming environment designed to make “physical computing with Arduino as easy as drag-and-drop.” Instead of writing code, worrying about syntax, and (mis)placing semicolons, ArduBlock allows you to visually program with an snapped-together list of code blocks. If you are familiar with the popular software product ‘Scratch’, you will feel right at home.
https://learn.sparkfun.com/tutorials/alternative-arduino-interfaces/ardublock
Using the ArduBlock ‘skin’ for the Arduino software, the code would look as follows:
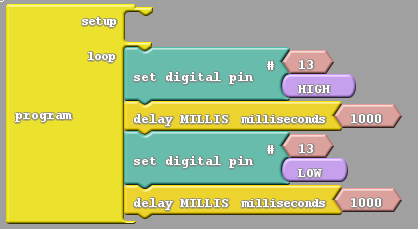
Not impressed?
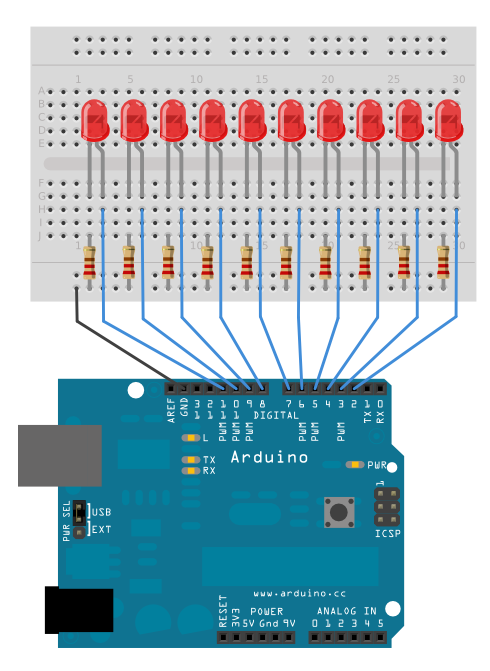
We mentioned this is only the first step. Why have only 1 LED when you can have 10?
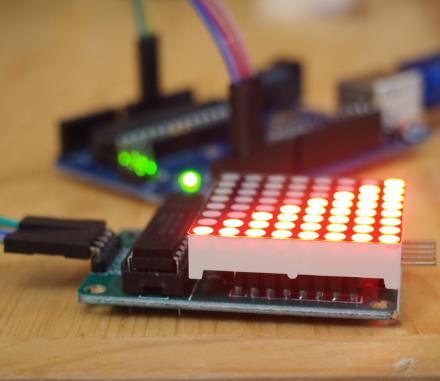
Why have 10 LEDs when you can have 64 (8×8 matrix) ?
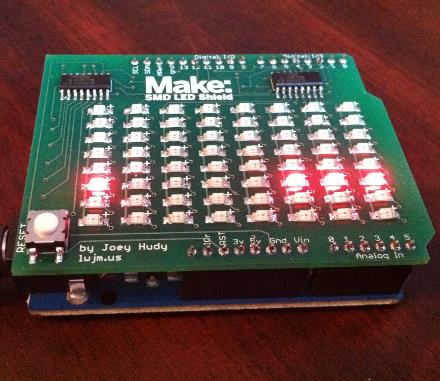
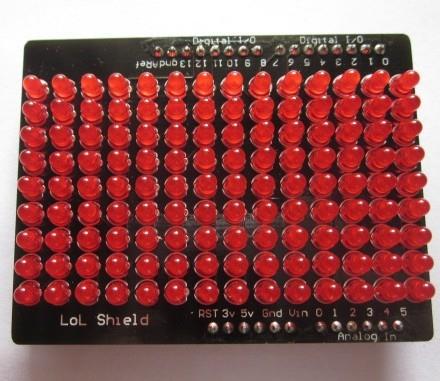
Why have 64 LEDs when you can have 126 (14×9 matrix) ?
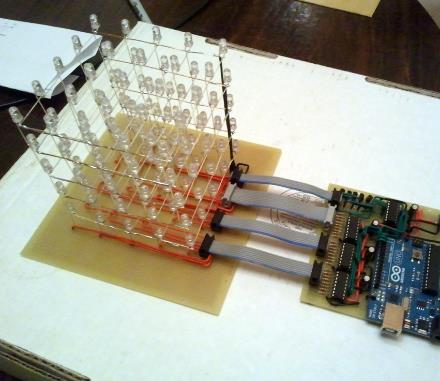
Why not make a LED cube?
Being able to make an output pin HIGH or LOW is an essential skill for learning how to interface with other components. This is an important part of the learning experience and provides a stepping stone towards more complex projects.