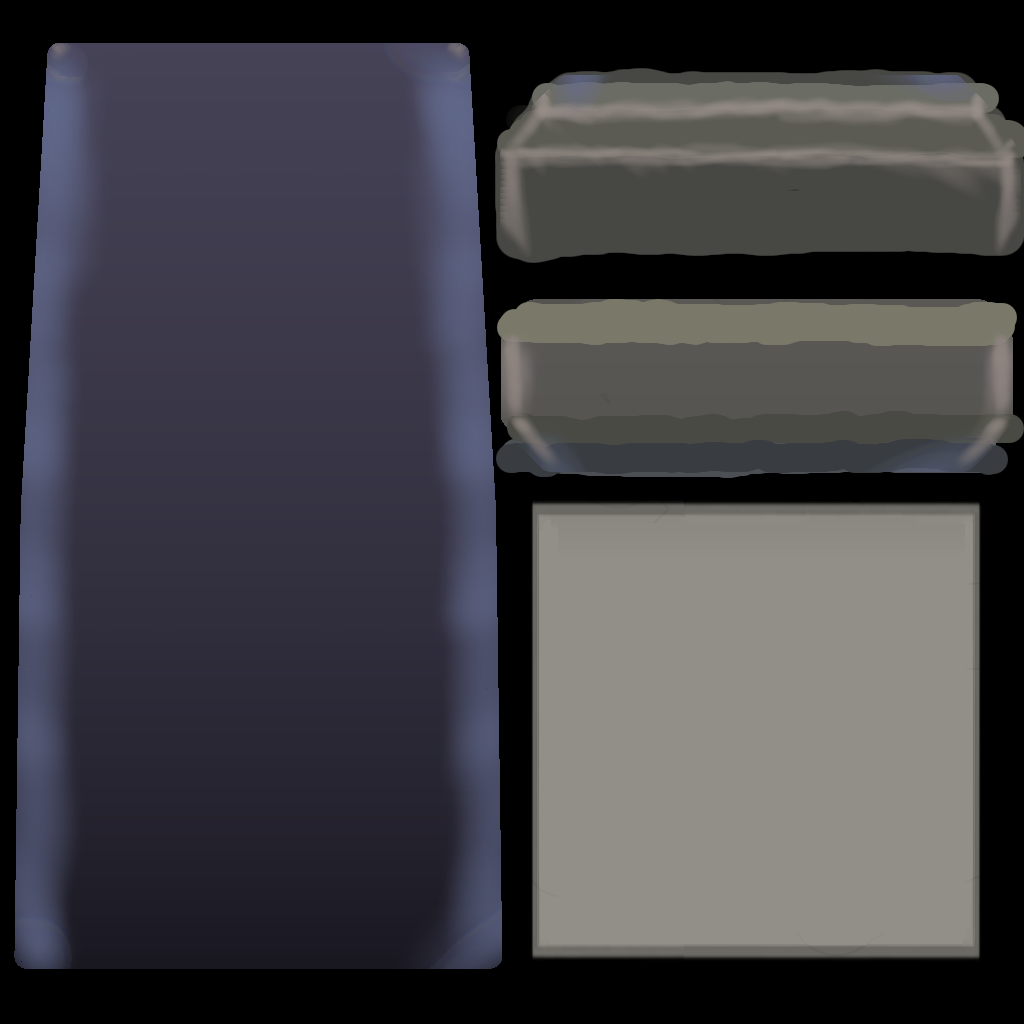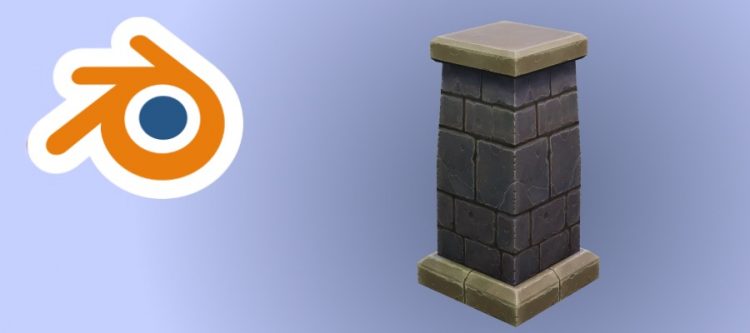
Hand-painted column
Thanks to XRG81 for providing detailed low poly texture painting and UV unwrap tutorials in Blender.
The following tutorial can be completed in Blender 2.8 for the most part.
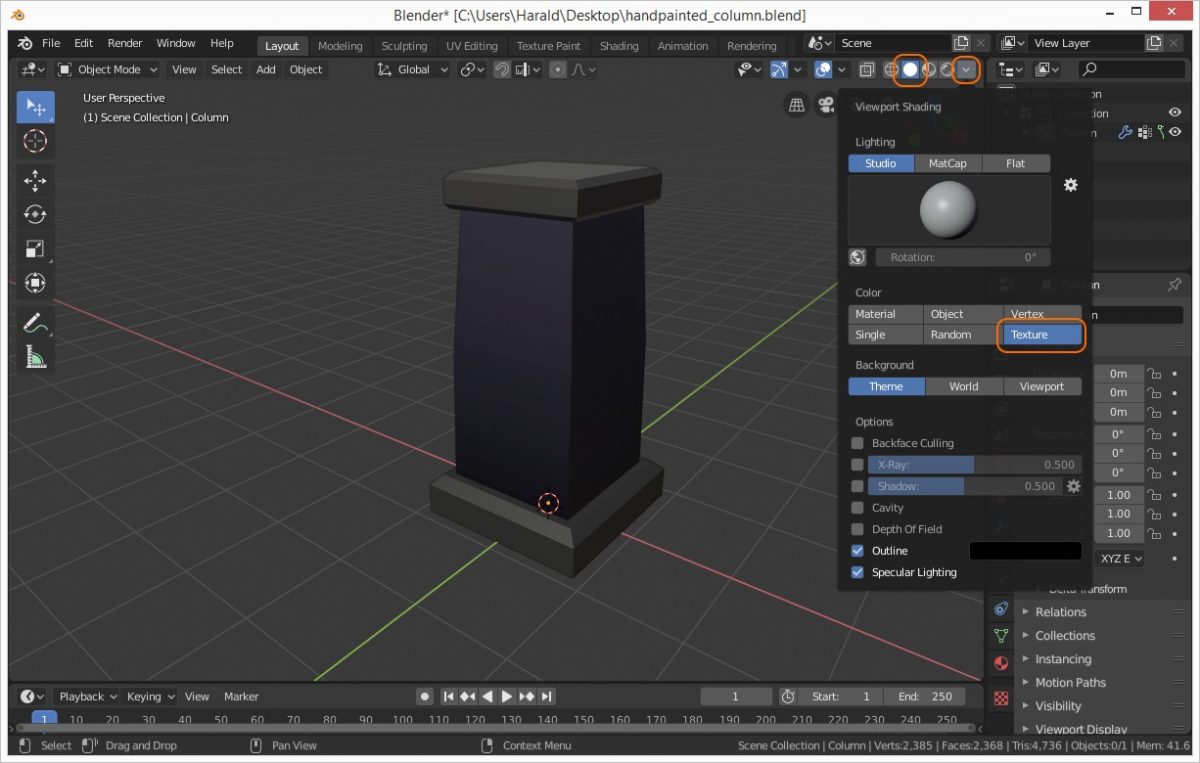
To ensure your colors match the Youtube video, make sure to select [Solid] viewport shading only. Make sure [Texture] is selected. When texture painting in the viewport it helps to occassionally switch to [Lighting: Flat] to see your texture as-is without any distracting lighting glare effects.
To not add to the confusion it helps to select [File > External Data > Automatically pack into .blend + Make all paths relative] for now.
Download source file: handpainted_column_01.blend
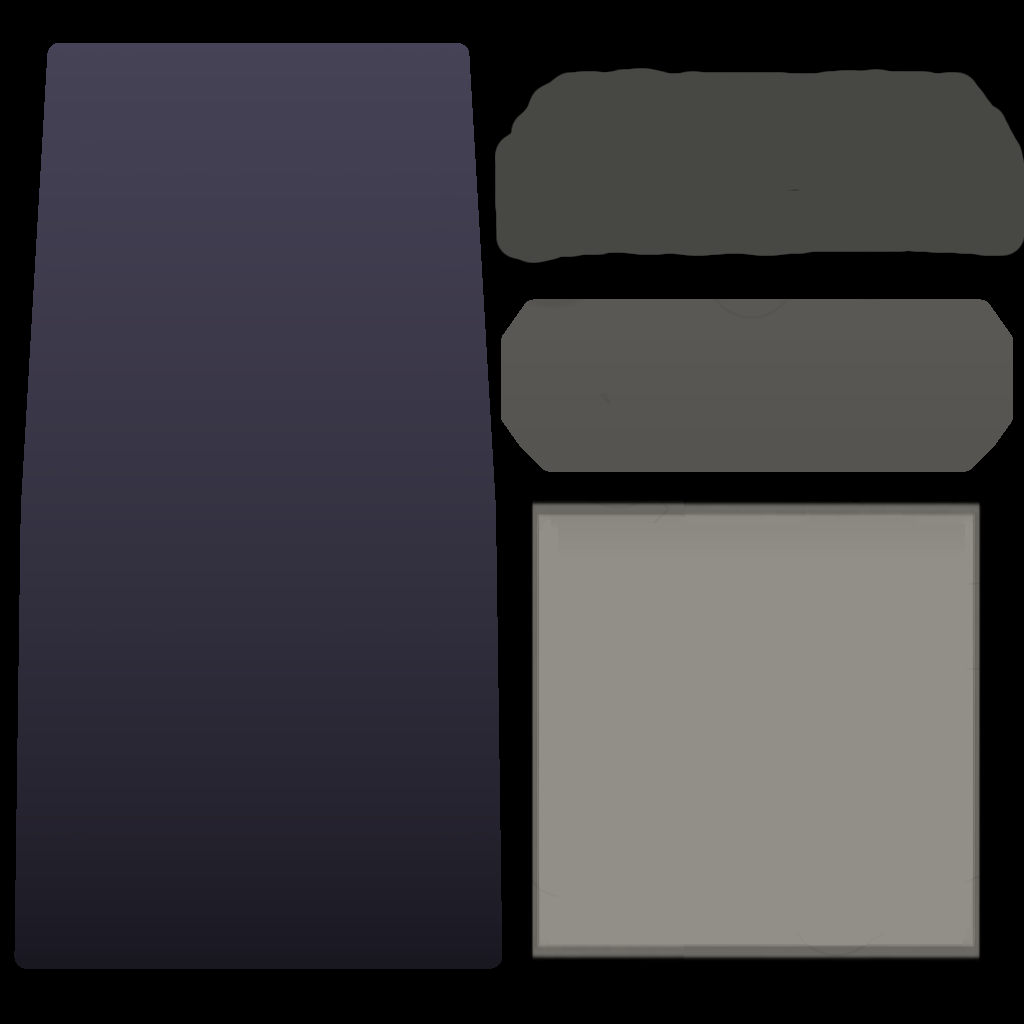
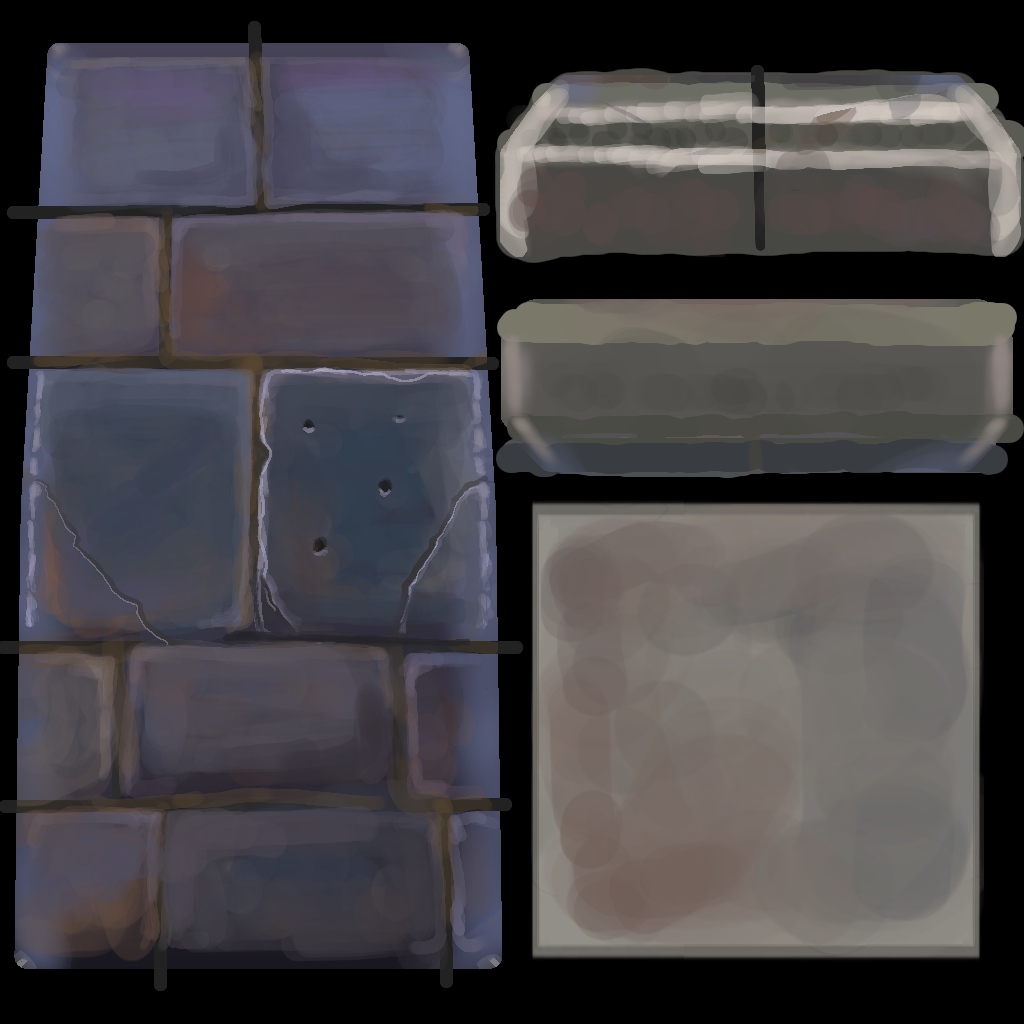
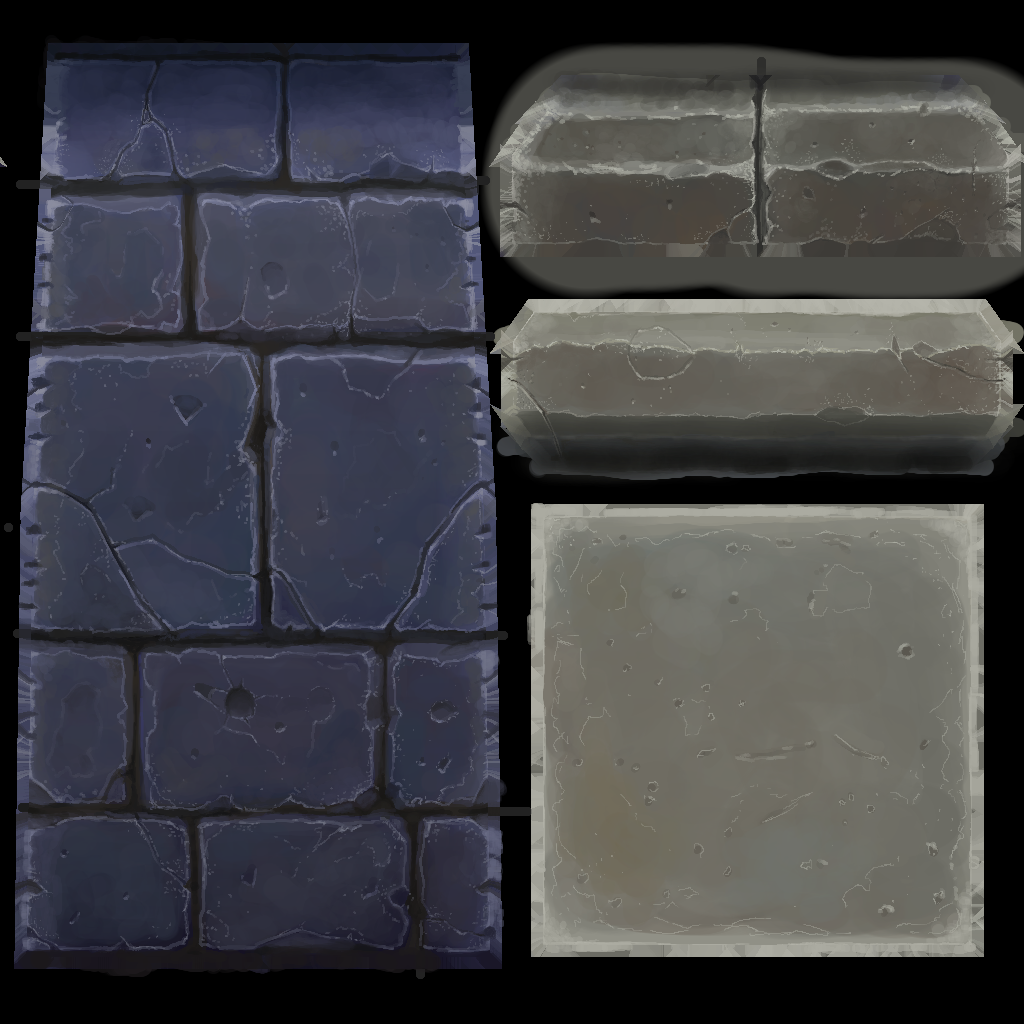
You can find updated versions of the image texture file below. Simply [Right Click] and [Save Link As…] or similar to save to your computer. Go to the [Shader] tab first and load the image file into the image texture slot for the column object material. Once the viewport shows the updated material you can switch to the [Texture Painting] tab and select the same image file from the dropdown list to start painting. Learn about orphaning to clean up the list of image files in the dropdown list.
Timestamp 00:10:30
One of the first questions I had was which mode do I select to simply paint over the top of something without blending. Answer: Mix mode, but with Strength set to 1. Typically you will blend in your strokes with 0.7 strength or so however. So how do I apply my brush color if it is not immediately visible? Simply apply repeated strokes or use increased tablet pressure to gradually overrule any underlying colors. The blending of colors rather than painting ‘over the top’ of something is a key part of the painting process however.
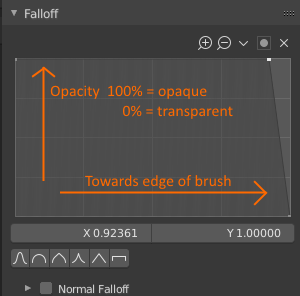
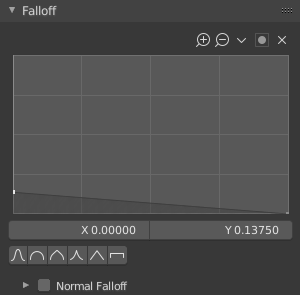
Make a Soft and a Hard brush by changing the brush falloff curve to control (the edges of) your brush stroke.
Hard brush
Soft brush (with large amount of transparency throughout)
Make sure [Falloff > Normal Falloff] is unticked and [Options > Occlusion + Backface Culling] are ticked.
Normal falloff = More paint goes on surfaces that are directly facing the viewer.
Occlusion = Only paint on top faces; ignore underlying geometry.
Backface culling = For solid objects with outward facing normals, only paint on one of the two outward facing surfaces i.e. the surface that is facing the viewer.
Timestamp 00:14:45
Timestamp 00:17:40
Timestamp 00:21:30
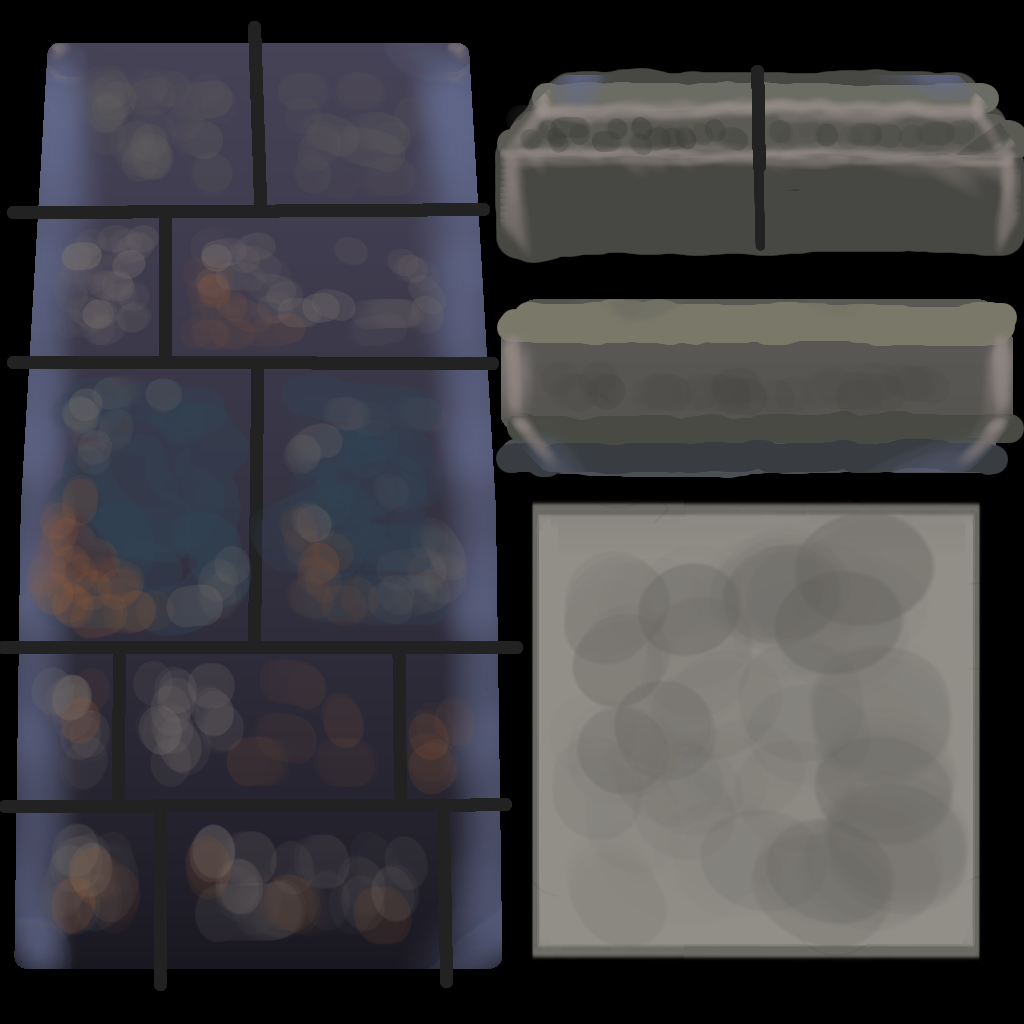
Dab in blotches of color tints and grays to create “happy accidents”. This is where a pressure sensitive tablet shines as it mixes with variable strength.
Timestamp 00:27:00
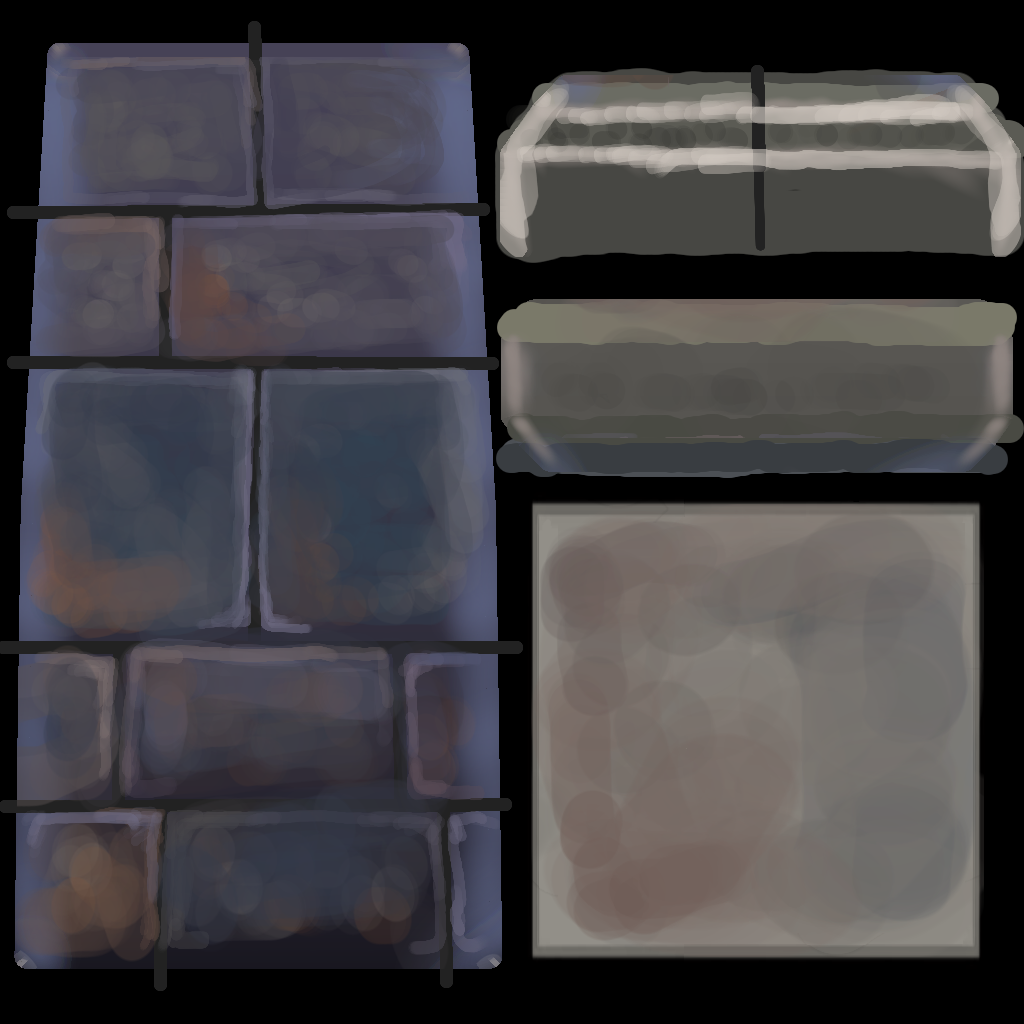
Press [S] to sample colors and start smearing. Use [F] or brackets “[” and “]” to change brush size. Use a larger brush size to bring back some evenness. Use light pressure so the low mix strength will preserve color blotches. Don’t be afraid to loose detail, you can always dab small blotches of color back in; simply switch to a smaller brush size and use the color swatch and color sampling to switch to ‘dabbing’ mode again if it gets too dull.
Timestamp 00:32:00
Fill in cracks with orange (dirt). Then sample a dark color and start drawing a first crack. For this to work it is best to fully zoom in and to use a small brush size. Use light pressure for low mix strength.
Timestamp 00:35:00
Next add thin pencil lines of lighter color on rounded edges of bricks (specular highlight) and adjacent to to dark crack lines (illusion of depth).
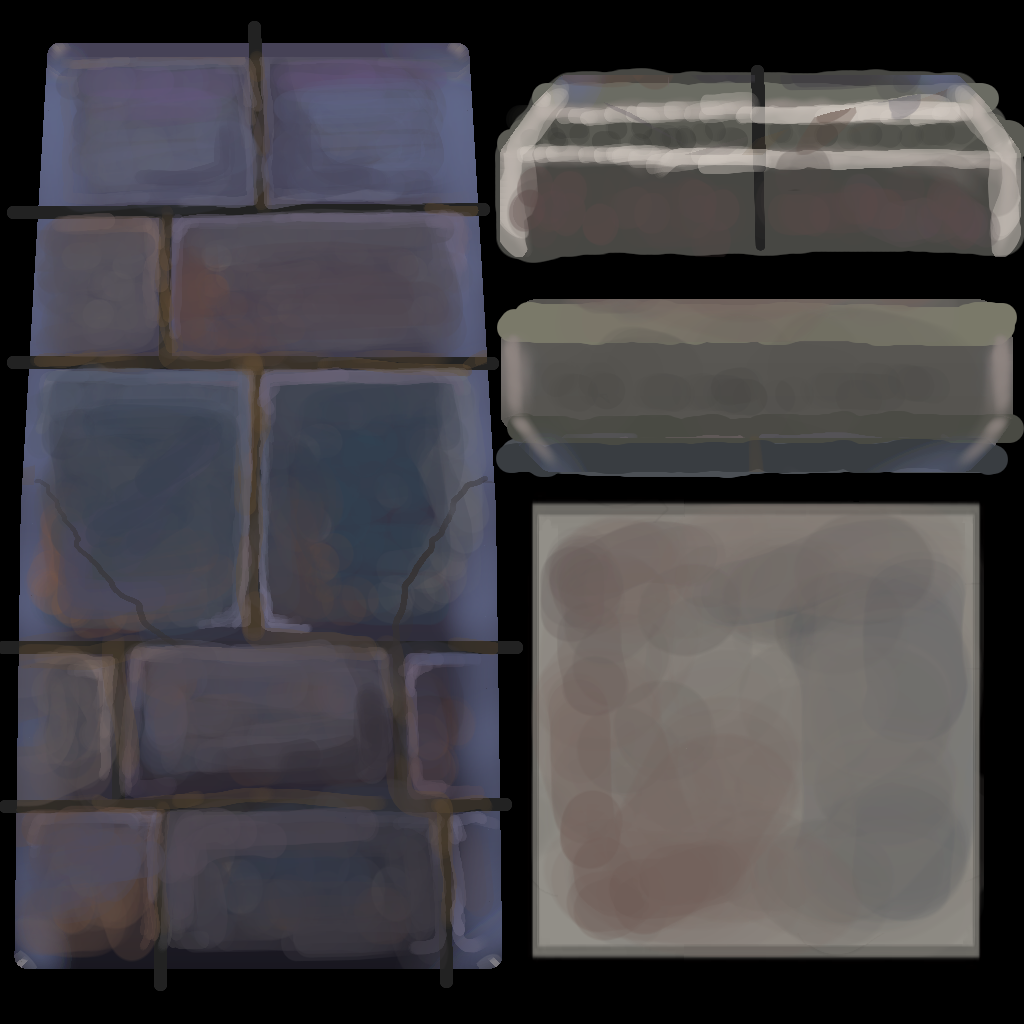
Start mixing in additional sharp light / dark colored lines for cracks and highlights. You can add specks for a battered surface look. You can have dark areas on the edge of the bricks come in to take out stone chips. You can draw darker areas with a faint thin highlight partially around the outline to take out flat chunks. You can add faint light colored hairlines for added detail. Look at the final picture for inspiration.
Timestamp [Final]
