
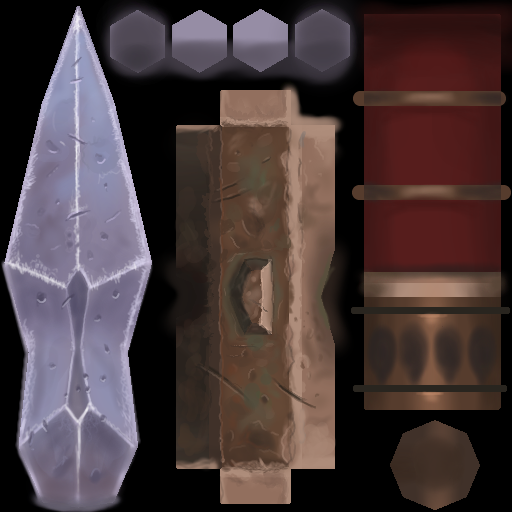
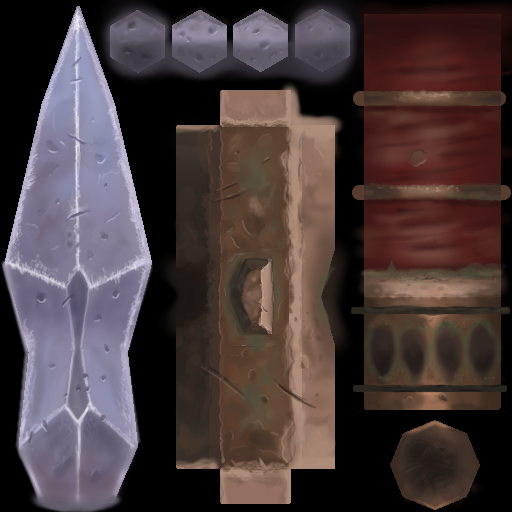
Hand-painted and UV unwrapped low poly dagger
Thanks to XRG81 for providing detailed low poly texture painting and UV unwrap tutorials in Blender.
Original download file: hand-painted-dagger.zip
Part 1 – Modeling
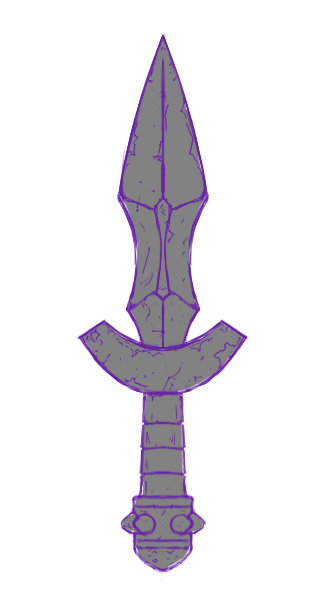
Reference image:
Download source file: dagger01.blend
Some of the things I have learned:
Simply drag reference image into blender Front viewport.
Hold [CTRL] while using inset [I] to extrude.
Press comma [,] for orientation (axis) wheel menu.
Press period [.] for pivot wheel menu (center of rotation / scaling).
Press [SHIFT][S] to set the cursor to world origin.
For symmetrical objects mirrored along a world axis, when in edit mode you can scale vertices / edges around the cursor in the origin to stop them from entering the mirrored side of the object.
When in vertex mode with vertex snap enabled, you can press [A] to mark surrounding vertices. The selected item will now move averaged between these vertices. This is very useful for centering objects.
To connect separate parts in your single object, make sure they overlap. Then use [Faces > Intersect (Knife)] to create edges where the faces intersect. Make sure to select [Source: Self Intersect] in the popup tool panel.
Select a single vertex. Press [SHIFT][CTRL][B] and move the mouse to perform a bevel on vertex level.
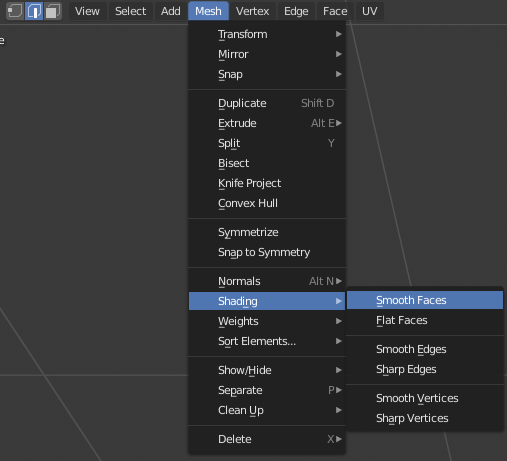
Smooth shading:
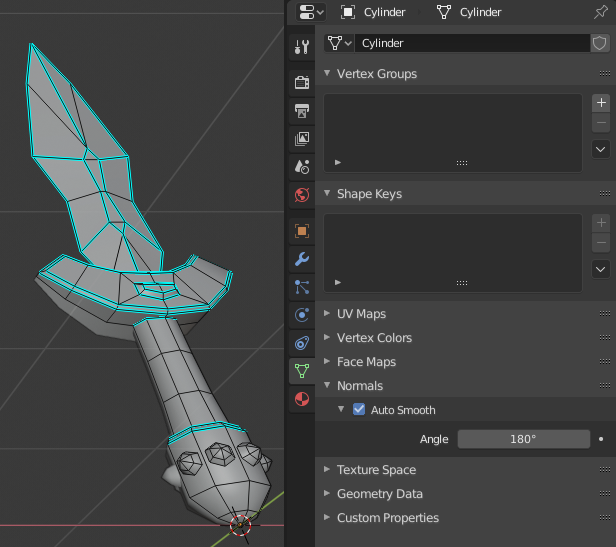
Part 2 – UV unwrapping
Download source file: dagger02a.blend
Download source file (mirror applied & two sided UVs flipped): dagger2b.blend
Things I have learned:
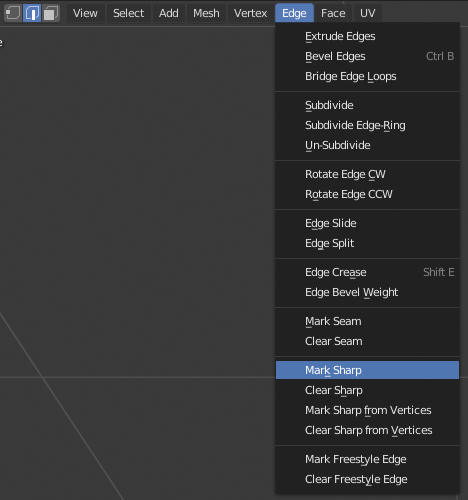
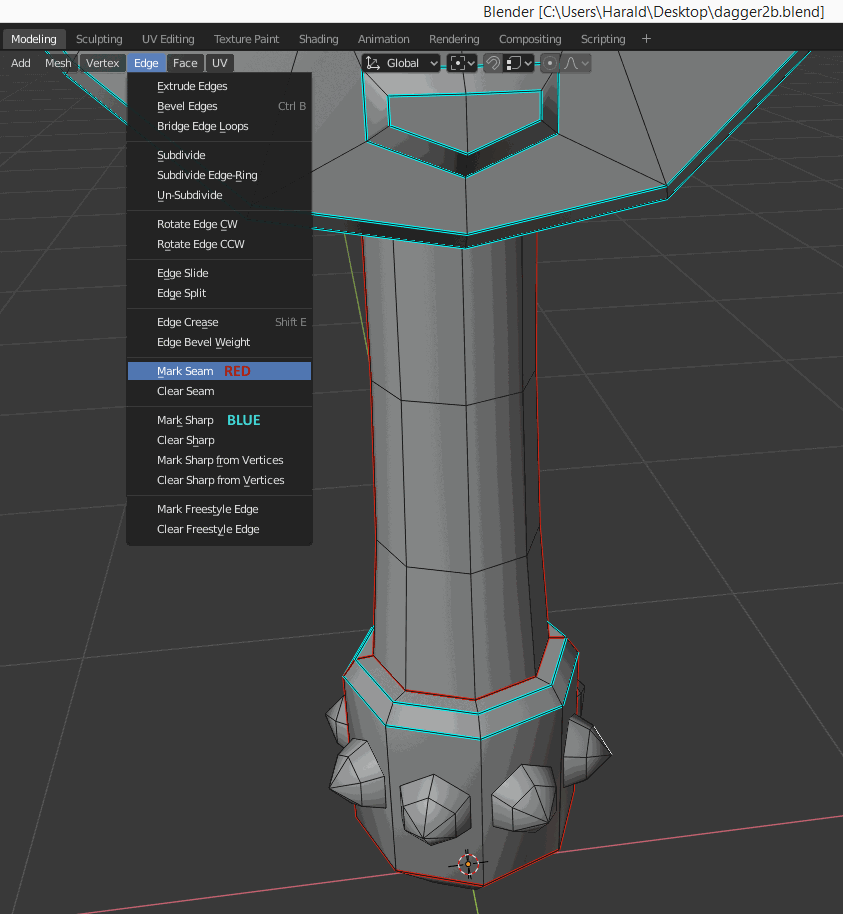
Mark seams
For the blade and pommel, use ‘project from view’ unwrapping in front view.
For the blade guard and hilt we want edges laid out as straight lines for painting so we use ‘follow quad’ unwrapping.
For the guard:
Select a single quad.
Unwrap
Select two vertices and align auto (SHIFT-W)
Repeat to make perimeter a rectangle.
Select all linked [L]
Select all faces that can be laid out in straight lines.
UV > Follow active quads
Unwrap remaining polygons clusters (top, bottom, jewel)
Select all
(CTRL-A)
Make remaining polygons clusters perimeter rectangular
Scale to fit insertion point
Select vertices around perimeter of insertion point on the guard UVs
Stitch [V]
Invert [I]
[Enter]
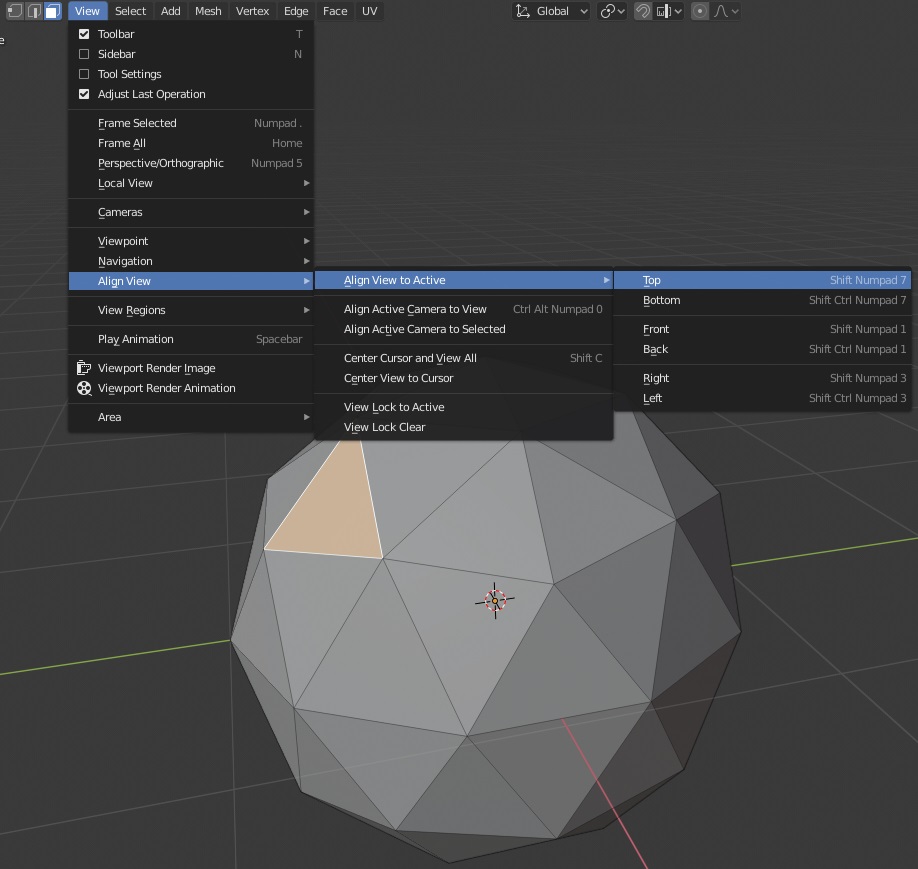
Aligning view to a face
Useful for ‘project from view’ when object is not aligned with a standard view (front / top / right)
[SHIFT][NUM7]
Part 3 – Paint setup
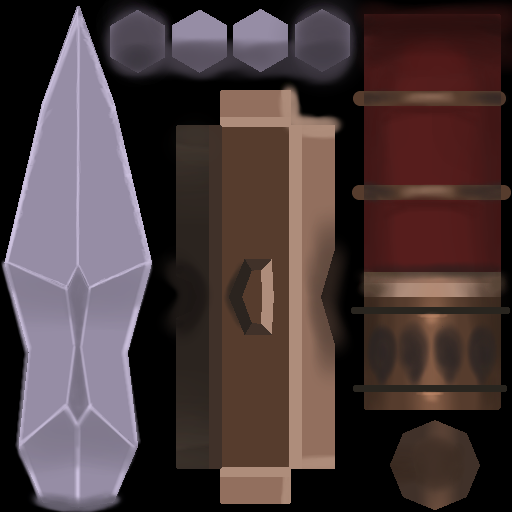
Part 4 – Color blockout
Selecting (linked) polygons and using a Fill Brush:
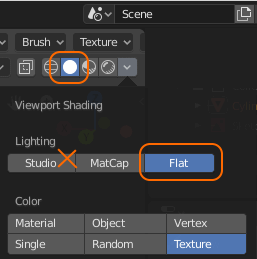
When texture painting, to see what you are doing, set the viewport shading mode to ‘Solid’and disable lighting (‘Studio’ > ‘Flat’). This will disable glossy highlights and dark shadows and only display flat colors.
It is important to mark sections of your mesh as ‘seams’. This will allow you to ‘Select Linked’ [L] when using texture paint mask ([M]):
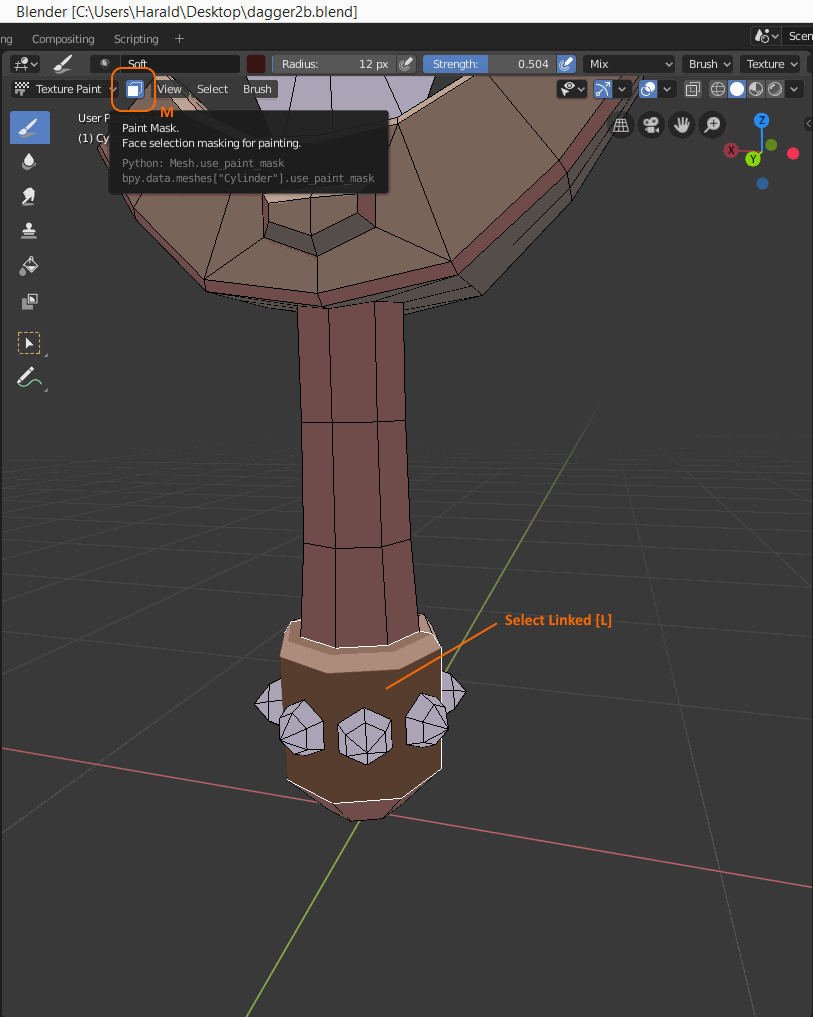
Paint Mask [M] allows you to ‘select linked’ and isolate a part of the mesh the paint brush affects. Think ‘coloring inside the lines’.
You can also use Box select [B] and Circle select [C]. Use the mouse scroll wheel to change Circle Select size. Drag over a polygon to select; drag over already selected polygons to unselect.
Using Soft / Hard brushes and Space / Line strokes [E] we can paint in highlights and shadows:
Part 5 – Blade Details
Painting Do’s
- [!!!] http://androidarts.com/art_tut.htm#color_relativity
- Use a tablet. Mix strength = 1, but the stylus pressure will control the actual amount of mixing.
- Repeated strokes in an area will slowly pull the color towards the pen color.
- Use soft brush blotches of varying size.
- Use color picker [S] repeatedly to sample colors to ‘pull’ an area .
- Leave darkest darks and lightest lights to last (specular highlights)
- Leave 1px strokes till last.
- Shadows darken (= reduce brightness). But also, shadows blur. Shadows reduce hue.
- Don’t be afraid to re-colorize large areas late in the painting stage.
- Paint directly on the model in 3D rather than the flat texture (personal preference).
Painting Don’ts
- Don’t add detail early.
- Don’t add colors early.
- Use saturation sparingly. Saturated colors only ‘pop’ if used on unsaturated backdrop.
Painting steps
- Fill brush color blockout.
- Soft brush blotches of varying size of light / dark grays. Mixing in monochrome does not saturate (= increase hue), it only changes the brightness of a color. Painting with grays is like painting with a lighter / darker brush. Like painting with a torch / flashlight, sort of.
- Turn your brain off and let surface detail come out organically.
- Add blotches of color to create ‘happy accidents’.
- Color sample from anywhere in your image for the lights or darks you need to pull soft areas towards a certain brightness or hue.
- Start adding scuffs, scratches, chips, etc.
Part 6 – Crossguard Details
Part 7 – Handle Details

Part 8 – Touch Ups
Part 9 – Wrapping Up
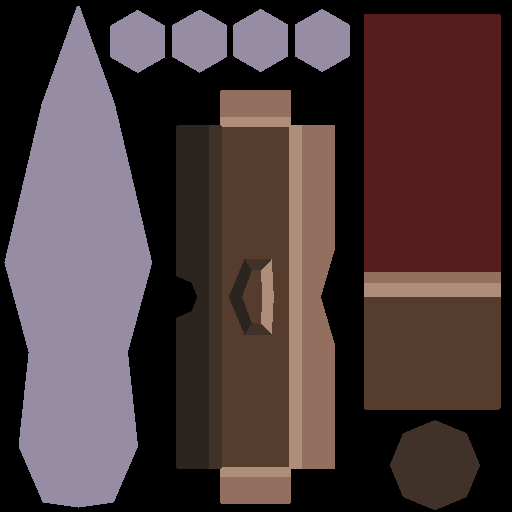
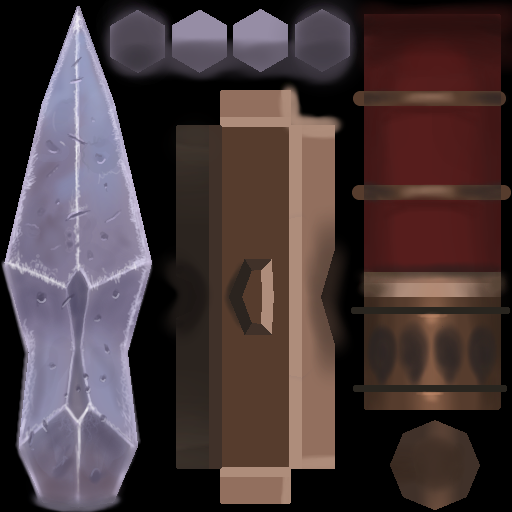
This is the original texture image. Very impressive…
