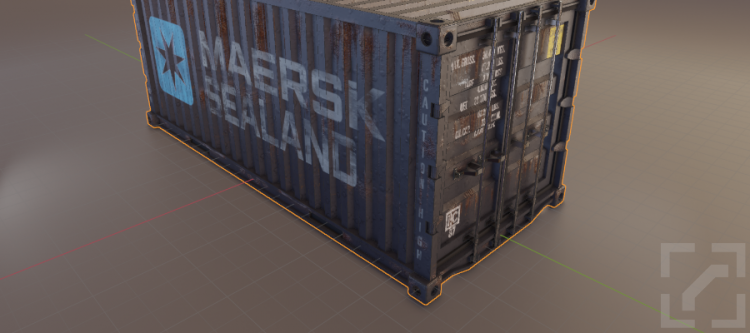
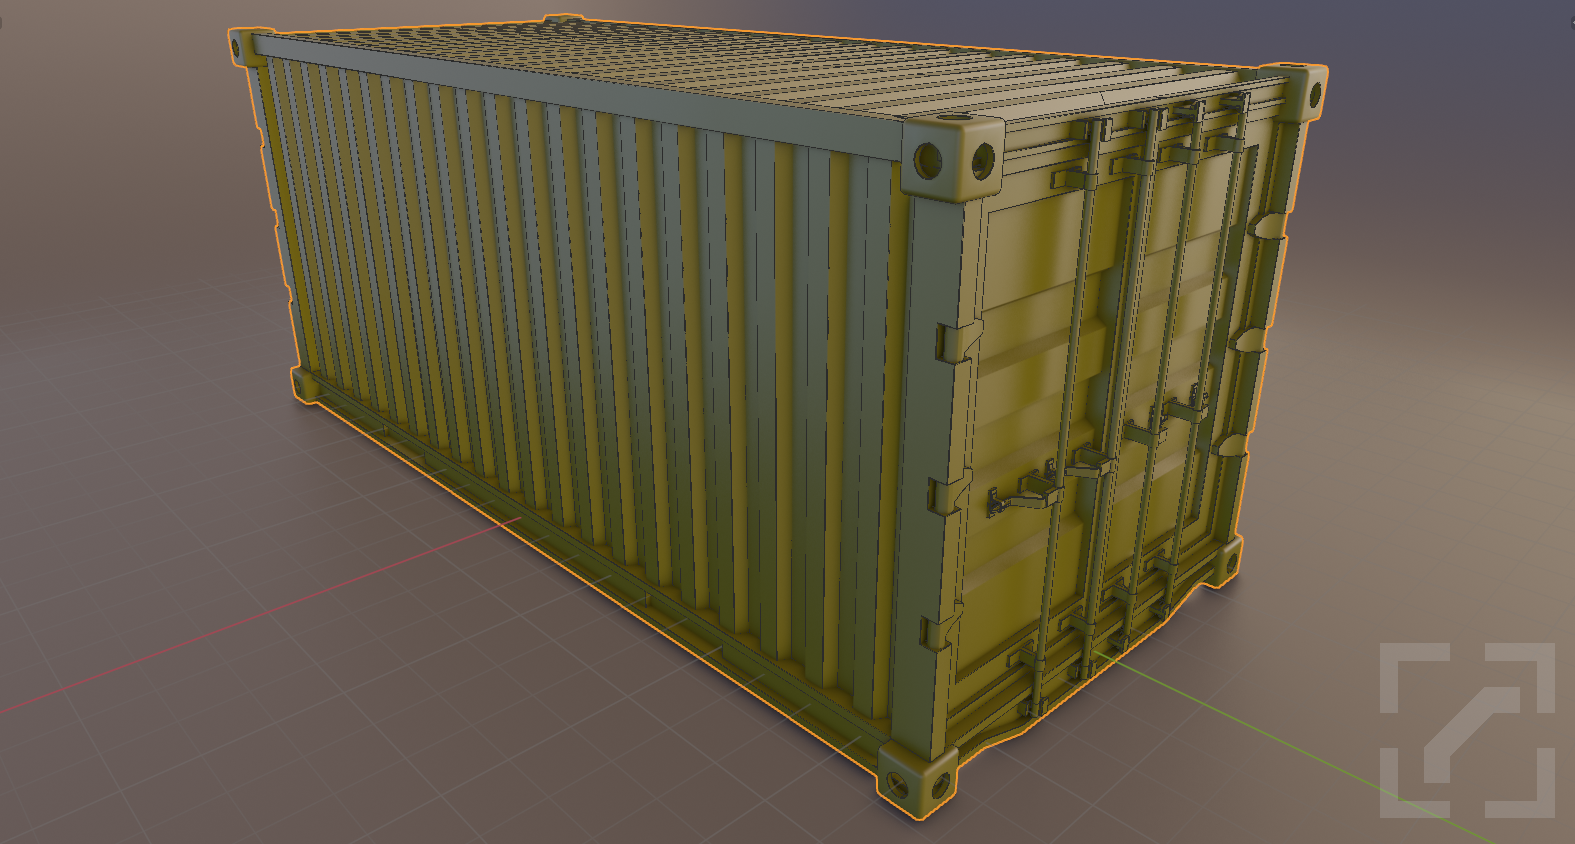
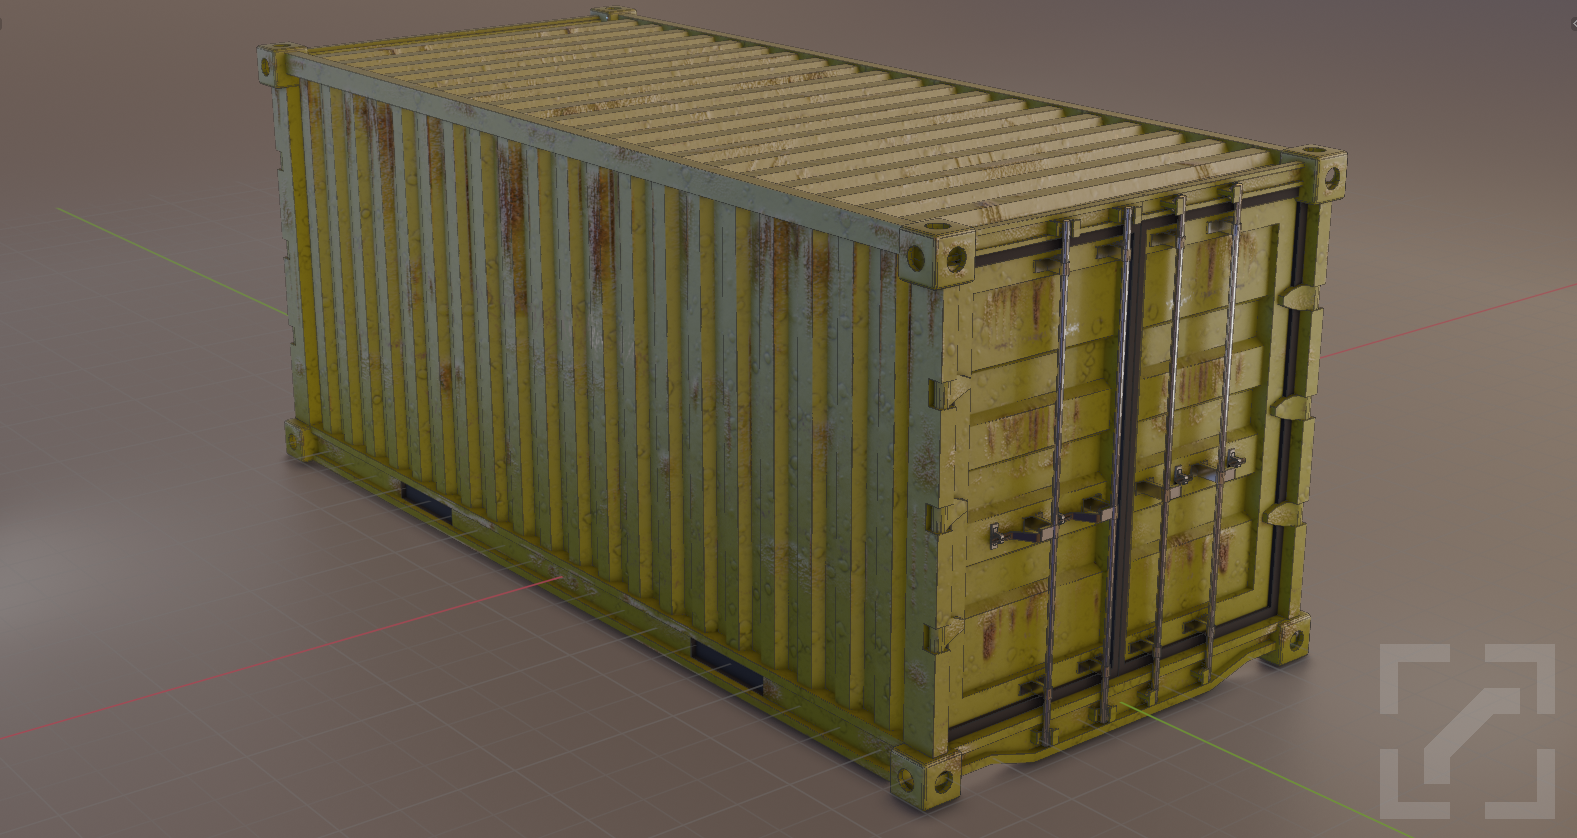
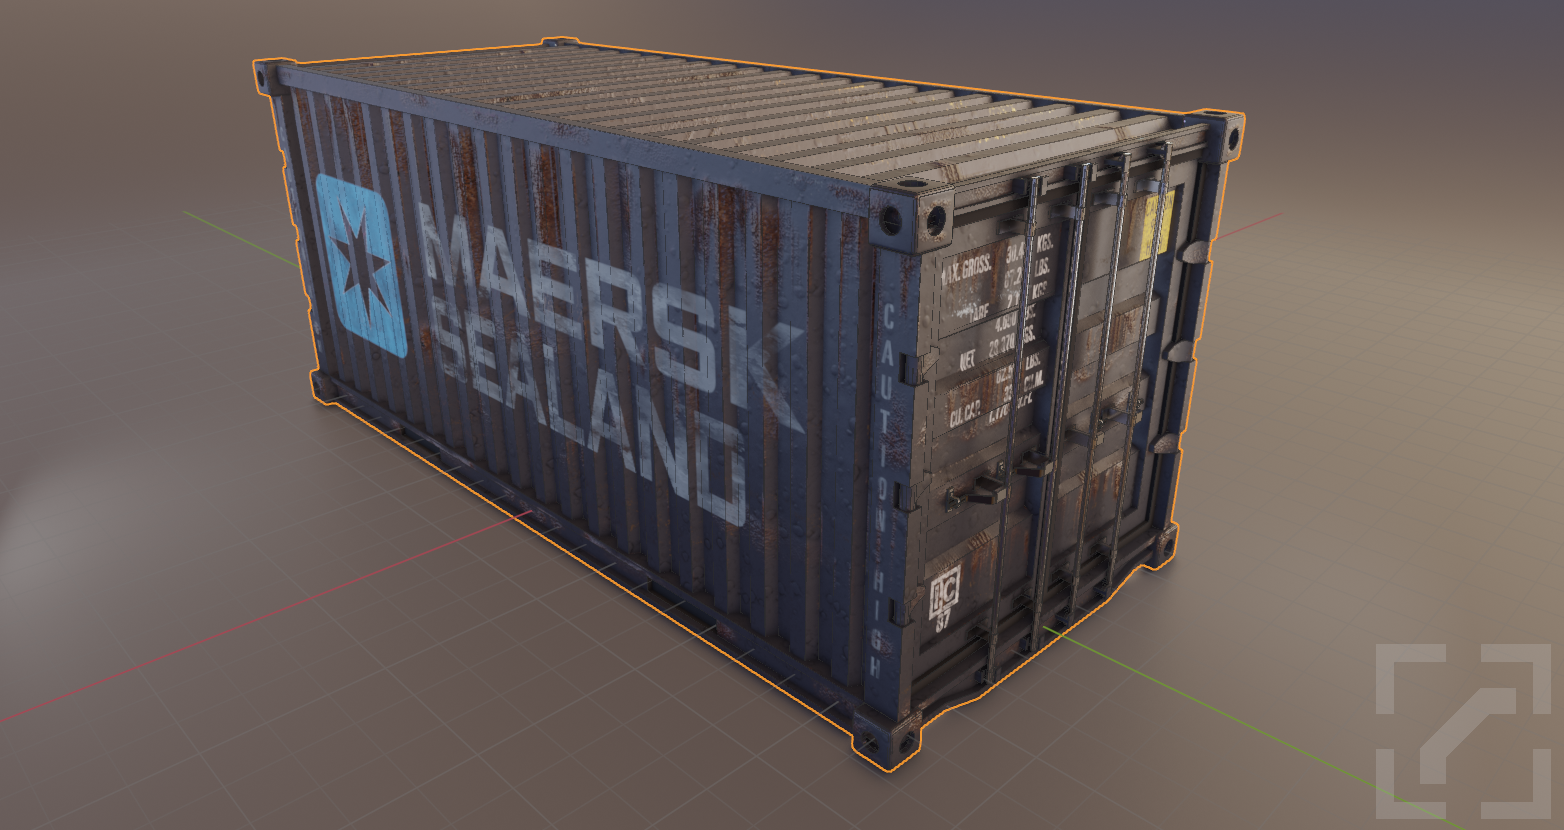
Shipping Container
Thank you Saqib Hussain for a great tutorial.
To download the original scene including textures:
https://www.patreon.com/huzzain
Facebook
https://www.facebook.com/ArtofSaqibHussain/
Artstation
https://www.artstation.com/huzzain
DevianArt
https://www.deviantart.com/huzzain
Source Files
shippingcontainer001.blend
shippingcontainer002.blend
shippingcontainer003.blend
shippingcontainer_textures.zip (password protected – Textures.com user license restrictions)
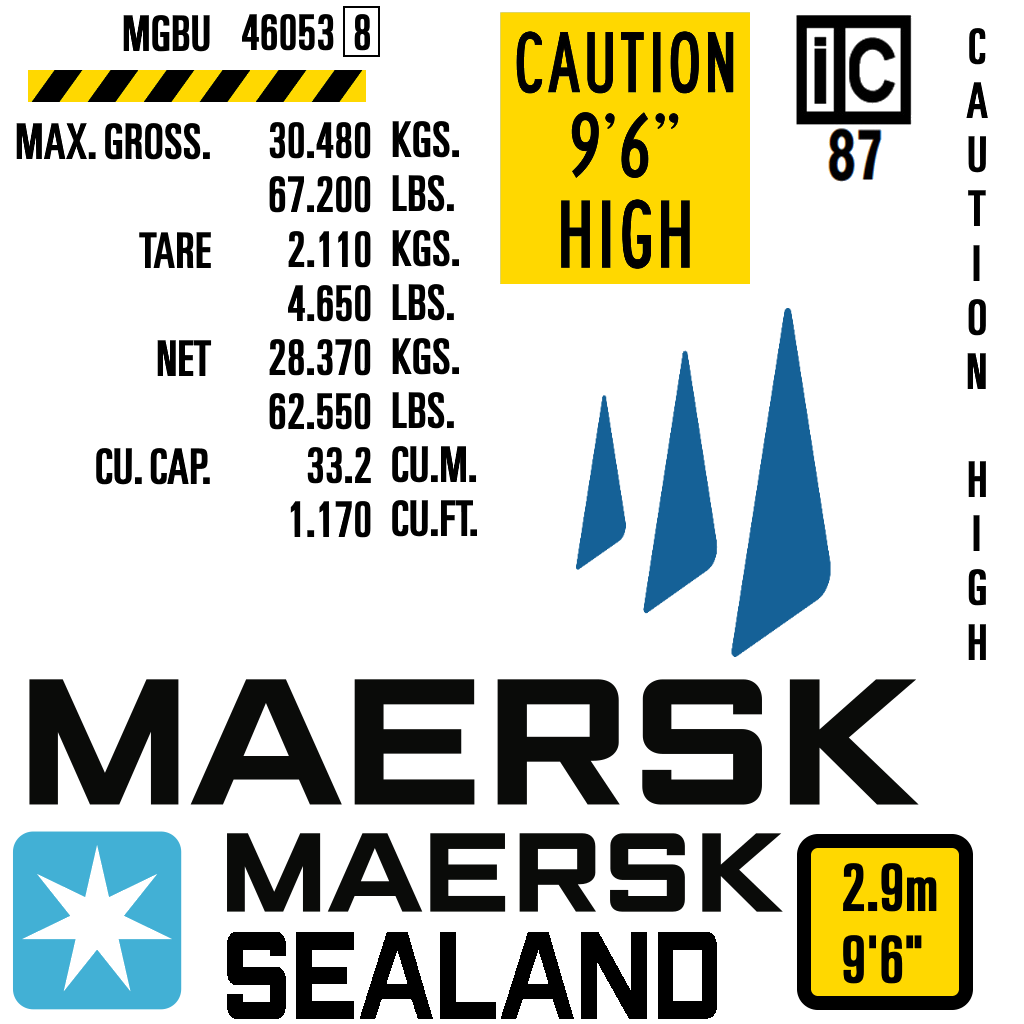
Decals as bitmap:
shippingcontainer_decal.png
Decals as vector:
shippingcontainer_decal.svg
Univers 59 Ultra Condensed.ttf
Decals as vector + fonts to paths:
shippingcontainer_decal_nofonts.svg
Renders
Notes
Realized .SVG decals are not going to do anything for file size. Decals can be done in either bitmap or .svg, but blistered paint, scratches, fingerprints, rain, etc. will always require 1K / 2K / 4K .png / .tga / .tiff
To preserve color palette, save with tranparency (alpha), minimize compression losses you need to save as +95% quality 24bit file. A single 1K image map will take 10 MBytes. Also, for materials to look good image resolution should be 2x scene render resolution. Single-color decals don’t matter for file size. Image based PBR materials are the killer. I knew this already, but had forgotten.
AO map should be MixRGB multiplied, not mixed as it is a greyscale ranging between 0 and 1 that contains no color data.
Image Texture Alpha channel can be connected to PBR material Alpha slot.
Normal image textures = Linear, not sRGB
MixRGB to combine 2D maps, MixShader to combine materials.
Texture painting
[!] You always have to select an object first, and then select Object Mode > Texture Paint Mode.
[!] You always have to select the material > image file in which your brush strokes are recorded.
[!] You can paint with a color, a texture and/or through a texture mask.
You can adjust Tool Settings properties and Texture properties rollouts in the Properties panel on the right hand side:
– Start in Texture properties, add a few image textures (tick Alpha: tick Calculate).
– Then go to Tool Settings properties and:
- select material > image texture node
- Click on the thumbnail under ‘Brush’ to select a Brush style.
- Click on the thumbnail under ‘Texture’ to select a Texture to paint with a texture, or
- Click on the thumbnail under ‘Texture Mask’ to select a Texture to paint through, resulting in grayscale values between 0 to 1 being painted onto the image.
If nothing happens when you paint, check the following:
- Make sure you are painting with a white color on a black canvas, not a black color on a black canvas
- Make sure Brush Settings > Strength is set to “2”
- If using a Texture Mask, make sure Texture Mask > Mask Mapping is set to “Stencil”
– You can reset an image to solid black by choosing black color, increasing brush size to 100px and changing brush strength to 1000x and paint over everything.
– You can adjust brush size with “[” and “]” keys.
– You can reposition a texture mask as you paint through it:
- [ALT][RMB] to move the mask
- [SHIFT][ALT][RMB] to scale the mask
- [CTRL][ALT][RMB] to rotate the mask
– You can reset location, angle and size values under the Texture Mask settings.
– You can reset the mask transforms and aspect ratio here as well.
[!] Image textures used in Brushes are not saved and will be moved to Orphaned Data.
How to save Brushes / Images inside a .blend file
To save your brush image textures, in your .blend file so you can continue painting at a later point in time, or even start painting from scratch using the same image textures as you used originally, make sure to click this little button:
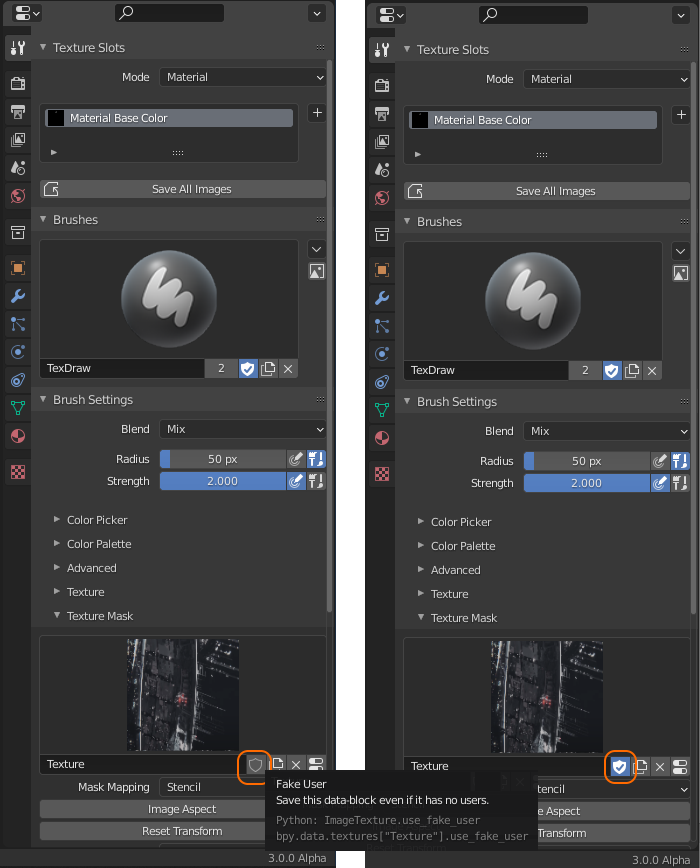
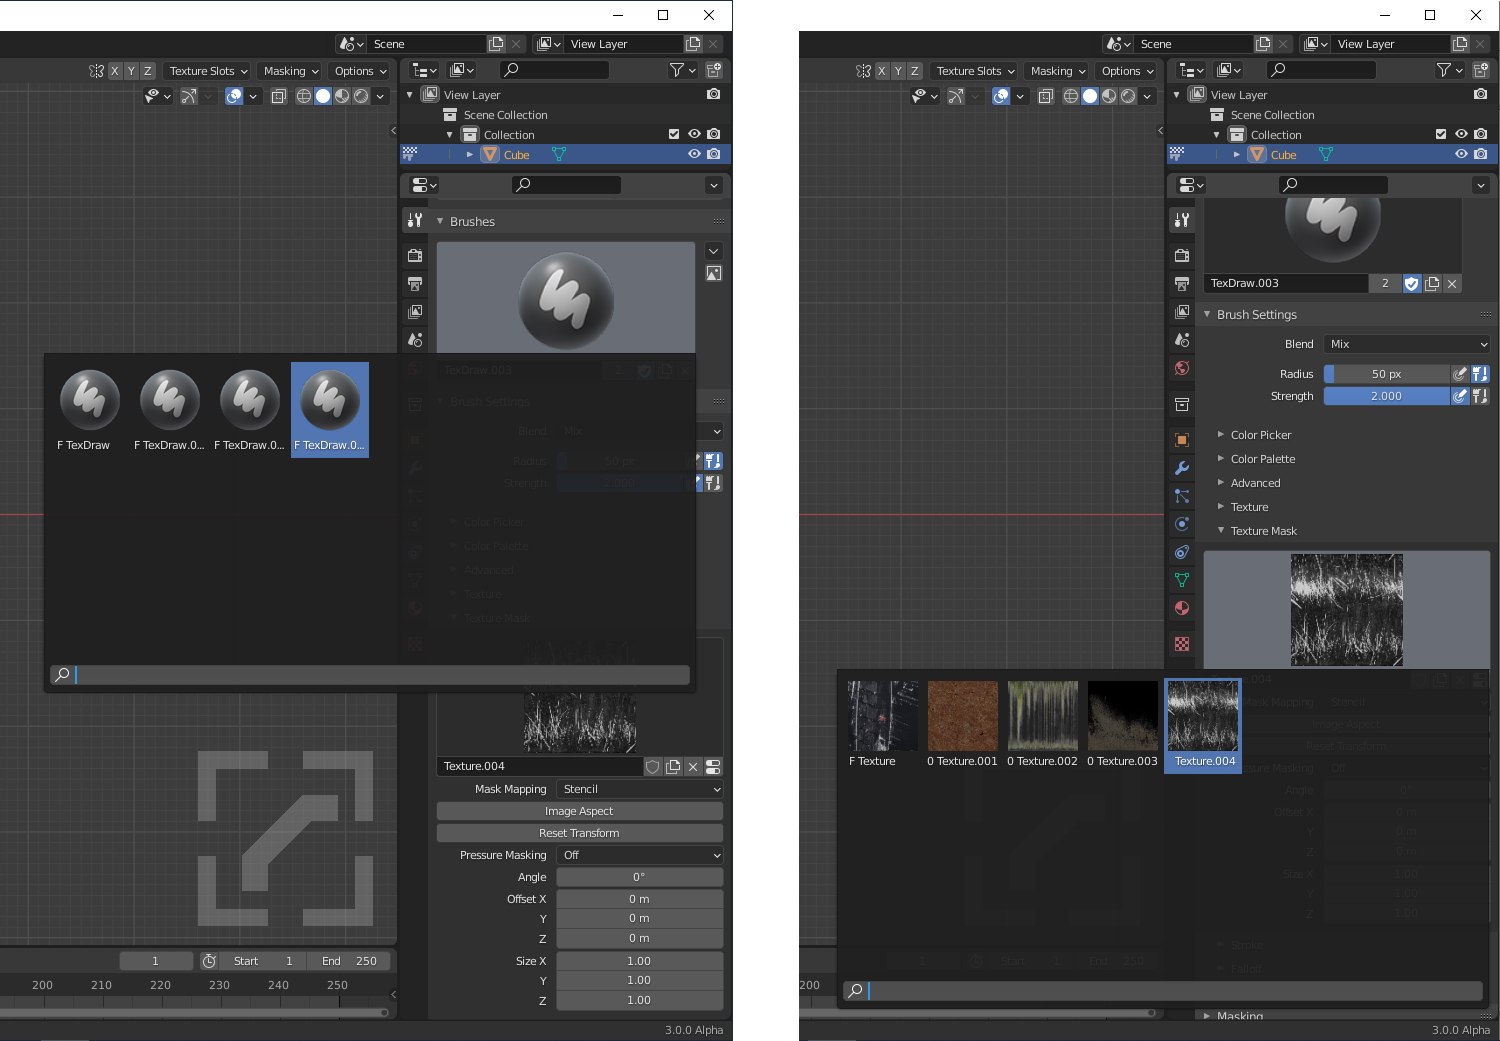
You can add any number of image textures to paint with that you can use with any brush. To change the active image texture you need to click on the thumbnail image to see the whole set. Same with the brush; you can create a soft brush, a hard brush, etc. Just click on the thumbnail and don’t forget to click the Fake User button if you want to keep it in the .blend file for later use.
(Normal) Maps
Fact #1: you don’t need complete PBR textures with all the maps (diffuse, ao, roughness, opacity, emission, etc.) for things like dust, scratches, foliage, rust.
Fact #2: you may however need >1k image textures if you render at 1920×1080 as there is a relationship between image texture size, scene render dimensions and camera zoom level. if your image textures contain alpha channel you will need to save as 24 bit *.png / *.tga / *.tiff where each image is about 10MB. If you texture mask (stencil) paint rust here or there on an object it is not too bad and 1K textures will work.
Fact #3: there is nothing wrong with using CrazyBump or https://cpetry.github.io/NormalMap-Online/ to generate maps for things like dust, scratches, foliage, rust if you feel you need them to spice up a material.
Why?
Because things in nature can be photographed (diffuse). but you can’t photograph ao, opacity, normal, emission maps. So these additional maps are always generated, always faked.
What does someone mean when they say you shouldn’t generate fake normal maps from a picture?
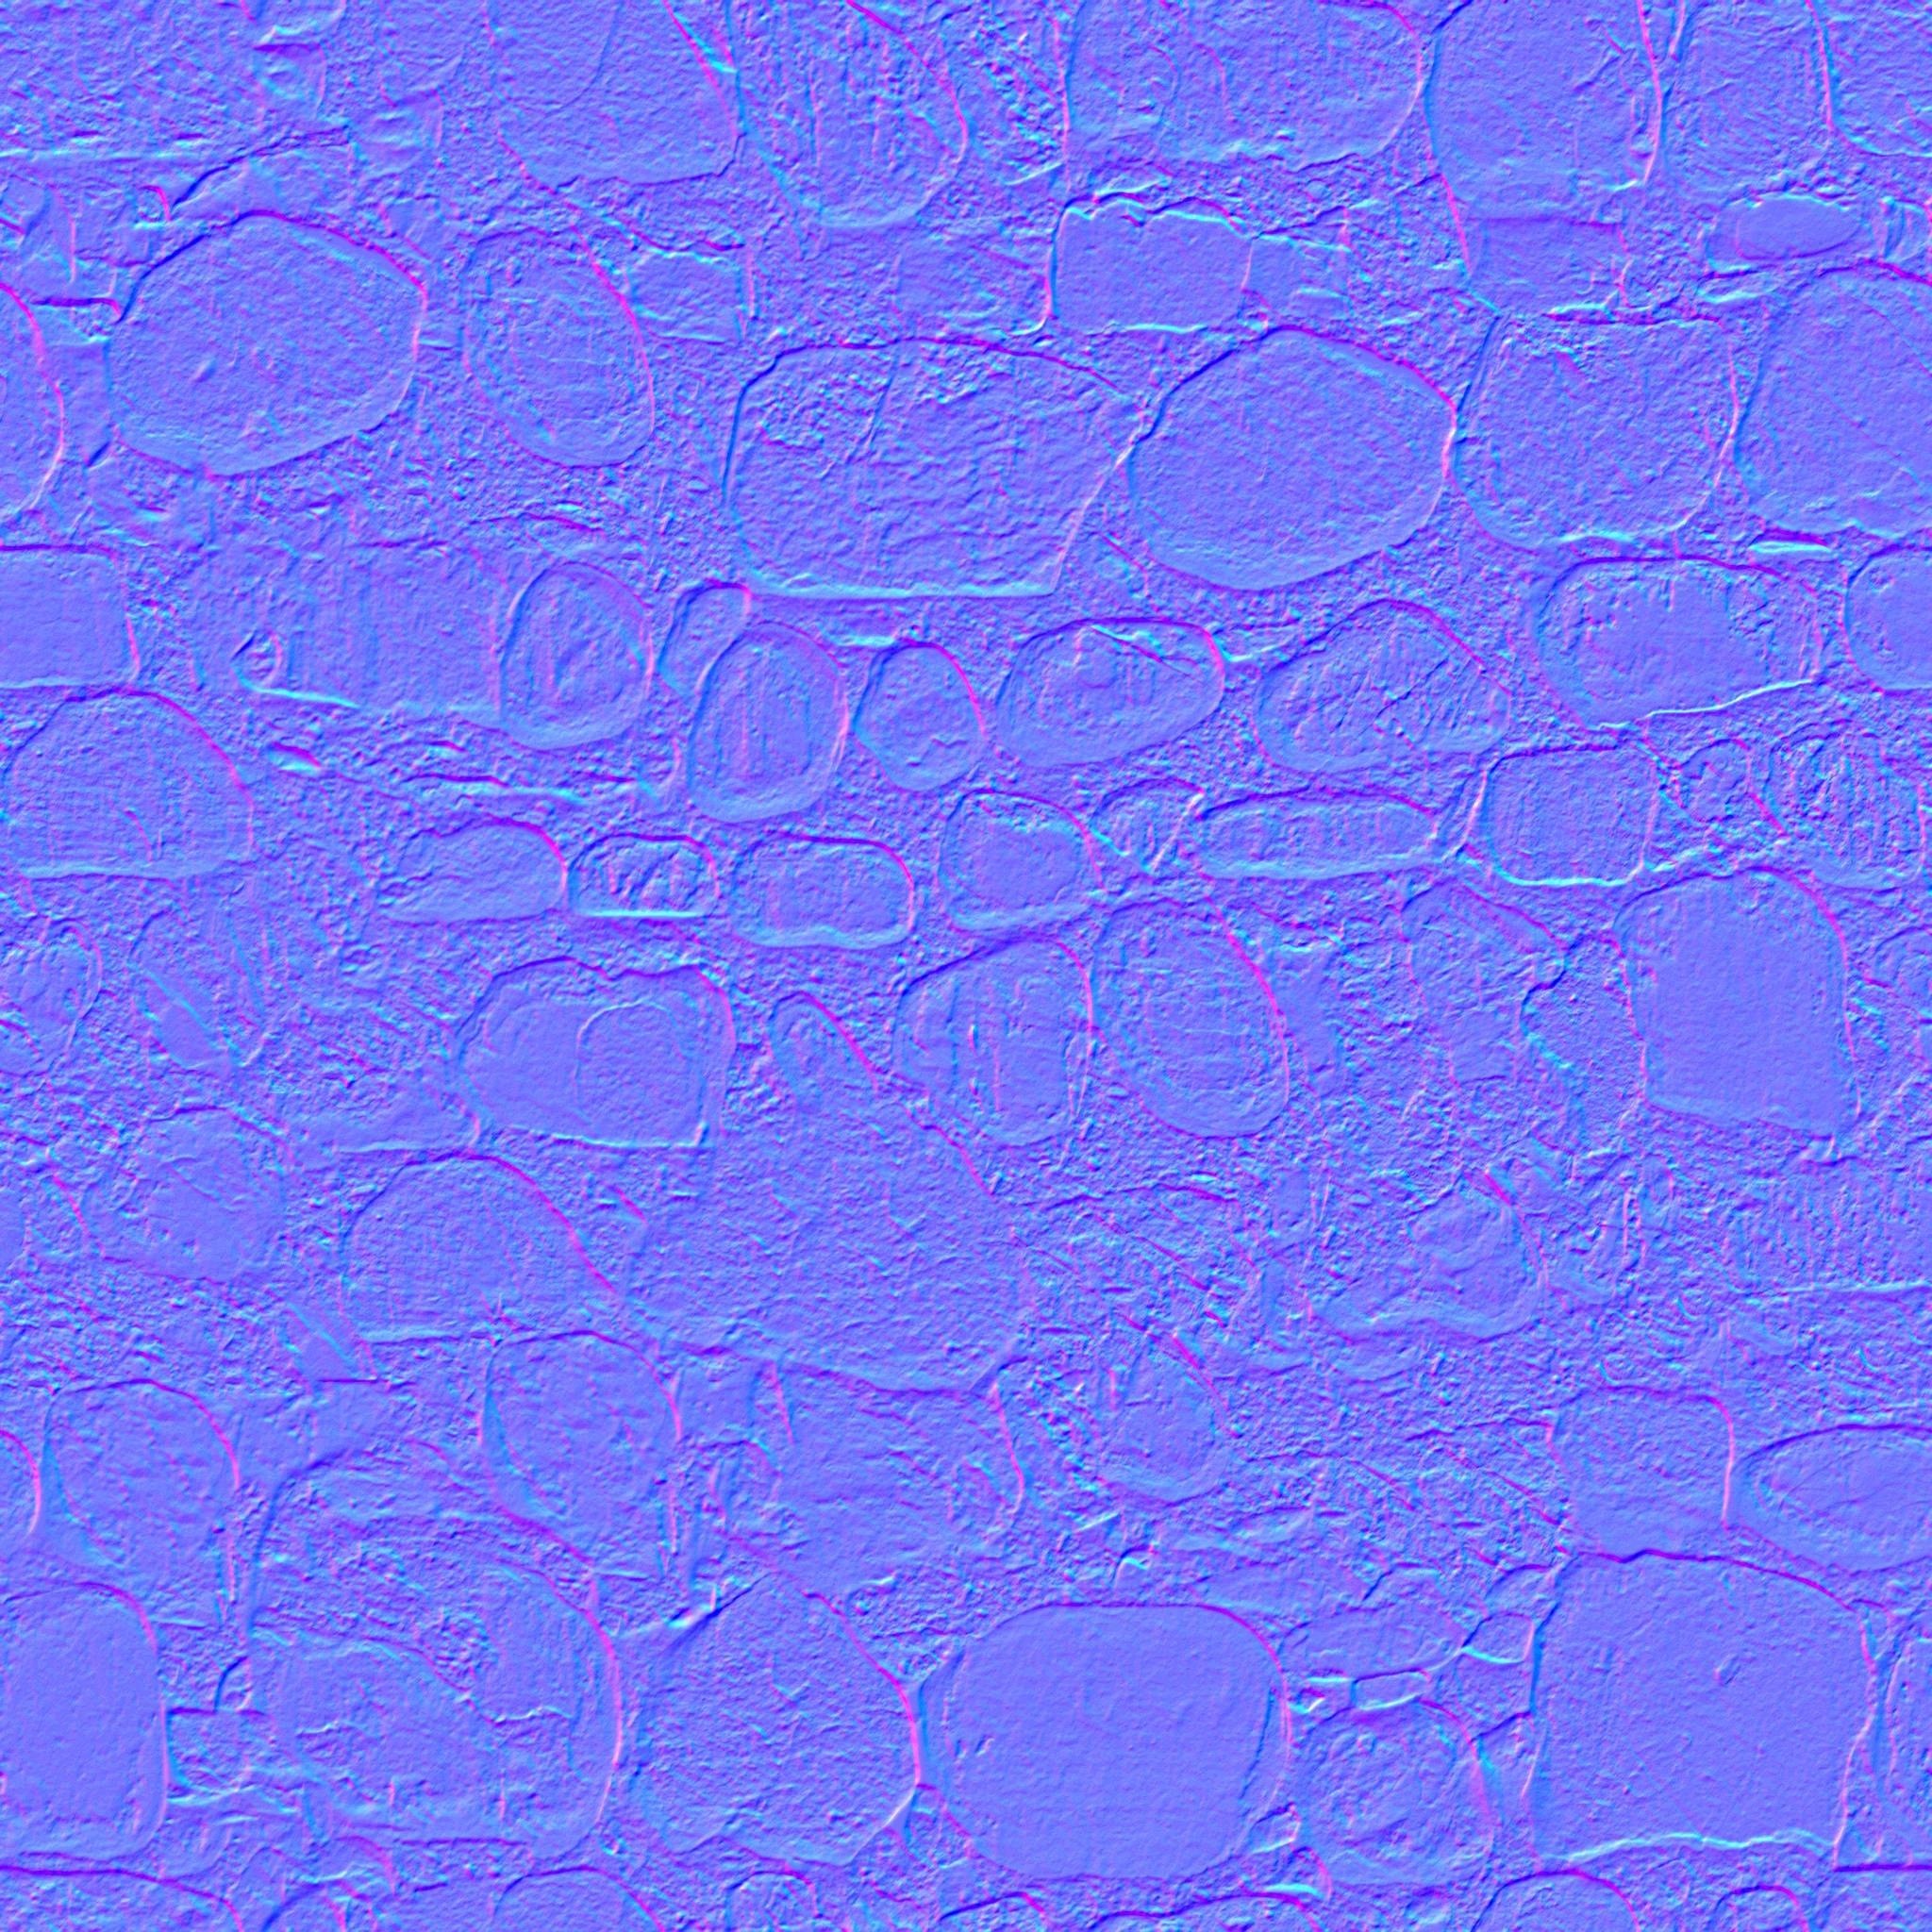
Normal maps are used to make a flat surface appear ‘raised’ (e.g. bump) by controlling where shadows and highlights appear. The effect of a normal map is best visible if there is a (moving) light source shining on an object. A normal map is a texture map where each individual pixel represents a 3d vector (encoded in the R,G,B value). Some normal maps are generated using a filter which looks at a 2d image, and guesses the vector value based on the illumination values.
This is sometimes used for pulling a “cheap” normal map from photographic sources. But for high end AAA titles, we use a different process. Each 3D model is built twice. The low-poly in-game mesh is built for efficiency, with careful attention paid to the number of vertices, and the junctions between them. It is UVd in a careful way to efficiently use the entire texture, and maintain consistent texel size across the model. Then a second high-poly mesh is built, which is used as a texture source. It’s not unusual for the low poly mesh to be a few thousand polygons, and the high poly mesh to have hundreds of thousands. These detail meshes might have geometry representing rivet heads, bevels, fine dents, and surface bump textures.
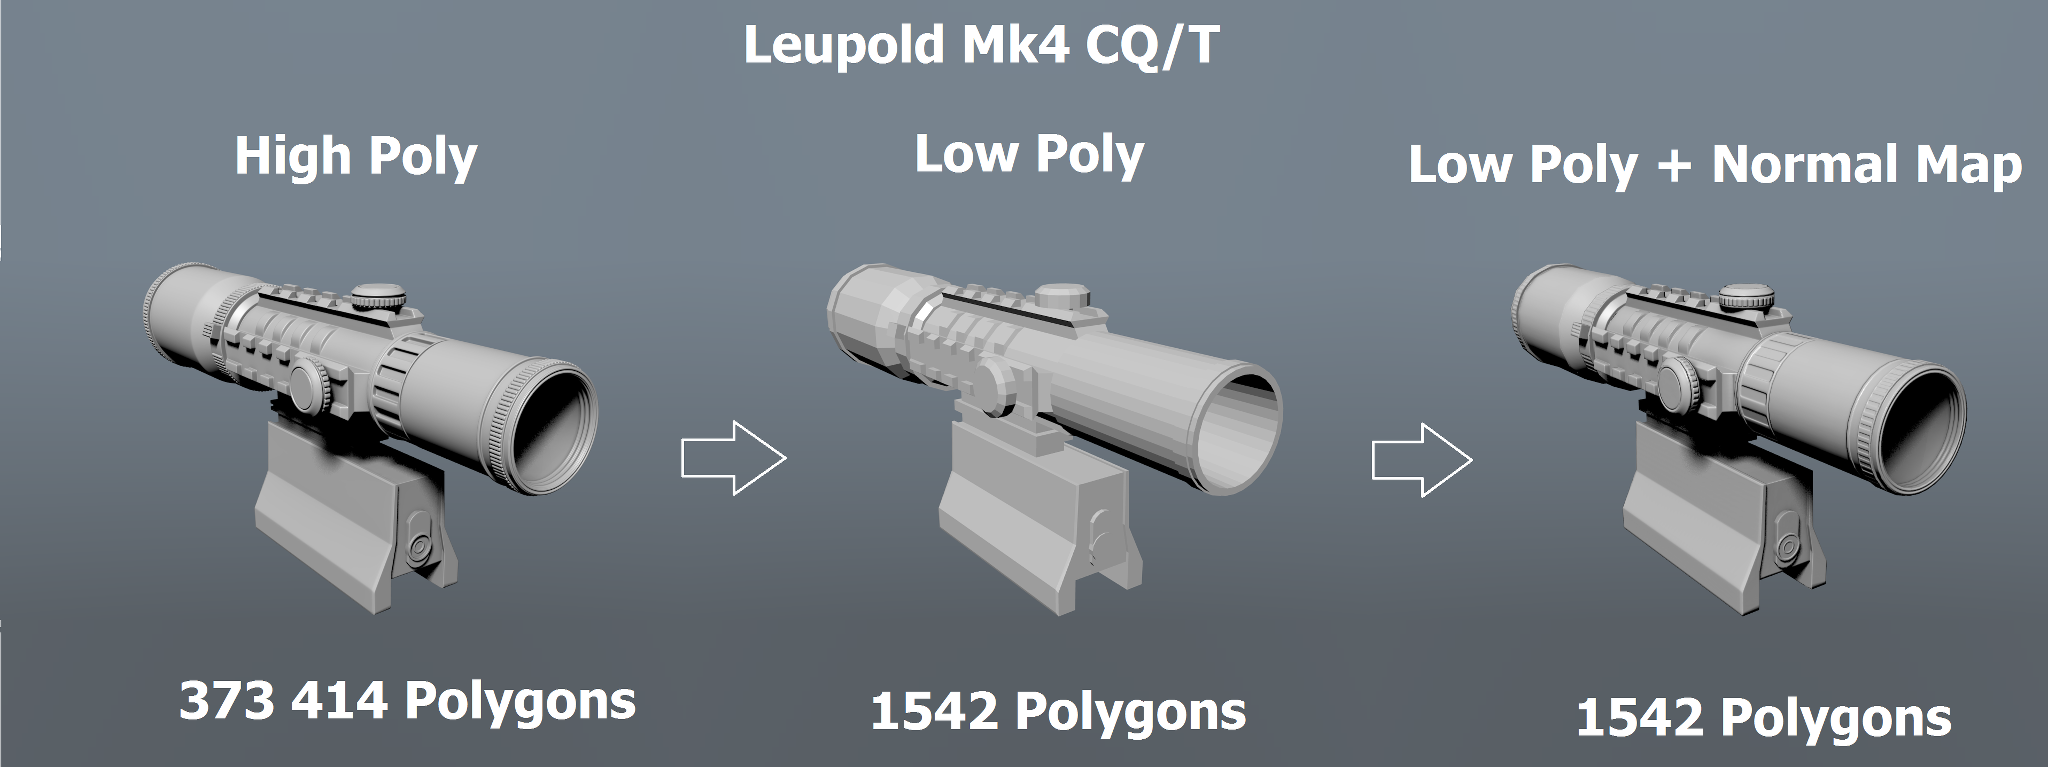
A process called normal map baking is used, where the geometry of the high-poly mesh is automatically sampled and the normal computed. These normals are baked into a texture map. This high poly mesh is also useful for creating other textures. A high quality ambient occlusion texture is often derived too. And then the high-quality mesh is effectively discarded!
Note: This baking of high-poly geo into a normal map has NOTHING to do with material textures in nature like dust, scratches, foliage, rust, etc. It is perfectly okay to generate ao map, normal map, opacity map, emission map off a single image of dust, scratches, foliage, rust, etc by using a tool that looks at light/dark pixels in the image to generate the maps automatically, or by texture painting / image editing manually if so inclined.
note to self: already know about the how-to and pitfalls of seamless textures, so let’s not go there just now.
Baking geo to maps (cycles displacement map / eevee bump height map , normal map)
- check vertex count. for gaming, anything over 1.000 – 10.000 is considered high poly and needs baking as a texture onto a low-poly object.
- top view, camera type = orthographic, 2048×2048 render resolution, zoom in/out to fit frame.
- Render properties: Turn of everything (AO, Bloom, Motion Blur, etc. Film: tick Transparent, Color Managmeent: Display Device = sRGB. View Transform = Standard, not Filmic.
- render: OpenEXR, RGB (transparent becomes black background = zero height), Float (Full), ZIP.
- new material, remove PBR. do this:
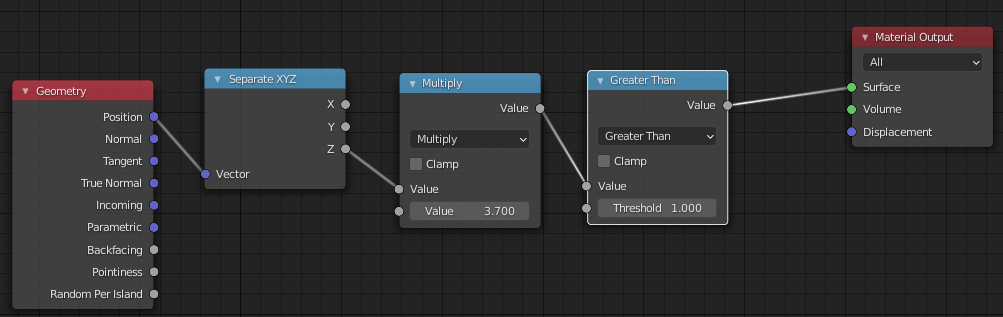
Change the Multiply value until the object is entirely black, only just. This adjust the range in height to sit perfectly between 0 and 1 instead of -say- 0 and 0.5.
To use a displacement map:
- cycles, experimental, gpu
- plane, subdiv modifier, tick ‘adaptive’ (cycles only), simple.
- material: image texture (exr) > displacement node > material output
- lower subdiv modifier Dicing from 1.00 to something like 0.2 to enhance details
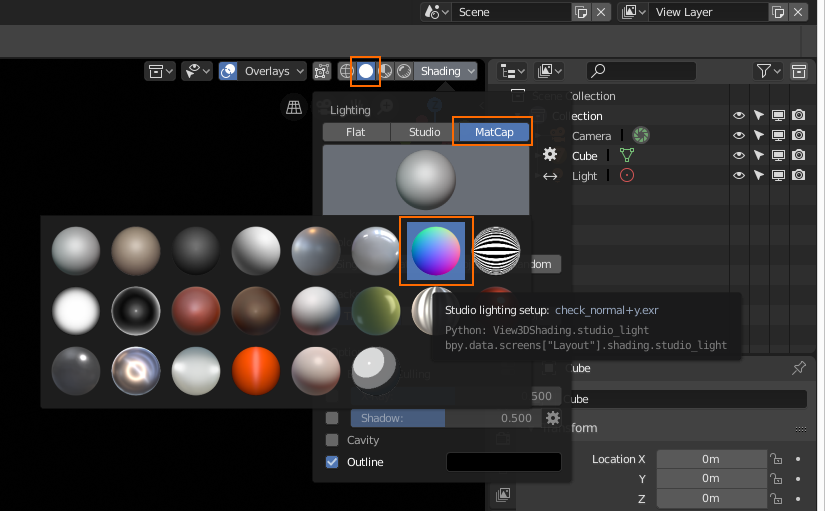
To generate a normal map instead of a displacement map, change the Solid scene preview mode to MatCap and select Normal lighting.