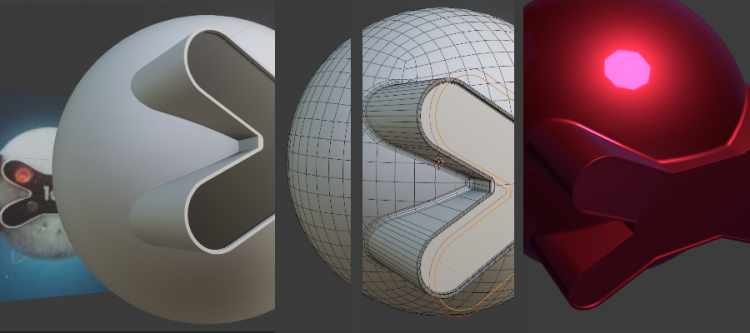
Oblivion drone topology study + Offset
Thank you masterxeon1001 !
https://www.youtube.com/user/masterxeon1001/videos
Buy masterxeon1001 a beer!
https://gumroad.com/masterxeon1001
(click on the Donate Box, enter an amount and pay using Paypal)
Requirements
Blender 2.8x
Get it here: https://builder.blender.org/download
(2.8) HardOps
(2.8) BoxCutter
Get it here: https://blendermarket.com
+1 Daniel Simon
https://www.google.com/search?q=daniel+simon&tbm=isch
Source Files
oblivion_drone001.blend
oblivion_drone002.blend
Render
Quick notes
- Add a UV sphere.
- Subdivision modifier.
[CTRL]+[4] - Plane, rotate 15 degrees, add bevel mod.
- Plane, rotate -15 degrees, add bevel mod.
- Plane.
- [CTRL+J] to merge.
- [TAB] Tool > AutoMerge > Split Edges and Faces. [A] [G] [0] to create additional verts at intersections.
- Cleanup.
- Knife project 2D shape onto sphere.
- [M] merge verts.
- Extrude.
- Sharpen
- We need to remove edges that are not part of the original 2D vertex bevel. Anything not equidistant needs to be ‘edge slide’ moved to a nearby edge with auto merged verts enabled to dissolve. You can also select these edges manually and [M] to dissolve.
- (Add a vertex group bevel on transition area edge loop).
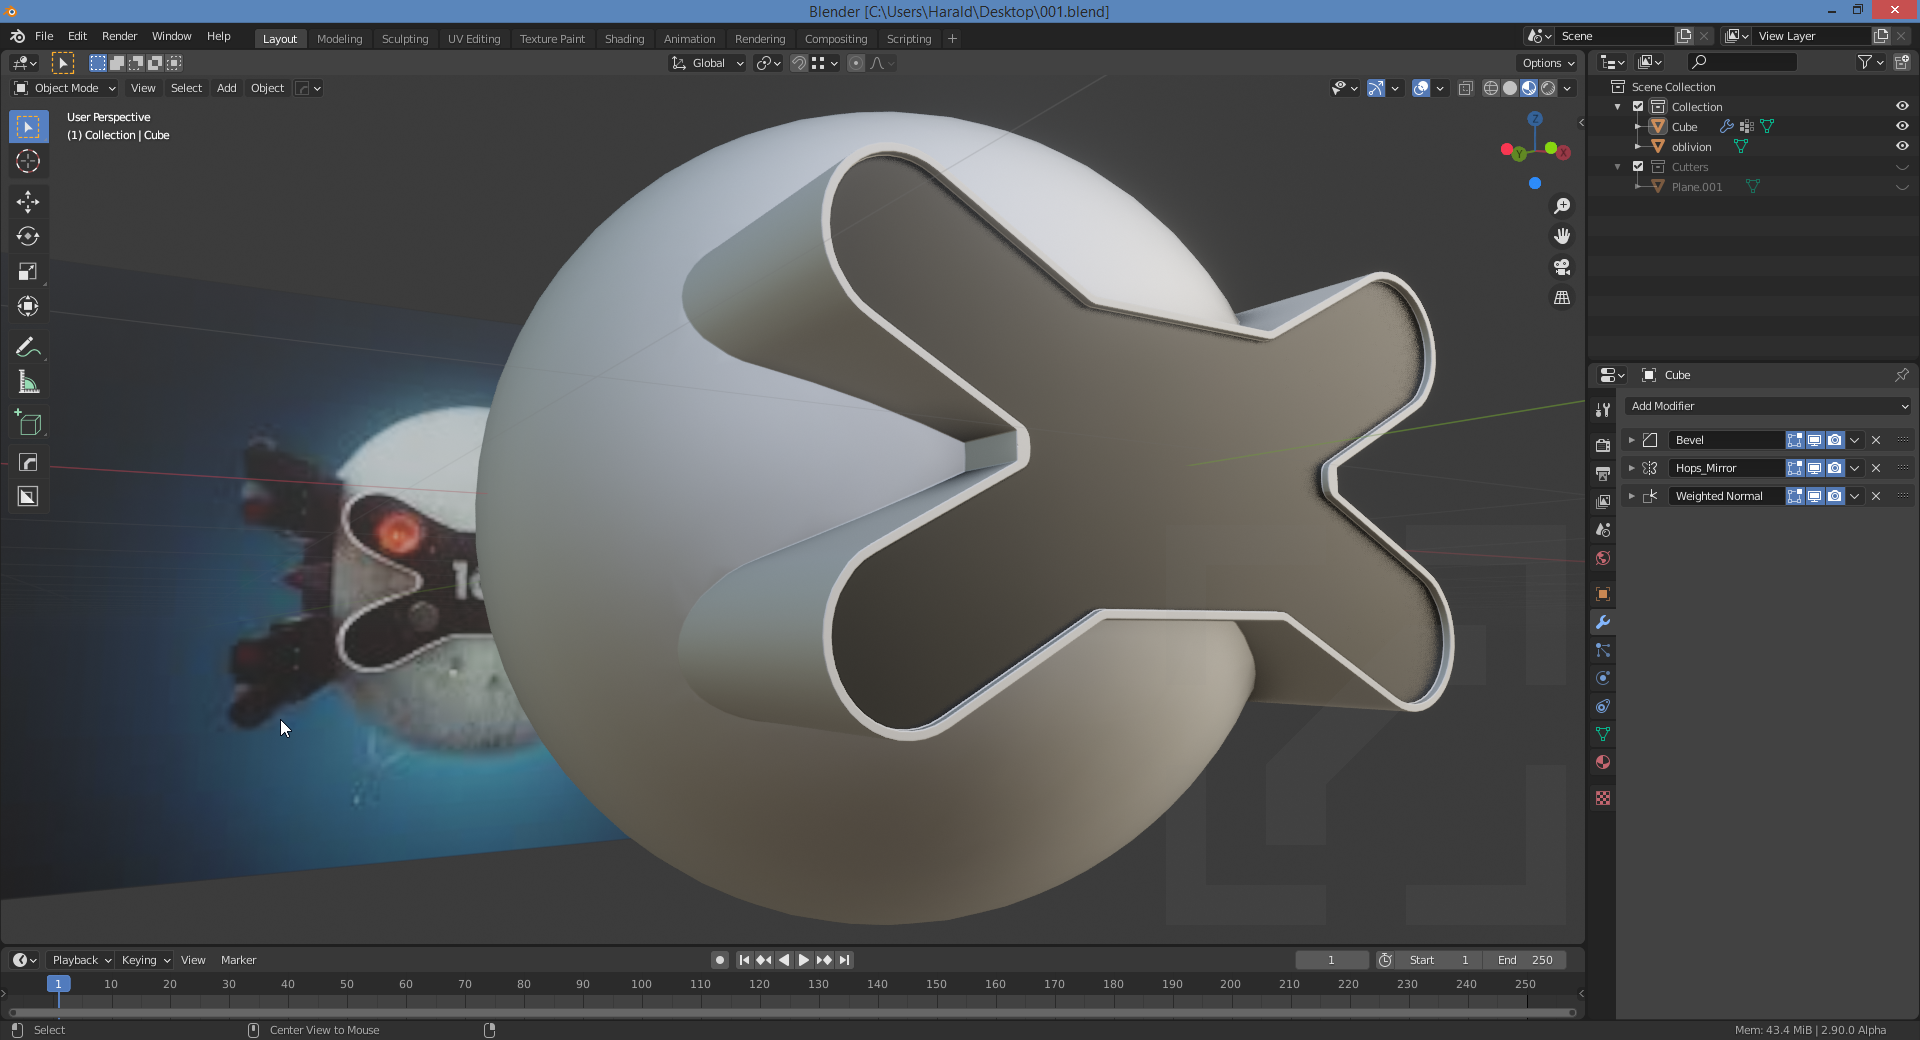
- Add bevel modifier to overal shape. 30 degrees works well to not affect previous bevel.
- In the video we try to get the topology resolved where ngons are reduces to tri or quad faces.
I wanted more pronounced curvature in the transition area, almost like a curved surface rather than just a bevel to clearly show the geometry is fused and not two separate objects. This is where the vertex group bevel comes in.
[!] it is recommended to have a ‘safe area’ around the vertex group bevel so you can increase / decrease the strength of the bevel without running into nearby vertices. It also helps to have edges radiate out like spokes in a wheel to help the bevel.
A good approach is to scale up the 2D shape in edit mode and knife project this onto the sphere.
Unfortunately there is no ‘offset’ command similar to AutoCAD or Fusion360 and simply scaling does not produce the desired result. So I used this addon instead:
https://blenderartists.org/t/offset-edges/584283/254?u=peetie
Blender 2.8 addon source file: mesh_offset_edges.zip
I can now resolve any ngons to the outside perimeter edge loop and safely adjust the inner edge loop vertex bevel strength as I see fit. Increase the number of segments from 3 to 6 or 7 to smoothen the curvature. This produces a well defined curved transition between sphere and extrusion.
Material
As the face selection assigned black material uses faces created by the bevel modifier, you unfortunately will need to apply the bevel modifier to avoid shading artefacts.